Elden Ring Gelmir Hero’s Grave guide
Watch out for the chariots and lava!
Share this article...
WePC is reader-supported. When you buy through links on our site, we may earn an affiliate commission. Prices subject to change. Learn more
The Hero’s Graves you’ll find dotted around the later half of Elden Ring can be tough to clear. They’re typically filled with powerful or annoying enemies, and even worse have giant one-hit-kill chariots riding around trying to flatten you. This Gelmir Hero’s Grave guide will show you how best to clear the dungeon that thought it was okay to combine the aforementioned death chariots with lava on top.
How to Find Gelmir Hero’s Grave
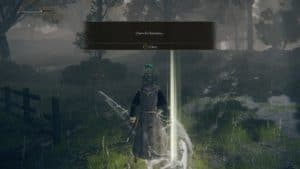
While the path to the grave is pretty simple, actually getting there is not. Cross the Bridge of Iniquity at the northwest corner of the Altus Plateau and activate the point of grace there. Follow the mountainside around, making sure to avoid or kill all of the super-strong enemies around here. After a little while, you’ll hit an area filled with giant brass Abductor constructs and lots of blood/corpses. On the cliff face of this area, you should be able to find a ladder, which you need to climb and then activate the point of grace at the top.
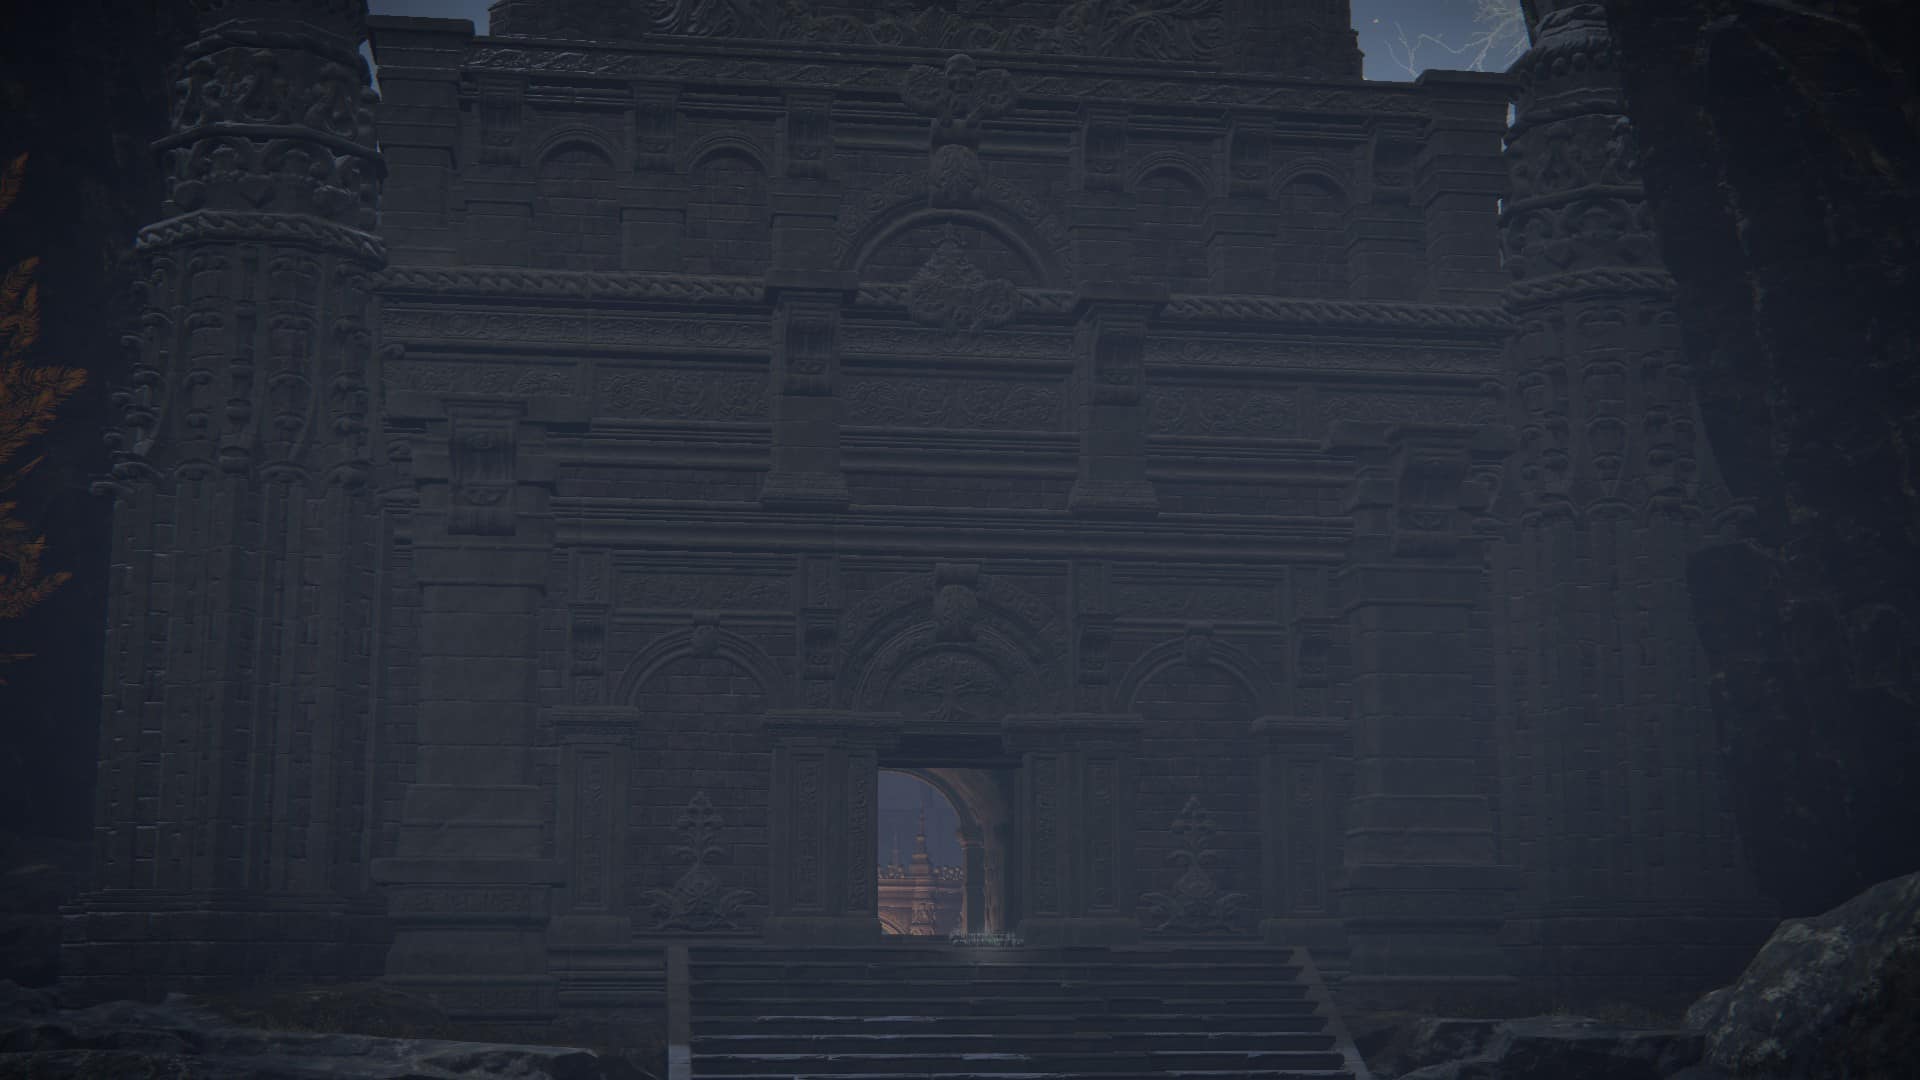
Then, get on your horse and ride west until you see a siege tower. Ride around the back of it and to the left past a fair few wolves to find the lift housed inside an opulent building. Take the long ride down and then activate the point of grace to get started.
Gelmir Hero’s Grave walkthrough
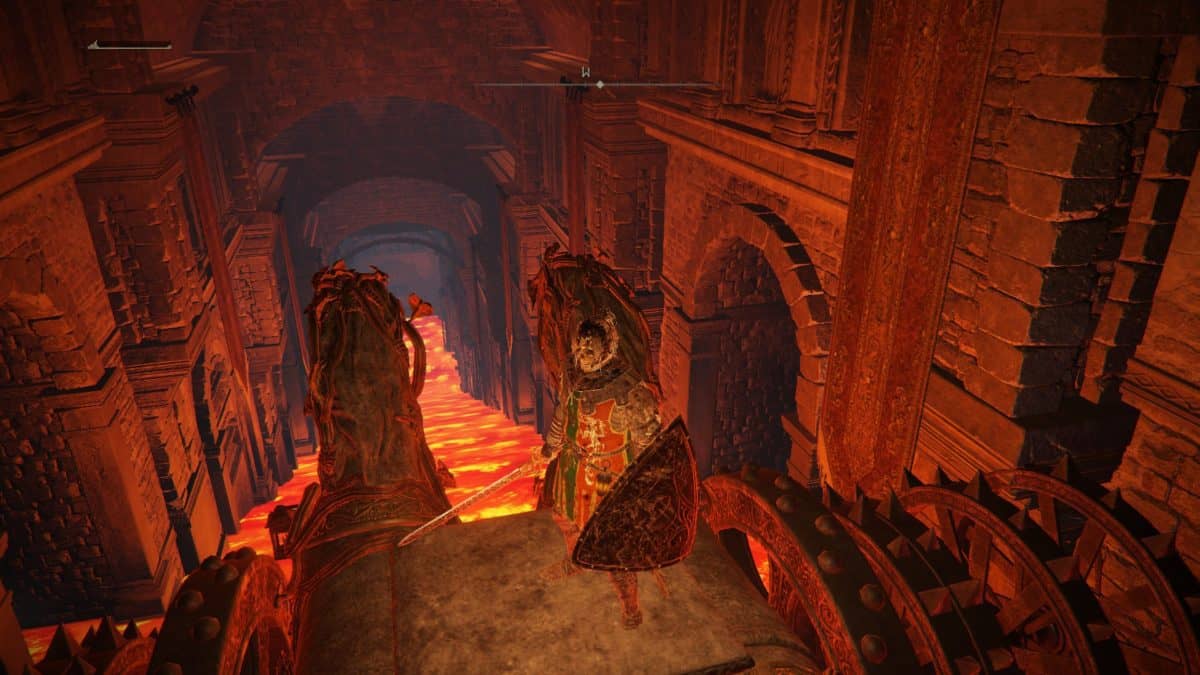
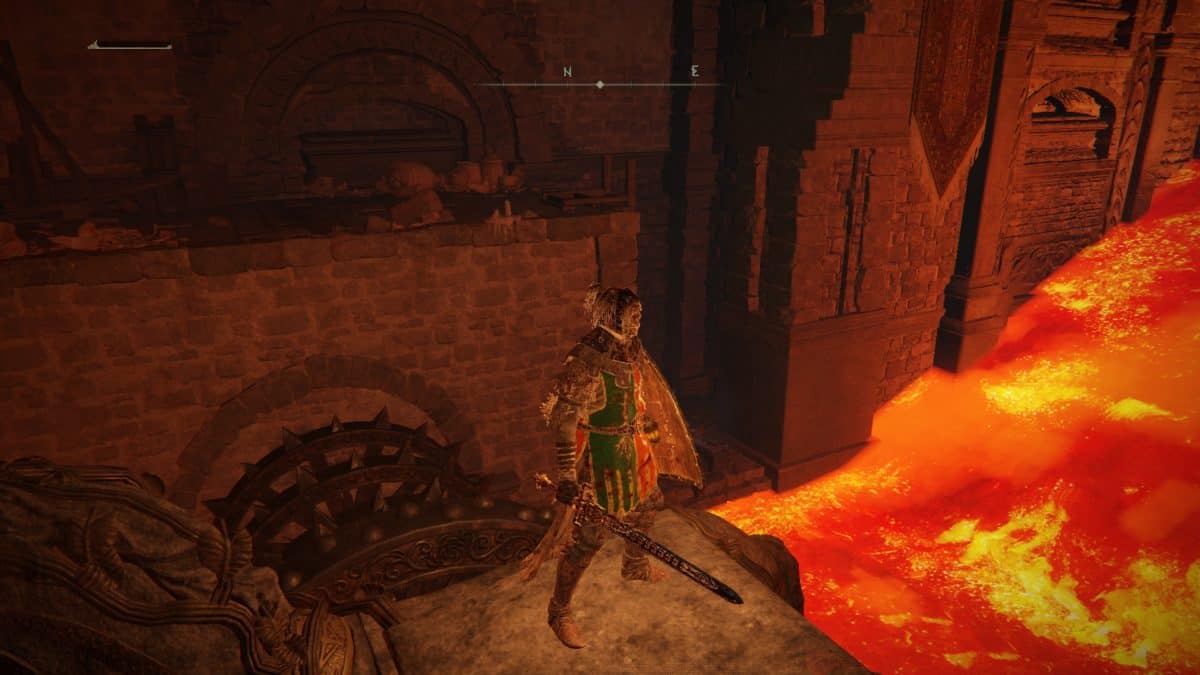
From the site of grace, run forward and activate the summoning pool if you want, then head down the stairs on the left. Follow them into the main room and immediately start running down the slope. In the distance, you should probably just about see the chariot pop into existence. As you get closer to the first alcove two skeletons will come running out at you. Take a running jump over the corner of the lava and roll into the alcove to provide some cover from the chariot. Use whatever you have to take out the two skeletons, potentially just some spells to push them back into the path of the chariot (such as the Rejection incantation).
From here, look out and down the slope and you should see another alcove with a skeleton archer inside. Wait for the chariot to go up the slope and then run down behind it. Jump across the lava into the alcove with the skeleton then take it out. Luckily, if it falls into the lava it won’t be able to regen, so use that to your advantage. Wait for the chariot to head down again then take another jump back onto the slope and safely down into the next alcove on the left. A skeleton will come spinning out at you, but dodge past it and it’ll either land in the lava or be crushed by the chariot. Now we need to get technical (and lucky.)
Dropping in
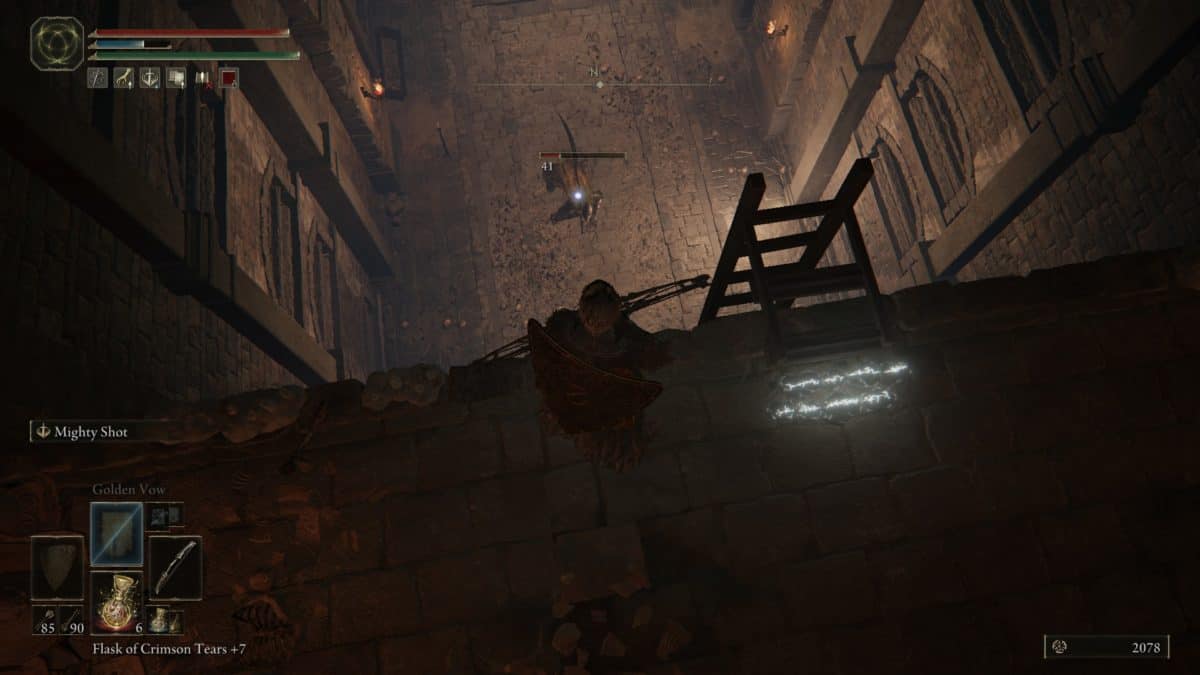
Look out from your current vantage point to see a hole below you down the slope. When the chariot rotates next to you and goes down again, you’ll need to look out over the edge of the hole, get your bearings, and quickly drop down onto the beams below. This is probably going to take you a few tries to get right, but make sure you land on those beams and don’t immediately drop down once you do so as another chariot comes down from another slope. You can enter the windows at the edges of the beams to grab some loot, and find a Bloodhound Knight kneeling in the room below you.
You can easily snipe him from where you are, and he’s very susceptible to poison and Scarlet Rot buildup. Take him out to receive the Bloodhound Knight set, then pick up the Gelmir Knight Set that he was guarding. There’s a bit of loot to be found in the area behind the ladder, but not much else going on here, so climb back up and out onto the beams again. Wait for the chariot to be beneath you, then drop onto the open space on its back. You should then be able to ride the chariot down the lava-filled slope. At the bottom, jump off the chariot once it turns around and quickly make your way to the ledge on the northern side of the tunnel. Congrats, you’re at the boss room now. Below is some info on side stuff for you to do instead.
Optional areas
From the rafters, wait for the chariot to leave then drop down to the floor below and into the larger of two alcoves. In the small alcove nearby, you should be able to find a cemetery shade that drops a cool bleed weapon when it does. Take it out as best you can, then wait for an opportune moment to run up the slope and into the alcove on the left. Quickly dispatch the skeletal archer, then his friend as he gets close to you. Once the chariot makes an appearance, run up the hill and into the alcove on the right.
The flaming trap won’t automatically change direction, and while it’s up, you can’t be killed by the figures in either room, so use this moment to take a breather and heal up before clearing the last few bits of the dungeon.
The Saga continues
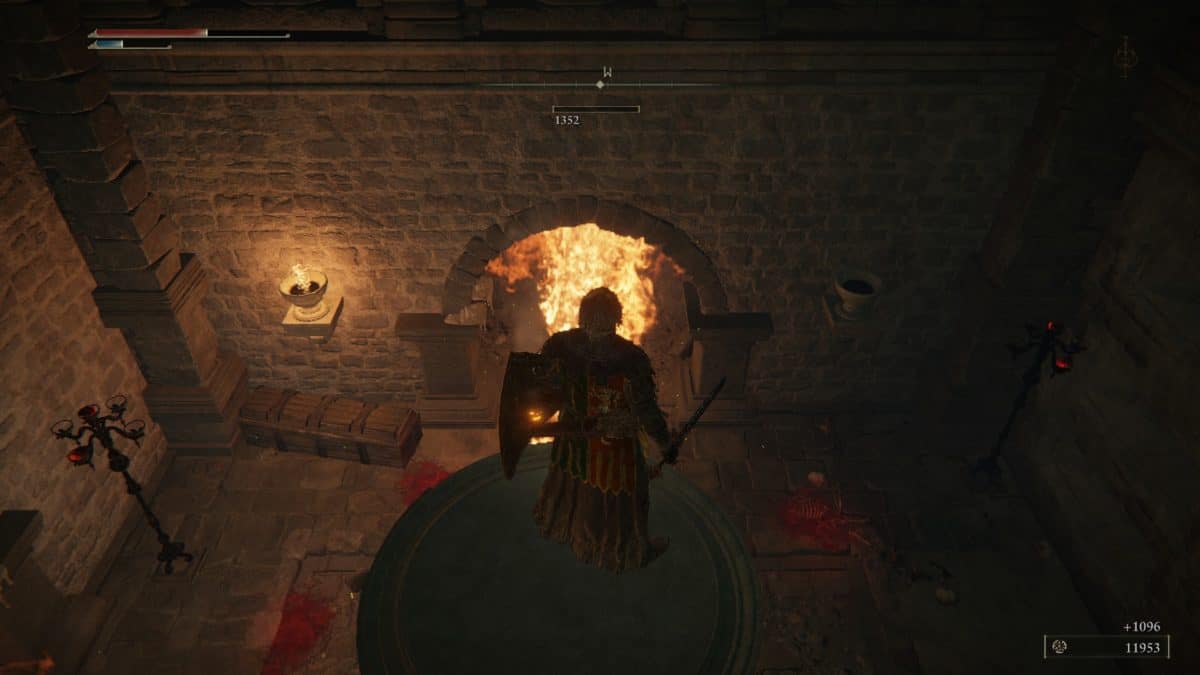
In the room to the left of the entrance, you just came in is a Rune [6], but it’s guarded by two perfumers and a single normal human so it’s up to you whether the effort seems worth it. You can easily defeat pretty much all the perfumers in this area by pulling their aggro then running back into the chamber with the fire pillar trap. Smack the pillar again and jump on top as it rises. The enemies will be circling you below, constantly getting hit with fire until they die. Just be careful of their exploding darts, make sure you have your shield up and are stood as far back from the side they’re attacking you on and you should be fine.
In the other room, you’ll find a whole bunch of perfumers waiting for you. There might be one on the upper landing that you enter through, but most of the time he does to the fire because he aggros on you from quite a distance. From up on this ledge, you can shoot an arrow to aggro the perfumer resting against the far wall. Don’t drop down until you’ve dealt with the perfumer, because there’s another one hiding underneath the ledge you’re standing on. Clear the room of loot, then you can choose to
More Elden Ring content
We’ve been waiting to get our hands on FromSoftware’s Elden Ring for so long, we almost can’t believe it’s finally arrived and we have a massive amount of content just for you. Other than our Tier List, We’ll be here to walk you through every step of your journey through the Lands Between. Join us for all our Elden Ring content and guides over the coming days and weeks!