
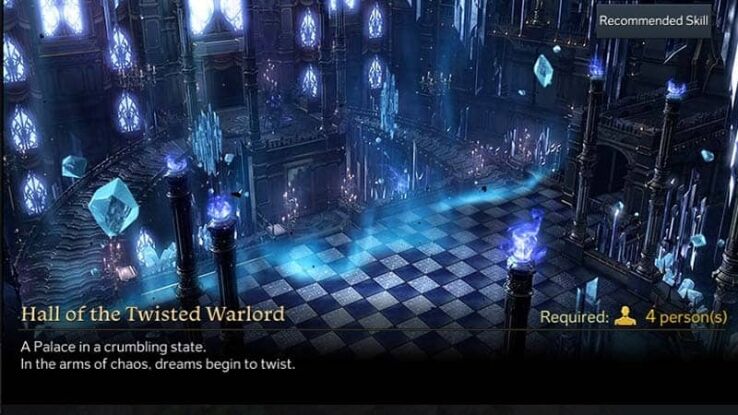
Lost Ark Hall of the Twisted Warlord Abyss Dungeon guide
Need a hand with the Lost Ark Hall of the Twisted Warlord Abyss dungeon? We have the tactics and tips covered.
Share this article...
WePC is reader-supported. When you buy through links on our site, we may earn an affiliate commission. Prices subject to change. Learn more
So, you have completed the Demon Beast Canyon and Necromancer’s Origin Abyss Dungeon and want to try your hand at the next challenge on offer? This guide will tell you everything you need to know about the Lost Ark’s Hall of the Twisted Warlord, Abyss dungeon, which is the third dungeon you unlock.
Be aware, to enter this dungeon you need to have a party of four players with 460+ item level, who have all completed the previous two Abyss Dungeons to enter. Keep this in mind if you’re forming your own party, as may need to use matchmaking if you don’t have the right squad ready.
Lost Ark Hall of the Twisted Warlord Abyss Dungeon Mechanics and Tactics
The first thing you need to know is this dungeon uses the typical two boss setup. Also, each of the bosses in the Hall of the Twisted Warlord Abyss Dungeon contains wipe mechanics. Keep in mind we will explain these tactics, and recommend tips you need to overcome what could be a disaster.
Rook and Bishop tactics, tips, and mechanics
The first boss encounter in this dungeon will test your teamwork and strategy. There are two bosses in this encounter that you are going to want to make sure you kill at the same time, to avoid one of them going berserk.
The major mechanic to understand for this fight is the Phantom power team wipe ability that happens twice throughout the fight. A message will pop up to let you know this is about to happen, at which point Rook – the large boss – will move to the outside of the arena and begin targeting a random player. You will know if you are being targeted as a red target icon will appear above your head.
If you are targeted, you need to move to the opposite side of Bishop (who will be standing in the middle of the arena) from Rook. Rook will then fire a blast of energy towards you and stun Bishop who would have wiped the team. If you are not targeted, you will be surrounded by a purple knockback aura, you need to avoid bumping your teammates as well as Rook’s blast during this time.

In phase 2, the targeted player needs to do the same again, stand behind Bishop and wait for Rook’s stun blast. If you are not targeted this time around, you will need to destroy the structures that spawn in a circle around Bishop to prevent them from blocking the stun blast.
Other than that, there are several other minor skills you can watch out for. Each of the bosses has its own skillset, so we have listed the Rook and Bishop mechanics below.
Rook abilities
- Double punch – Punches first with the right hand directly in front of himself. Then punches with the left and swipes in an arc to his left side.
- Bellyflop – After a short delay, bellyflops to a targeted cross-marked location.
Bishop abilities
- Shadow Orbs – Four shadow orbs are pulled in a cross pattern from the sides of the arena towards Bishop, she then fires them back out rotated forty-five degrees. The Orbs will also appear as AOE zones on the floor, exploding after a few seconds.
- Cross Lasers – Target markers appear on the floor in a cross pattern from Bishop. After a few seconds lasers fire in these areas. The target markers then rotate forty-five degrees and the lasers fire again.
- Single Lasers – Similar to the last ability, except this time the lasers are fired one by one and in quick succession rather than simultaneously.
- Dark Lines – Long, straight lines of damage. These attacks are not particularly telegraphed but do quite low damage.
Phantom Legion King tactics, tips and mechanics
The second boss encounter in this dungeon has a couple of team wipe mechanics that you are going to want to keep in mind.
At health bars 15 and 5 the boss will move to the centre of the arena and gain a shield. He will then summon four spectral swords (one for each player). The best way to manage this part of the encounter is for the party to know in which order they should pick up their sword and begin attacking the boss. You should have the player with the most stagger abilities take their sword first, as stagger abilities do more damage to the shield. Once a player has collected their sword, a two-second debuff will be triggered, you can tell when this debuff has ended as a flash of light will appear around the player. Each player needs to collect their sword once the debuff has ended, as taking it early will cause a team wipe. Not breaking the shield on the boss quickly enough will also cause a team wipe.
The second team wipe mechanic is one that seems to trigger randomly throughout the fight. The boss will again summon a shield and will do damage in cones around himself. If the boss remains in this state for too long, he will charge up and eventually wipe the party. Hit him with everything you have in this stage, prioritising those stagger abilities.
Legion King mechanics
Below is a list of all the other skills you will need to keep an eye on throughout the fight. These are the usual direction attacks, swipes, and don’t stand in the falling bad stuff. Nothing too tricky, but if you want a heads up you can find them below.
- Sword Swipes – The boss attacks a target in front of him with two sword swipes.
- Sword Wave – The boss will change stance, his sword will begin to glow and after a short time will release a wave of energy if he is over 50% health, or three waves in a triangle if he is below 50%.
- Dash and Dive – A rapid dash attack dealing damage in a line. He then teleports above the map and slams down in an AOE below him.
- Sword Portal – Periodically, a purple portal will appear and begin raining swords down. Where every sword will land is shown by a purple ring on the ground.
- Spinning Swords – On occasion, the boss will fill the arena with spinning swords that slowly move towards him. There is usually a gap somewhere that players can dash through to avoid being hit.
- Dive/Dash and Cone – The Legion King will dive towards the nearest target twice in a row dealing damage, and then release a large cone of damage in the direction he is facing. Later in the fight, he begins to dash in a line rather than dive towards the target.
This concludes the Lost Ark Hall of the Twisted Warlord Abyss Dungeon Guide. When you are done with this dungeon, you can now progress onto the Hildebrandt Palace. If you found this guide useful, why not check out our Lost Ark hub?


