
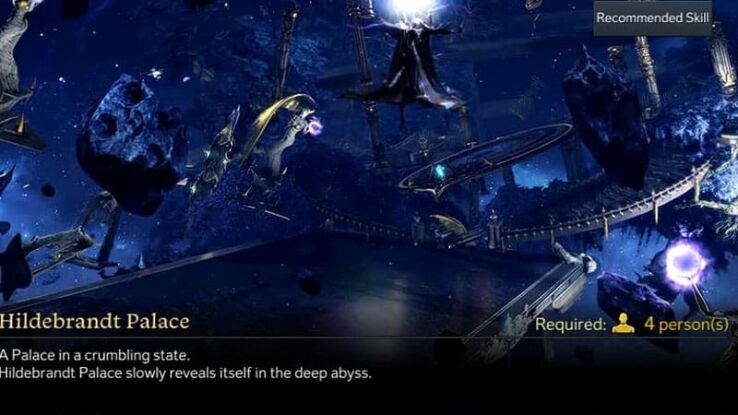
Lost Ark Hildebrandt Palace Abyss Dungeon Guide
Here are some handy mechanics, tactics and tips for the Lost Ark Hildebrandt Palace Abyss Dungeon!
Share this article...
WePC is reader-supported. When you buy through links on our site, we may earn an affiliate commission. Prices subject to change. Learn more
If you have been blasting your way through the tier 1 end game content in Lost Ark, you have probably completed the first three Abyss Dungeons by now and set your sights on the next challenge. This guide will cover everything you need to beat the Lost Ark Hildebrandt Palace Abyss Dungeon, the fourth one your character will come across.
You must have a party of four players with 460+ item level, who have all completed the previous three Abyss Dungeons to enter, such as Necromancer’s, Hall of the Twisted Warlord and more. Keep this in mind if you’re forming your own party, as you may need to matchmaking otherwise.
Lost Ark Hildebrandt Palace Abyss Dungeon Mechanics and Tactics
Like most Abyss Dungeon in Lost Ark, this one is filled with interesting phases and mechanics. Note, each one has some interesting team wipe mechanics. We will provide the tips and tactics you need to ensure you do not wipe in the Hildebrandt Palace Abyss Dungeon.
Phantom Legion Queen tactics, tips and mechanics
The first boss in this dungeon has a couple of scary abilities to keep track of. The first of these major abilities is a rotating AOE field where only one quadrant is safe to stand in at a time. You can tell which direction the safe quadrant is going to rotate by watching the direction the purple orbs fly away from the boss when she charges the attack.
The second notable ability in this encounter is a large wave that travels the arena’s length and will kill you instantly on contact. You will get a pop-up notification when this is about to happen and a purple box indicates which end of the arena the wave will spawn. At the same time, different coloured portals will appear, each one is linked to the other portal of the same colour. Choose a portal that gets you to the other side of the wave. Once you have dodged the first wave, it will change direction and sweep the width of the arena. Choose a suitable portal again and the fight continues. The purple mirror is always bad, so avoid that one at all costs!
The rest of Phantom Legion Queen’s abilities are fairly telegraphed and continue as cone-based AOE attacks. The wave will also continue to sweep the arena later in the fight but has small gaps you can dodge through.
Brelshaza tactics, tips and mechanics
Moving on, the second boss in the dungeon is Brelshaza (the name of a server I might add). This boss has two different phases, each with a variety of bosses. This fight feels more like a typical raid boss from other MMOs, rather than a dungeon boss. Below you will find a list of
Phase 1
- Brelshaza will summon four spirits during this phase. Each spirit will charge up a blue cone attack that freezes players if it hits. A frozen player will have a bubble appear around them and a purple bar underneath. You can help free trapped teammates by hitting them.
- Twice during this phase Brelshaza will tip the arena on an angle and large, purple boulders that you need to dodge, will begin rolling down the platform. A random player will then be targeted (indicated by a marker above their head). They must quickly stand near the boss to stun her with a red meteor.
Phase 2

- Brelshaza will gain a shield at two points during this phase (when the demon hand is trying to crush her). You need to destroy the shield in enough time or she will wipe the party. Save stagger abilities and whirlwind grenades for these shields.
- At around 15 HP bars remaining, Brelshaza will mark a random player. All other players will be given a beam of light which they need to target the marked player with. This will summon a large AEO meteor that you will need to dodge.
- After the meteors, the screen tends to zoom out, and then you have to do your best Neo impression and dodge balls, beams, and other nasty mechanics.
- At around 8 HP bars remaining, Brelshaza will mark a random player again. Two other players will be given light beams that they need to target the marked player with. A golden circle will then appear that the marked player needs to stand in.
- This fight becomes more difficult the longer it goes on, so try to be aggressive!
This concludes the Lost Ark Hildebrandt Palace Abyss Dungeon Guide. Why not check out our Lost Ark hub if you found this guide useful?


