
In The Queen’s Drawing Room – Steelrising Quest Guide
Share this article...
WePC is reader-supported. When you buy through links on our site, we may earn an affiliate commission. Prices subject to change. Learn more
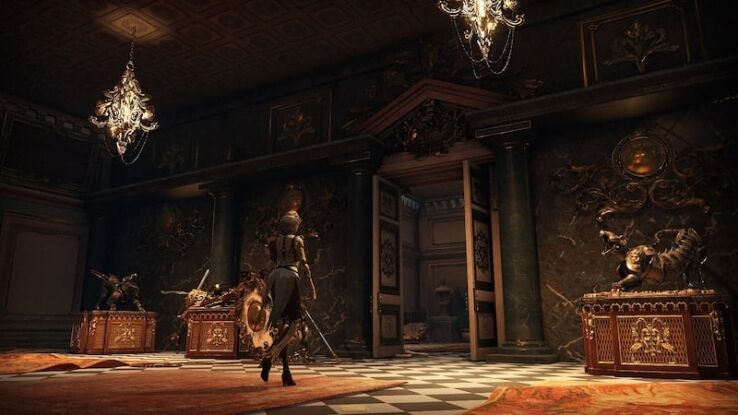
In the Queen’s Drawing Room is the first quest in Steelrising. Your goal is to leave the Saint-Cloud estate. Aegis has to reach the docks and find a boat to Paris.
After the introductory cutscene, move forward and fight your first enemy. It’s a robot of course. Then jump up the ledge to the right.

Continue forward, lining the bushes on the left, until you reach the gate. Kill the group of enemies lurking in the park to pick up a Rusty Key and open the gate in the Gardens.

Just a few steps head, you’ll discover your first Vestal. Vestals are the equivalent of bonfires in Dark Souls, a place where you can sell items, upgrade your characters, change modules, and more.
Resting at the Vestal recovers your health, but also respawns all enemies.
READ NOW: Steelrising Review – Souls-like Like No Other
In the Queen’s Drawing Room Steelrising Guide – First Vestal

Continue past the Vestal and jump down the ledge to the small square below. Dispatch the enemy lurking there.

The mission path is to the left. However, if you go right and up the stairs, you will reach a fountain. There is a chest with Anima Essence inside. Be wary of the couple of enemies nearby. We recommend taking them down to safely reach the chest.


Retrace your steps and continue forward past the turning to the Vestal.. You’ll meet some enemies, but the path is fairly linear.


The path leads to an open field. Head left, but don’t miss a big chest with Anima Essence inside on the right. Head under the bridge then through a cave to find your first boss encounter.
READ NOW: How to Unlock Fast Travel in Steelrising?
Unstoppable Lancer Boss – Steelrising Quest Guide

Here are some tips for beating the Unstoppable Lancer Boss. You can use Explosive Grenades. These deal a substantial amount of damage very quickly. Make sure to dodge his long-range attack at the beginning of the fight. Then use Dodge to the right after one or two blows, depending on the attack he deals. It’s fairly straightforward.
After you beat the boss, pick up the Module Key, which allows you to unlock another slot for a Module. After defeating the boss, unlock your second Vestal. It’s to the left of the cave entrance.

Next, head over the tree trunk to find a chest containing the second weapon for your B slot. You can swap between them by pressing up on the D-Pad. Next, cross the bridge and defeat a single enemy there.

You will see closed gates on the left and in front of you. Go right up the stairs, but be careful there are some new enemy types ahead.

Then you need to go left through the broken fence. Be sure to loot the chest in front of the broken mill to get the compass.

Slide down to The Forest, and find the third Vestal.

Go straight down the path. Note the locked gates. These aren’t accessible right now, but you’ll be able to return later to explore them.
For now, you want to locate a low wood wall with a gate in the fence above it. Jump through to reach The Pier.

READ NOW: How to Level up in Steelrising
Unstable Lightning Ram Boss – Steelrising Quest Guide

After the brief cutscene, you’ll take on the Unstable Lightning Ram boss.
There is an easy and cheesy way to defeat this foe. If you picked up that pistol in the chest in front of the bridge you can easily freeze the boss. 3 or 4 shots should be enough.
Thenuse your strongest attack or series of basic attacks when he is kneeling. You can also knock him down for an even longer combo. Repeat that process 3 or 4 times and the boss will be dealt with.

Then all that’s left to do to complete the quest is interact with the boat and go to Paris.


