
Safety Check iOS 16: what it does & how to use it
Safety Check in iOS 16 explained
Share this article...
WePC is reader-supported. When you buy through links on our site, we may earn an affiliate commission. Prices subject to change. Learn more
Safety Check in iOS 16 is a great feature that helps you limit the amount of personal data you share, be it to other companies or individuals.
Whilst it’s very difficult to maintain complete data anonymity online when using a smartphone, Apple remains the best of the bunch, with their general focus on security and privacy, and Safety Check is the latest feature helping to do this.
Note: In order to use Safety Check you’re required to have a personal Apple ID (not the same as a Managed Apple ID) which uses two-factor authentication.
READ NOW: Top 5 phone deals December 2022
Safety Check iOS 16: what it does
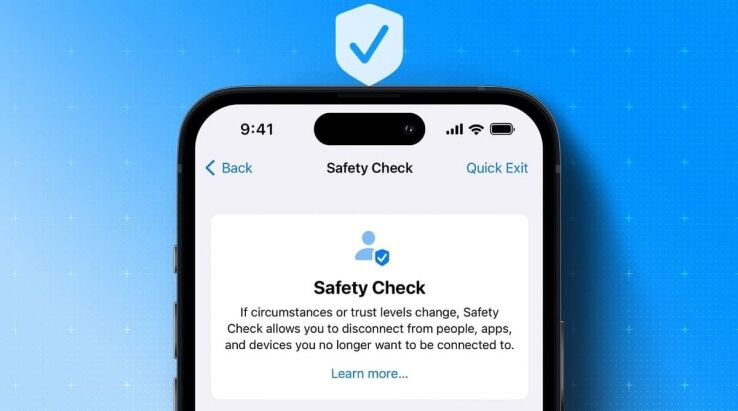
Safety Check is designed to give you control about how much of your personal information applications and companies have access to, but also to help potential victims of domestic abuse by helping them hide their location information and other stored info from their abusers.
Safety Check iOS 16: which apps does it work with?
Safety Check can stop data sharing the following apps and features:
- Health
- Home
- Share Calendars
- Shared Location (with Find My)
- Shared Notes
- Share Photos / Albums
Safety Check can remove data collected by the following apps and features:
- Bluetooth
- Calendars
- Camera
- Contacts
- Files & Folders
- Health
- Local Network
- Location Services
- Media and Apple Music
- Microphone
- Motion and Fitness
- Photos
- Reminders
- Research
- Speech Recognition
Safety Check iOS 16: how to use it
Using Safety Check is fairly straightforward. Simply follow the steps below.
How to open Safety Check in iOS 16
- Make sure you’re signed in to your personal Apple ID.
- Open the Settings menu.
- Open Privacy & Security.
- Open Safety Check.

How to do an Emergency Reset in Safety Check
If you want to cease all information sharing immediately across all apps, the Emergency Reset function within Safety Check is the best way to do this. Simply follow the steps below.
- Make sure you’re signed in to your personal Apple ID.
- Open the Settings menu.
- Open Privacy & Security.
- Open Safety Check.
- Open Emergency Reset.
- Follow the onscreen instructions to perform an Emergency Reset


