What GPU can my motherboard support?: how to check GPU and motherboard compatibility
If you've got some older hardware, it's not all bad news
WePC is reader-supported. When you buy through links on our site, we may earn an affiliate commission. Prices subject to change. Learn more
When upgrading the graphics card on your PC, there are a few considerations to make before pulling the trigger. First and foremost, ensure your CPU and prospective GPU work well together and don’t cause bottlenecks, second is to check the GPU and motherboard are compatible. Beyond having the best CPU and best GPU, how do you check GPU and motherboard compatibility?
It’s actually a relatively simple process because GPU technology doesn’t change often and largely conforms to the same standards. GPUs have used PCIe for over 20 years, with the first iteration (PCIe Gen 1) released in 2003.
A quick summary of this article
- Pretty much all GPUs and motherboards are compatible with each other – thanks to PCIe being backward and forward compatible
- For the best performance, put your GPU int the topmost PCIe slot (x16 PCIe slot)
- Make sure “Above 4G Decoding” and “Resizable BAR” are enabled in your BIOS for the best GPU performance
- Take note of the GPUs PSU requirements
- Make sure your case can fit both your motherboard and GPU in it
How do I know what GPU is compatible with my motherboard?
If you want the quick and dirty answer, pretty much all GPUs that use the PCIe standard will be compatible with your motherboard. This is because all PCI Express slots are both backward and forward-compatible.
We know this because we have a PCIe Gen 2 GT 710 in the office that we sometimes use to troubleshoot motherboards without connecting a bulky GPU with power cables – but this is the lowest we have gone.
Figuring out the best use case and optimum compatibility is more involved, but still really simple. If you want to know what GPU and motherboard work the best together, it’s all about checking the PCIe generation and matching them for the best results.
How to check the PCIe version of my GPU
Checking your GPU’s PCIe version is simple, it should be listed on the specification sheet for your GPU. You can usually find this on the manufacturer’s website, or it is sometimes listed in the user manual that accompanies the GPU – but who keeps those around?
How to check the PCIe version of my motherboard?
Checking your motherboard’s PCIe version is very similar to checking for the GPU as it is listed in the motherboard specifications, which can be found on the manufacturer’s website. This way of checking is the simplest, and like the GPU, it is sometimes listed in the user manual – especially if your motherboard is a little older.
Now that you know the PCIe versions of both your motherboard and GPU, it’s time to detail what to do with them.
GPU and motherboard PCIe compatibility
If you have checked your motherboard and GPU PCIe versions and they both match, then fantastic you don’t really have anything to worry about as long as you have your GPU connected to the motherboard properly. But what do you do if the versions do not match? For example; a PCIe Gen 3 GPU with a Gen 4 motherboard?
In this case, it doesn’t matter too much, because the motherboard version exceeds that of the GPU, so the motherboard can more than handle the full output of the GPU thanks to higher bandwidth. It’s when you flip it the other way that you have the potential to lose performance.
If your GPU is on PCIe Gen 4 and your motherboard is Gen 3, it could create an issue, especially if you have a high-end GPU and a relatively low-end motherboard. The motherboard will be limited by the PCIe Gen 3 bandwidth and unable to exchange information with the GPU as fast as the card can process it – creating a bottleneck.
PCIe slots and lanes
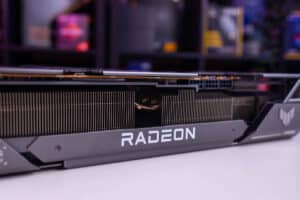
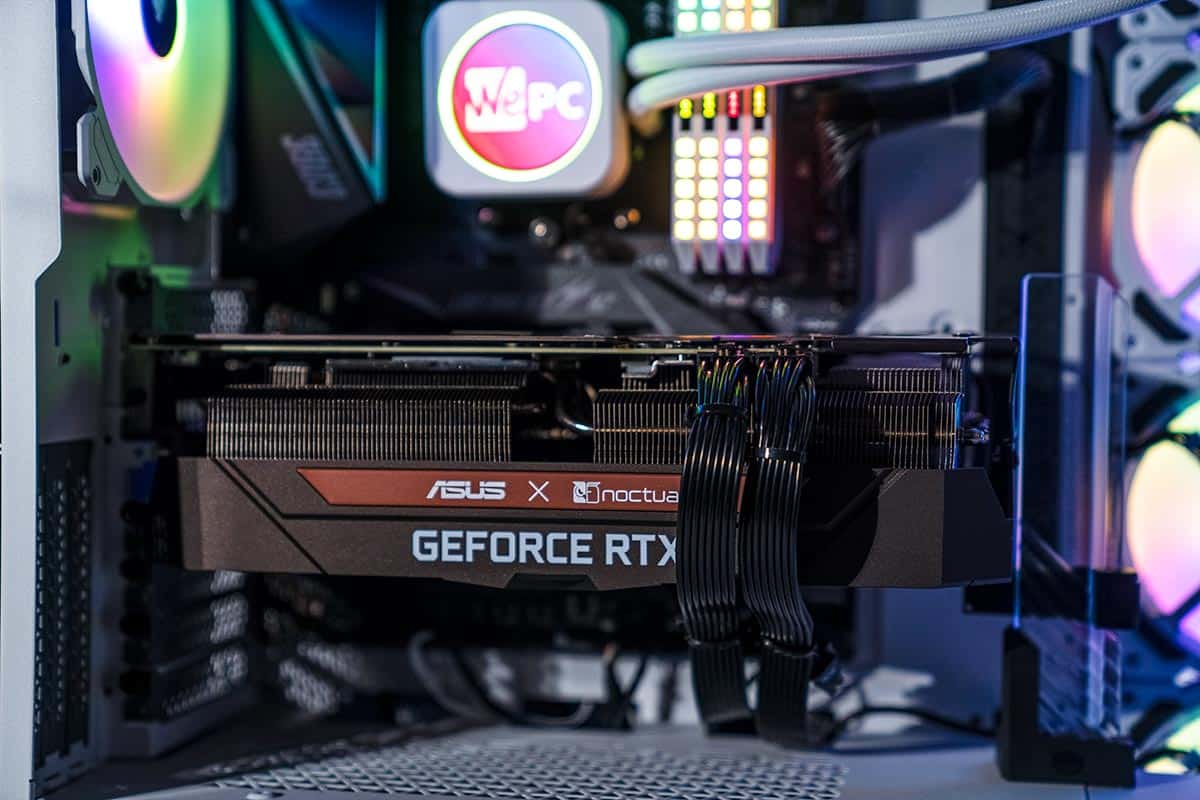
PCIe slots on motherboards have a different number of PCIe lanes dedicated to them. Almost always, the topmost PCI slot is x16 (x16 denotes the number of PCIe lanes assigned to that slot, so 16 lanes), this is where you should put your GPU. These slots are usually reinforced with aluminum to make them a little better equipped to support the heavier GPUs of modern times.
If your motherboard has two PCIe x16 slots and they are both populated simultaneously, then they will both default to x8, but since SLI is dead, for the most part, this isn’t a common issue with PCs built for gaming.
The tertiary slots at the bottom of your motherboard are usually x4, and they don’t interfere with the x16 slot at all, as that is wired directly to the CPU – x4 slots are usually connected to the chipset. So no, the M.2 expansion card in your x4 slot will not slow down your GPU.
BIOS settings to optimize GPU performance
Optimizing your GPU performance can often come down to a few tweaks in your motherboard’s BIOS settings. Check the PCIe generation, if your motherboard supports PCIe Gen 4 or Gen 5, make sure it’s enabled in the BIOS to match the capabilities of your GPU.
This ensures you’re getting the maximum bandwidth possible for data transfer between the GPU and the motherboard, which can significantly improve performance. particularly important if you’re upgrading to a newer graphics card but using an older motherboard – making sure the correct PCIe generation is enabled can help bridge the gap.
Beyond that, tweaking power settings can also help your GPU run more efficiently. In the BIOS, you’ll want to check for settings like “Above 4G Decoding” and “Resizable BAR” if your motherboard supports them.
Resizable BAR, for example, allows the CPU to access more VRAM on the GPU, which can result in smoother performance in certain games and applications. Also, enabling “PCIe Power Savings” options can be helpful if you’re looking to balance performance with power consumption, but it’s best to disable these settings if you want to squeeze every ounce of power out of your GPU.
These adjustments are simple to make, but they can have a notable impact on your overall setup, making sure your GPU and motherboard work together seamlessly.
Power supply requirements
It’s not strictly speaking necessary for GPU and motherboard compatibility, but checking you have the best PSU for your GPU can save you some trouble down the road. GPUs consume arguably the most power out of any component in your PC, so the better the graphics card, the more power you will need.

Check your GPU’s recommended power supply (you can check on the card’s website) and add around 200W to it, this is what I like to call the “buffer zone”. You might need to add more if you’re using a lot of fans, add-in cards, and a powerful CPU.
Get an ATX12V PSU if you want a 40-series GPU
If you’re opting for a GPU in the RTX 40 series, then you might want to purchase an ATX12V power supply. This is because the connectors that ship with some of the 40-series GPUs have been known to melt – so it’s better off with a PSU that will connect to the GPU directly.
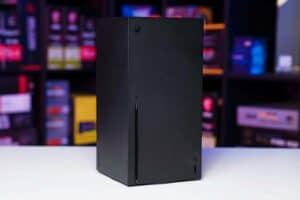
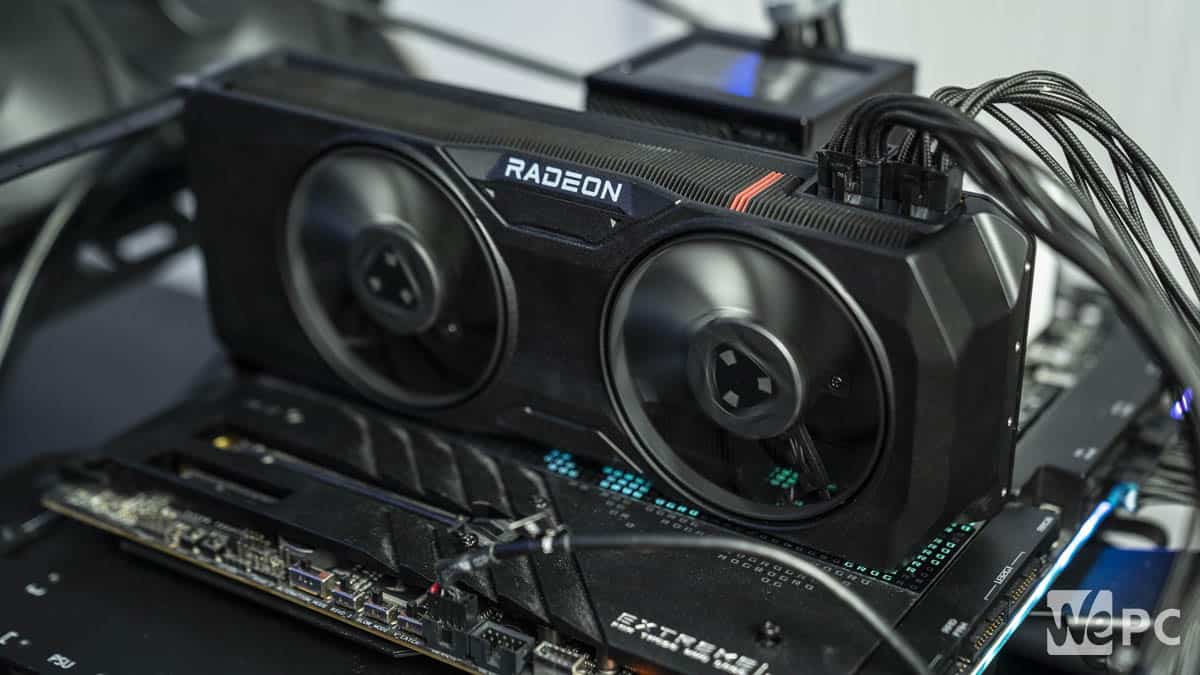
How to tell if a GPU will fit into your PC
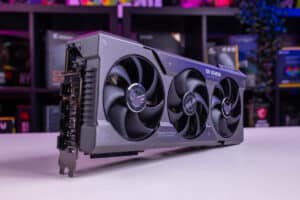
Before upgrading to a new GPU, it’s crucial to make sure it physically fits into your new PC case. With graphics cards becoming larger, it’s easy to overlook this step.
Start by checking the length of your GPU and the space inside your case. Measure the distance between the PCIe slot and any obstacles like hard drive cages or front-mounted fans. Most GPUs list their length in millimeters, so compare that to the space available inside your case, leaving a bit of extra room to avoid a tight squeeze.
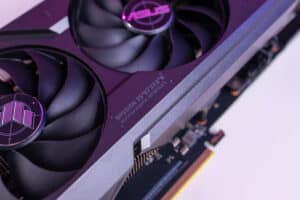
It’s also important to consider the GPU’s width and thickness, as some models take up two or even three PCI slots because of larger coolers. Make sure your case and motherboard can handle this size without blocking other components or PCIe slots.
Also think about the space needed for power connectors, especially if the cables need room to bend. Checking the manufacturer’s specs for your case can make this process easier – they often list the maximum GPU length supported. With these measurements in hand, you’ll know if your new GPU is a good fit or if you need to explore other options.
Final Word
Upgrading your GPU can seem a bit daunting, but with the right preparation, it’s a smooth process that can significantly boost your PC’s performance. By understanding how your GPU interacts with your motherboard through PCIe compatibility, ensuring it fits properly in your case, and making a few adjustments in the BIOS, you’ll set yourself up for success. It’s all about knowing what to look for and making sure each component plays nicely together.
Whether you’re installing the latest high-end GPU or simply upgrading to something more mid-range, taking the time to confirm compatibility and make a few tweaks can save you headaches later on. Armed with this knowledge, you can confidently navigate your next upgrade, ensuring your new GPU not only fits but performs at its best.