How to install Liquid Cooling (AIO CPU Cooler)
AIO liquid cooling installation made easy!
WePC is reader-supported. When you buy through links on our site, we may earn an affiliate commission. Prices subject to change. Learn more
Whether you are building a new gaming PC or fancy swapping out your current air cooler for an AIO, some first-time buyers can find liquid coolers a bit tricky to install. The truth is, AIO (all-in-one) coolers are rather simple to install and bring the added benefits of lower temps and often extra RGB lighting to the system. To help you complete your build, today, we are going to be looking at how to install liquid cooling (an AIO CPU Cooler), with a few sections on what an AIO cooler is before we finally get into a step-by-step guide.
What is an AIO Cooler?
An AIO cooler is just the same as any other cooler in terms of functionality, it removes heat from the CPU. Just like with air coolers, there is a large selection of different AIO cooling options. As we will be focusing on closed-loop AIO coolers, there is no need to talk about custom-loops but they essentially cool the CPU in a similar fashion and come in a variety of sizes to accommodate for different cases and needs.
The process starts in a similar way as air cooling – at the baseplate. The baseplate is connected to the IHS (integrated heat spreader) of the processor, with a layer of thermal paste, of course. The baseplate is essentially the bottom of the pump and is filled with coolant that will remove heat from the transfer between the two surfaces.
The coolant (liquid) inside the AIO absorbs the heat created from the CPU, cycles it through the loop to the radiator. Once the heat reaches the radiator, it again works in a similar way to air coolers by exposing the heat to external air that is often supported by a number of fans to help dissipation. The coolant then heads back down to the CPU bock to repeat the process.
What usually comes included with an AIO Cooler?
- Water Block/ Pump
- Radiator
- Tubing
(Everything above is all one unit)
- Backplate
- Fans
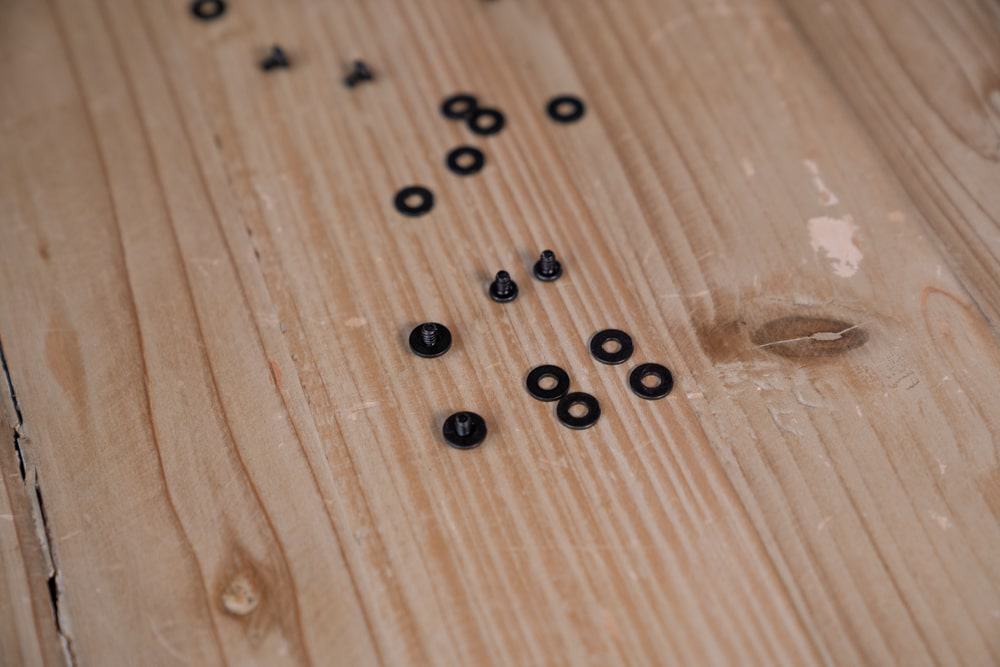
- Radiator Screws
- Support Screws
- Fan Screws
- Thumb Screws
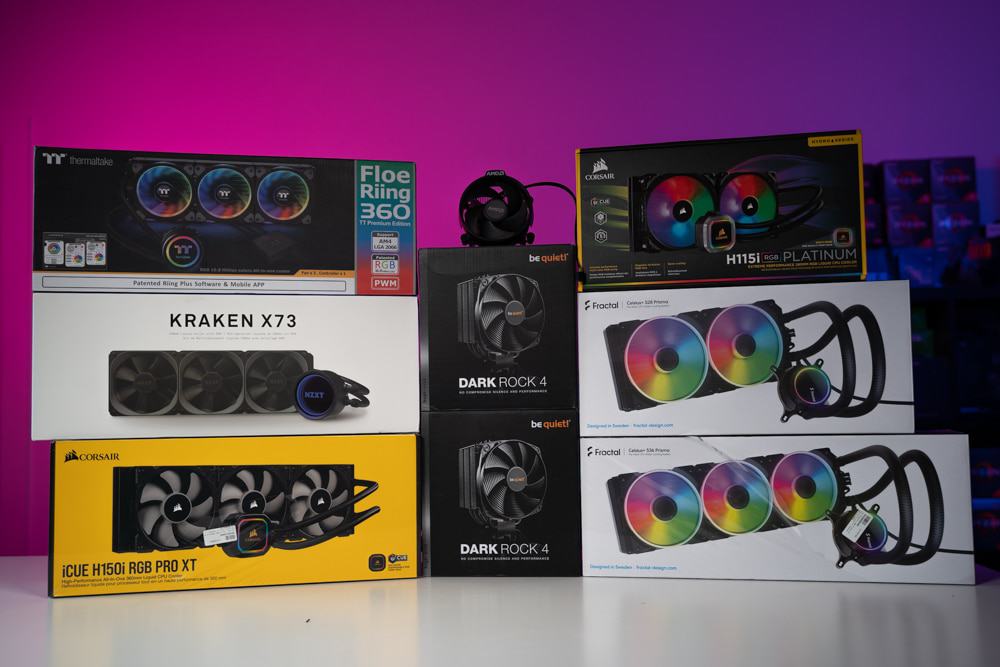
What size AIO Cooler should you choose?
AIO coolers look less bulky once installed but you are going to need room for the radiator. Air coolers usually take up the space directly above the CPU and in some instances can bring clearance issues for certain models of RAM. Liquid coolers, however, have relatively low-profile pumps in comparison and most PC cases will fit an entire closed-loop no problem.
Let’s take a look at the varied sizes of AIO coolers on the market:

The graphic above is there to give you a rough idea of what the sizes may mean/ look like. The sizes essentially correlate with individual fan sizes going up from 120/140mm per fan. When making sure an AIO can fit in your case, you are going to want to check the case specifications in your manual or on the manufacturer’s website. Manufacturers list radiator support for the front, top, rear, and in some cases, the sides.
You don’t really have to worry about the pump in terms of clearance but there may be a few rare examples with smaller form factor cases, so just do a little extra research and ensure the AIO you want will 100% fit into your desired case.
In terms of which you choose, ideally, you would want a 240mm+ sized AIO cooler. This is because you get greater temperature performance when compared to the smaller 120/140mm options. 360/420mm sized coolers will obviously return better results but there is less of a gap between these and the 240/280mm coolers than the 120/140mm models. So, if they perform similarly the choice comes down to what fits, what aesthetic you prefer, and in some cases, you may want the coolers brand to match other components for unified RGB lighting effects.
How long does an AIO Cooler last?
With regular use, an AIO cooler can last anywhere between five and eight years. Manufacturers rate their pumps for up to 70,000 hours which is around eight years but it is normally the tubing that poses the biggest issue. Tubing can deteriorate over time, allowing precious coolant to evaporate slowly, leaving you with an ineffective cooler.
Unless you’re a dab hand at DIY and have experience with AIO coolers, there is no real way to maintain these yourself and this is one of the few drawbacks in comparison to air coolers which never need any maintenance other than the odd dusting. AIO’s rarely leak, otherwise, no one would buy them but there have been one or two instances where the product can malfunction.
How to install Liquid Cooling (AIO CPU Cooler): Step-by-step
Regardless if you are building a PC from scratch or replacing a current cooler, there is little preparation needed. Ultimately you need to make sure the radiator is going to fit in your desired location and will need to remove the case’s side panels for access.
Thermal paste comes pre-applied with most AIO coolers and it does a sufficient job but you may want to clean this off and replace it with your own fresh paste (if you have some). If you don’t have any thermal paste, don’t worry but you are still going to want to get some in the distant future when this eventually dries out.
Grab your screwdriver and let’s install liquid cooling!
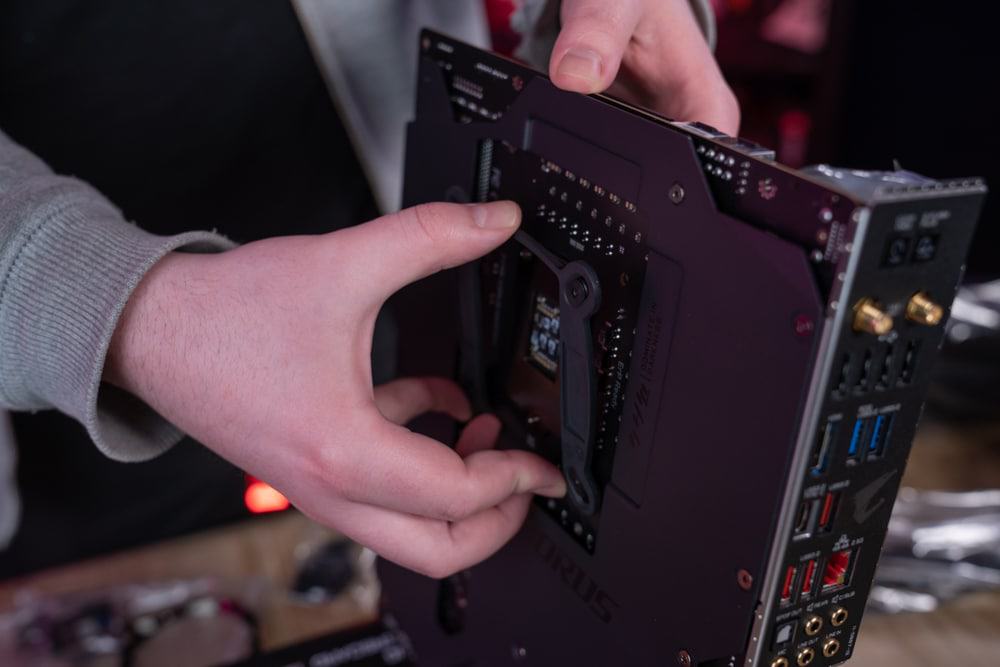
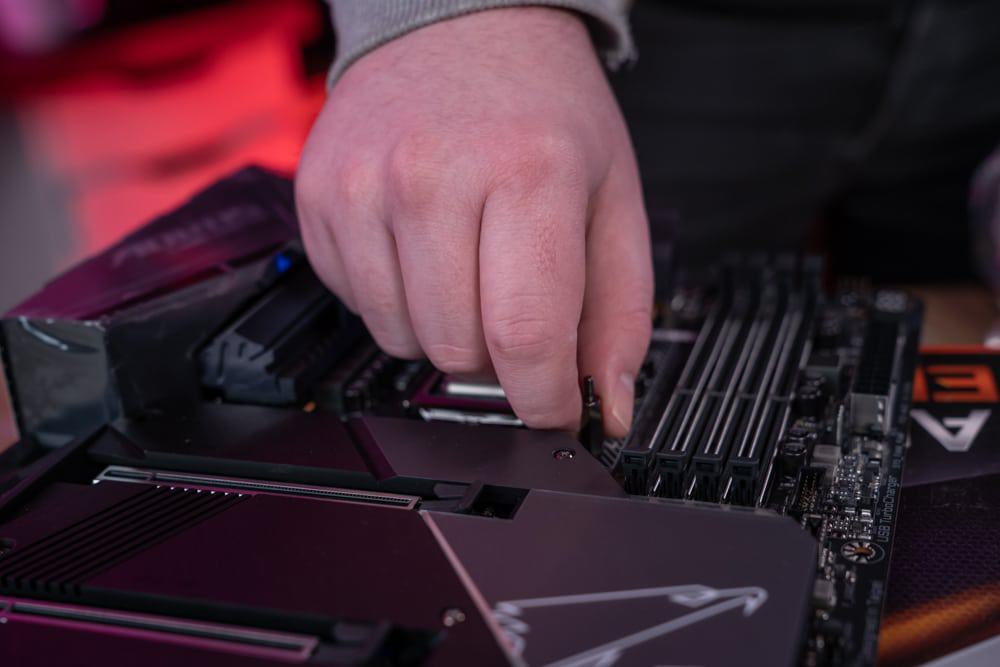
Install the backplate
We have put this step first just in case you are installing an AIO cooler while building your new computer. If you are swapping out an older cooler you can still do this step first but it is less important. Most cases accommodate for this with a cut out at the back, meaning you won’t necessarily have to uninstall your motherboard to put the backplate in place. Unfortunately, if you are swapping coolers here and do not have a gap to install your backplate, remove your motherboard and then proceed with the steps below.
Most, if not all non-stock coolers come with backplates for a variety of chipsets from both AMD and Intel, making them universally compatible.
Consult your manual if you are unsure but you will often find the backplates labeled. Intel boards generally do not come with a backplate, whereas AMD motherboards often do come with a backplate preinstalled.
Step
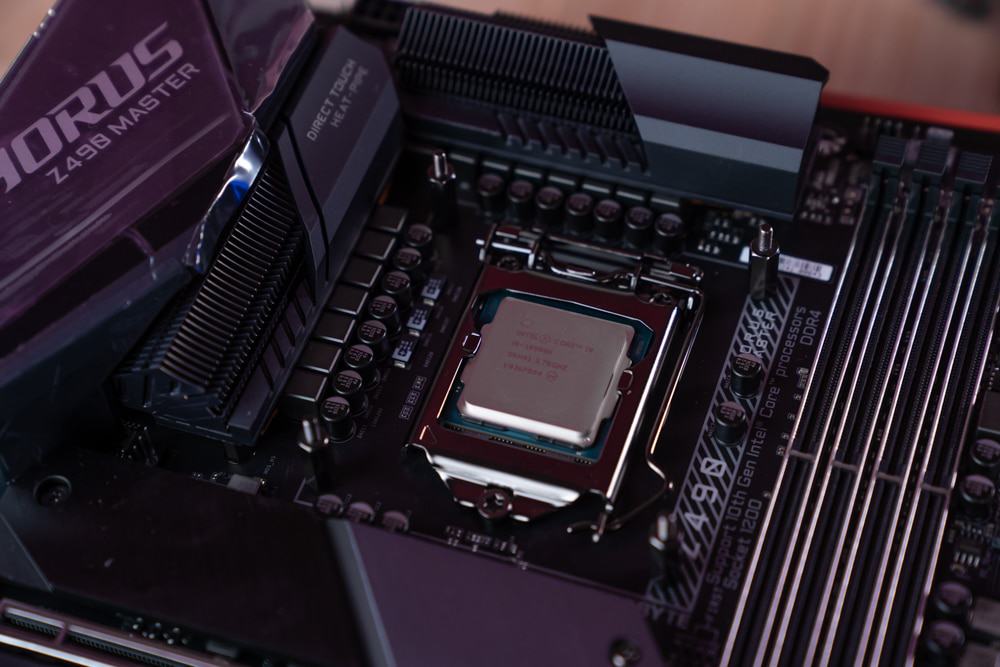
Intel – Installing the backplate
Set backplate screw holes to correct position so they fit through the holes in the middle of the board (around CPU socket) and slot in place.
Your manual is your best friend!
Step
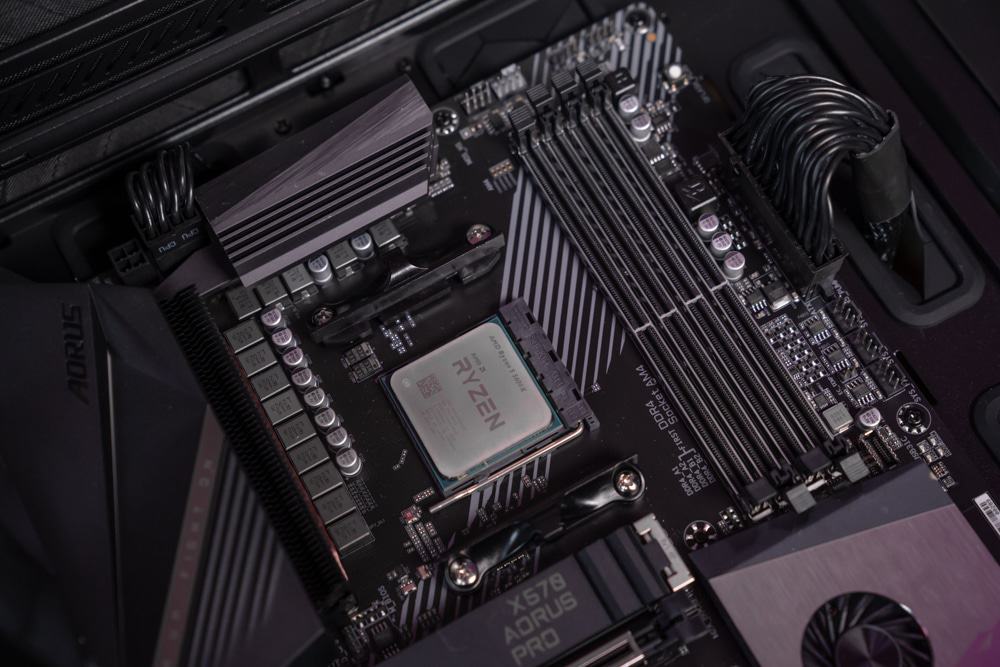
AMD – Installing the backplate
Most AMD builders will not have to remove anything but if your manual needs you to replace the existing bracket clips from around the CPU socket then do so now.

Step
Securing the backplate
Screw your support screws/standoff screws into the four screw holes of the backplate, effectively replacing the previous brackets and you can now leave this until you are ready to screw the pump into position later on.
AMD builders may be able to skip this step.
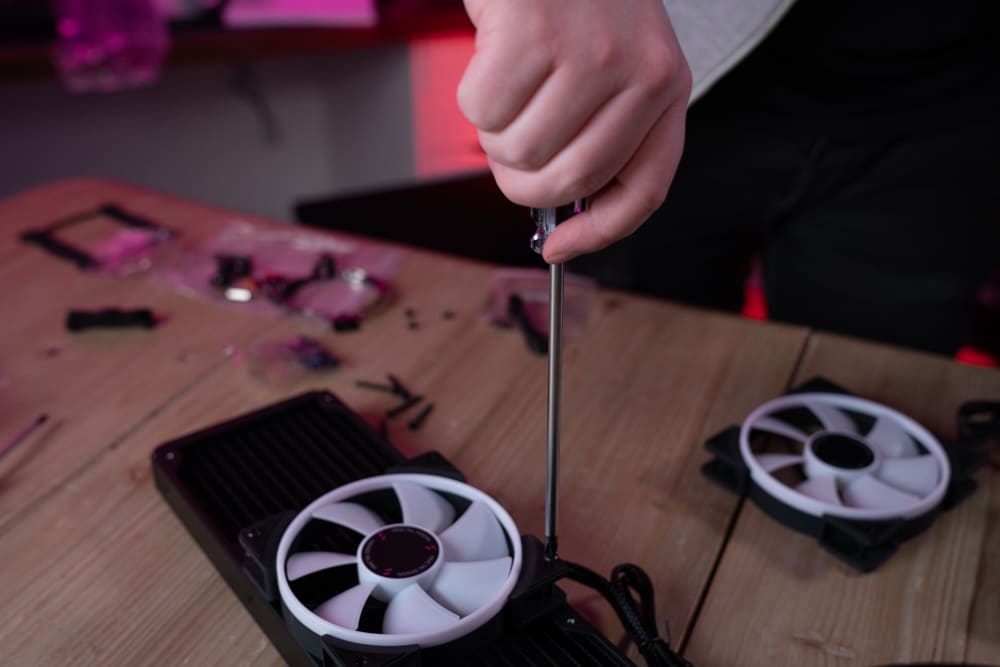
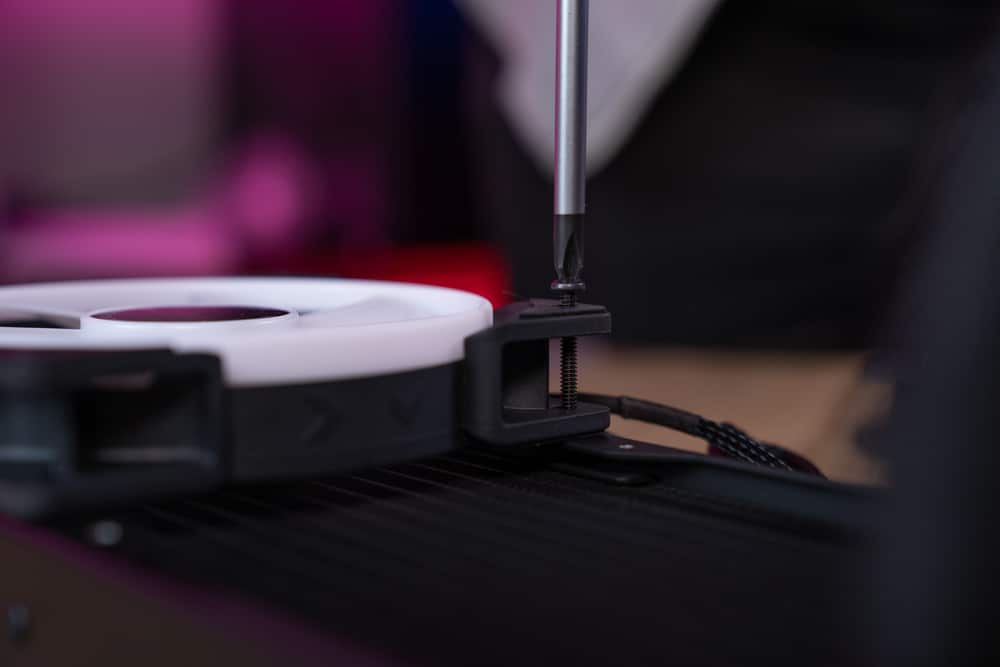
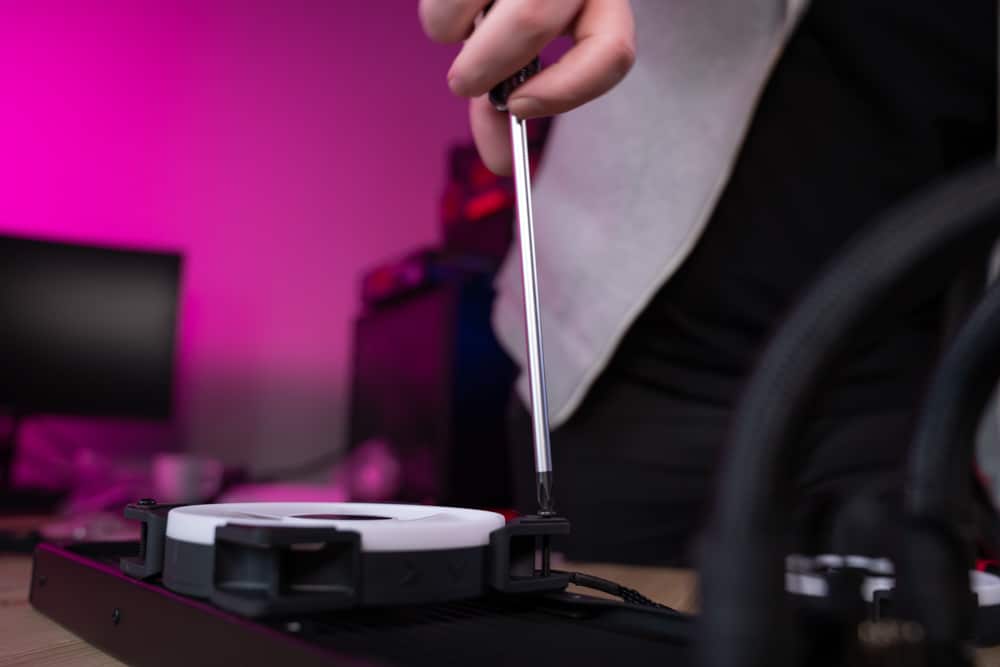
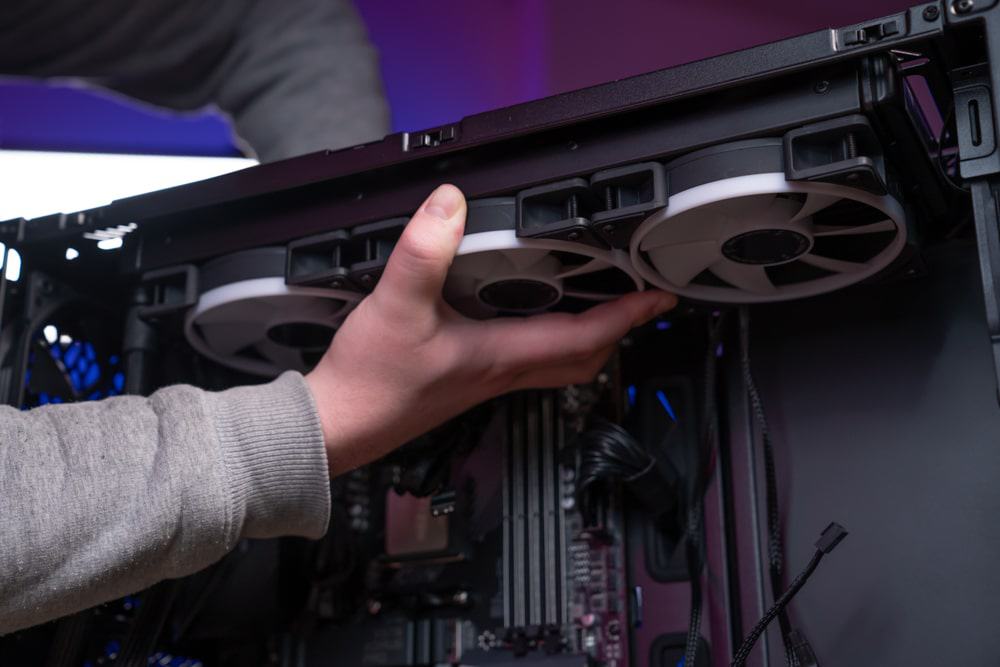
Install the fans
Next up, we are going to install the fans on the radiator. You will have long screws in your AIO kit and should be labeled as fan screws but you can spot them as they are the only ones that will reach the radiator through the fan.
The reason we install the fans first is that it is far easier at this stage compared to trying to screw in fans to an installed radiator!
Step
Orient fans correctly
Make sure you orient your fans so they are pushing air through the radiator (there is a small arrow on fans to show you the direction of airflow).
Make sure to orient your fans so your cables are towards the back of the radiator (side nearest your case’s back panel) for a cleaner looking installation.
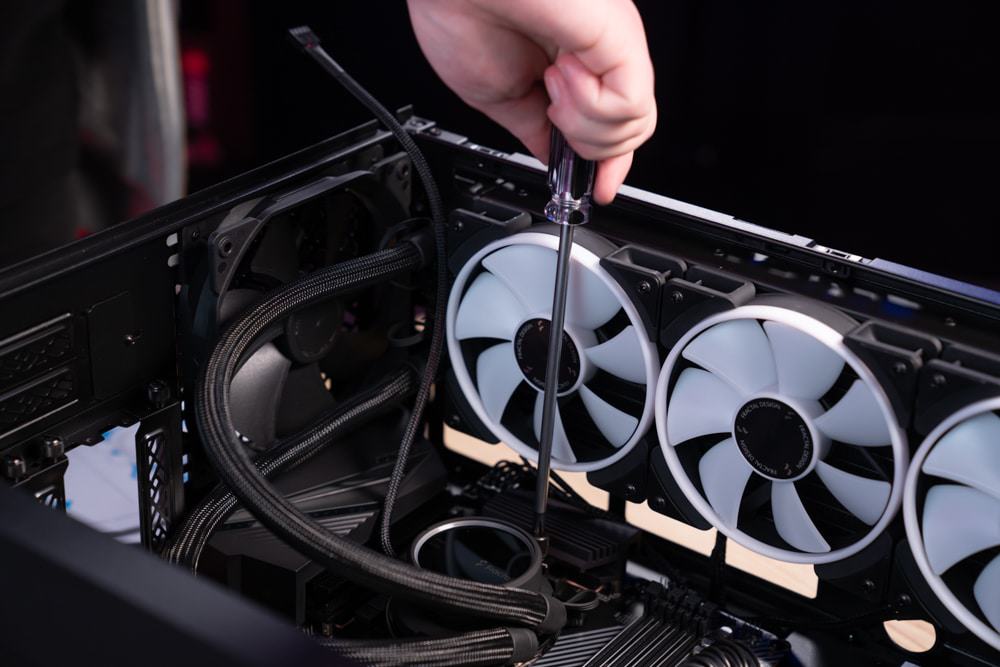
Step
Secure the fans
Screw into place using a criss-cross pattern (your first two screws should be diagonally opposite).
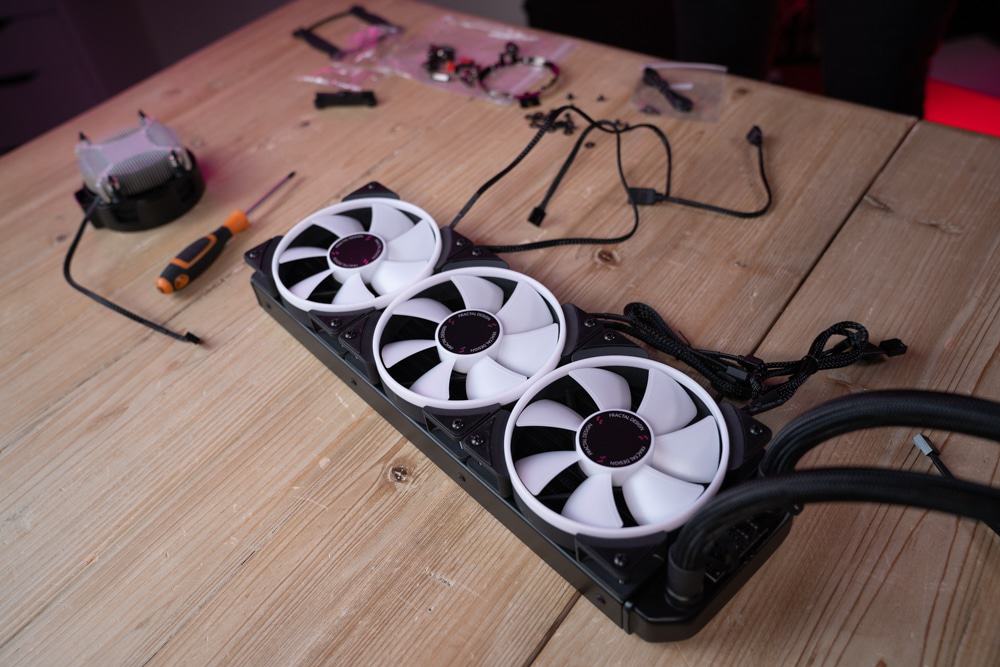
Install the radiator
Many find installing the radiator one of the trickier parts of the installation. You will have already chosen your desired spot for the rad, so now just make sure if you are installing this on the top or at the front you have removed any additional panels/ brackets from your case.
Step
Line up & sort cables
Feed the fan cables through the nearest cutouts at the back of the case while you align and hold your radiator in place, making sure the screw holes line up with the rivets/ cutouts on the case.
Before you begin, place the washers onto the screws ready for radiator installation.

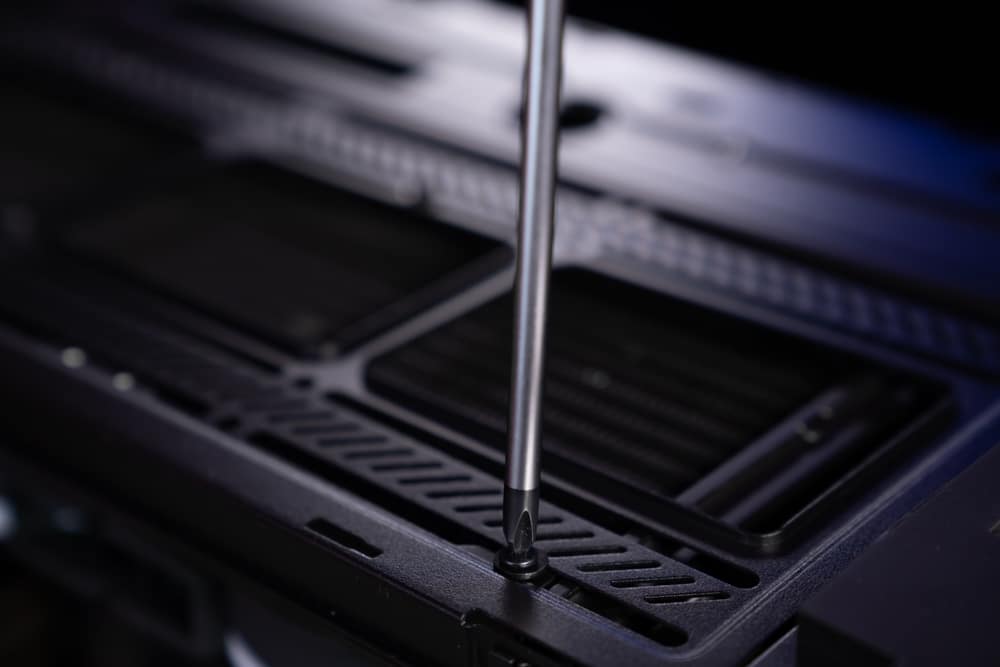
Step
Secure the radiator
Screw the radiator into place at either end or the middle, once one or two screws are in place and it can take the weight of the cooler, you can take your hands away.
Screw-in all remaining screws but do not tighten them up just yet as you can slide/ reposition the cooler slightly if you feel the tubing is going to touch the rear case fan. Once you have the cooler in the perfect spot, tighten up the screws.
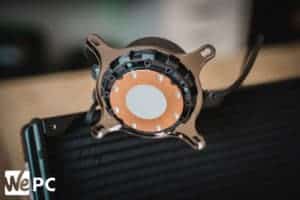
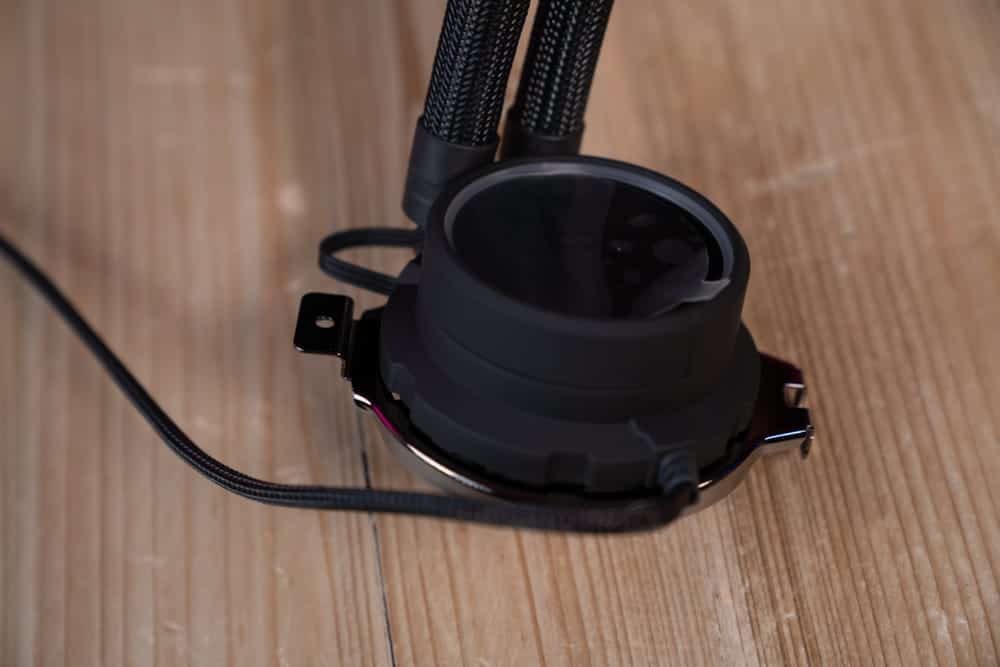
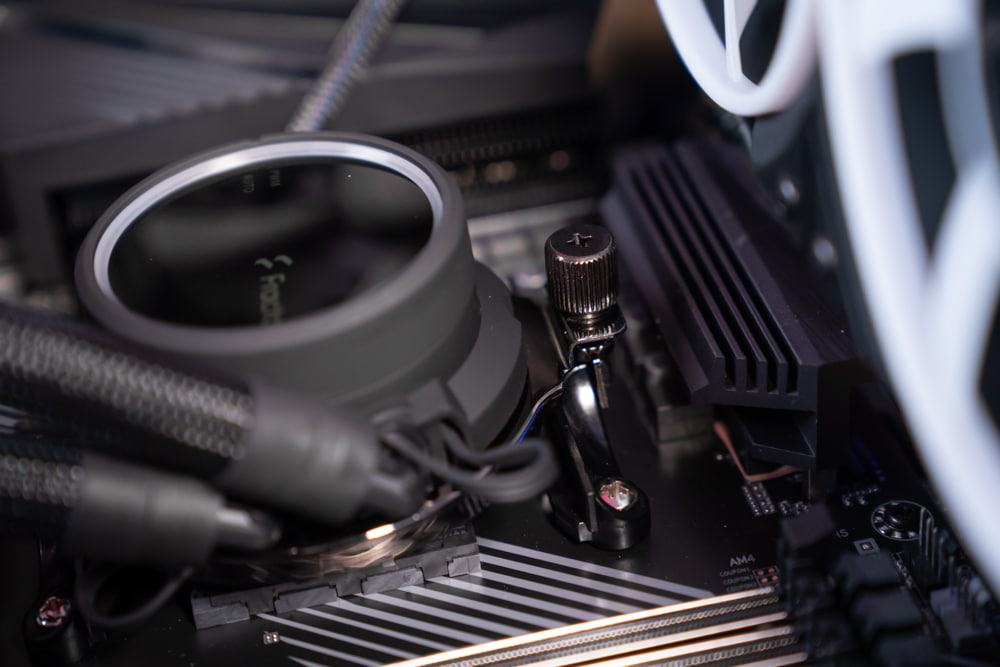
Install the pump
When it comes to installing the pump, the first thing we need to do with some coolers is install the correct retention bracket to go around the pump. Consult your manual as these can go on/come off in a variety of ways but most modern cooler pump brackets usually just slide off.

Steps for Intel
Step
Intel – Line up the pump
Line up the pump bracket holes over the support screws and slot into place, making sure the pump is central and the logo is oriented the right way up.
Intel pumps tend to sit directly over the top of the CPU socket and are screwed into place, whereas AMD can sometimes come with clips that need to be eased into position before being tightened.
Step
Secure the pump
Attach the thumbscrews and tighten by hand. Gradually tighten in a criss-cross pattern and you can finish this with a screwdriver.
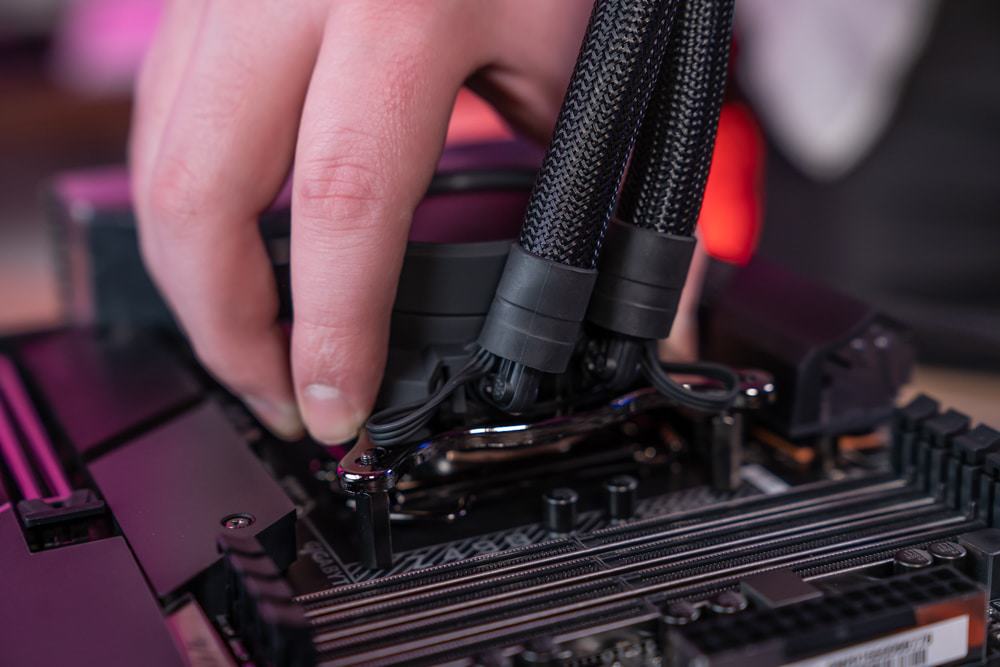
Screw gradually into place in a criss-cross pattern to make this part of the installation easier.
Steps for AMD
Step
AMD – attach clips
Loosely attach the clips using the thumbscrews to the pumps bracket on either side (we can tighten these up once in place).

Step
Line up the pump
Line up the pump over the CPU and place it on top, making sure your clips latch into place with the motherboard brackets.

Step
Secure the pump
Once your clips grasp the bracket, gradually tighten the thumbscrews to secure the pump.
Screw gradually into place in a criss-cross pattern to make this part of the installation easier.
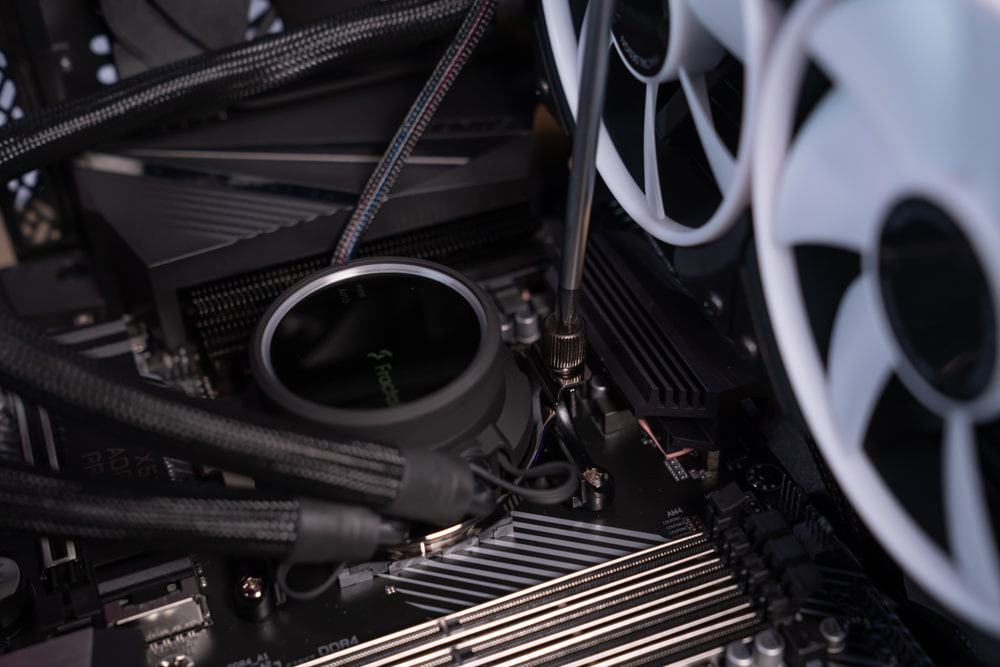
Next steps for both Intel & AMD
Step
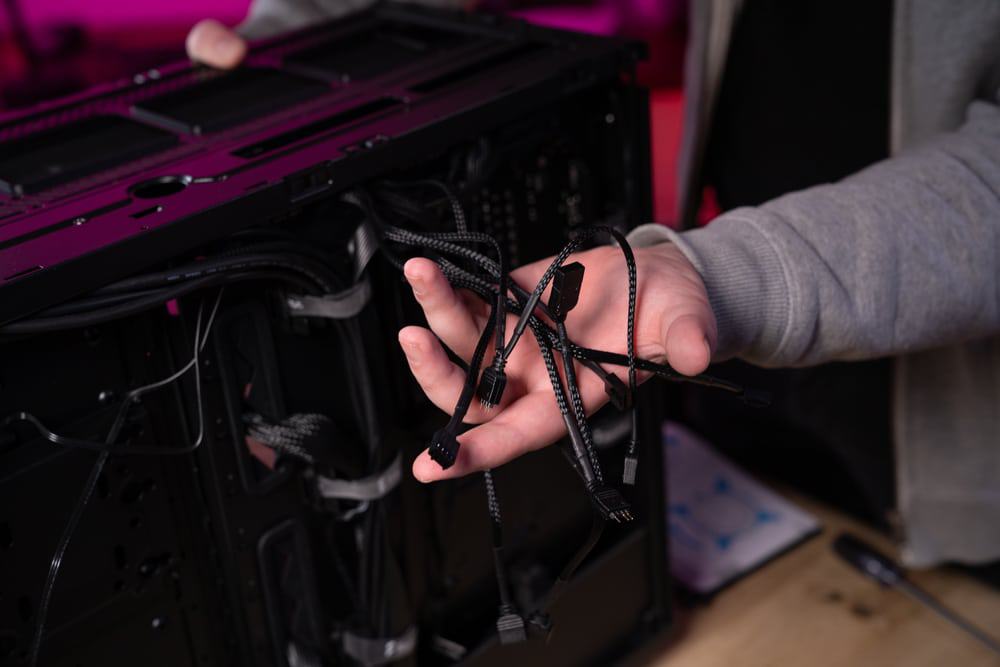
AMD / Intel – Sorting the cables
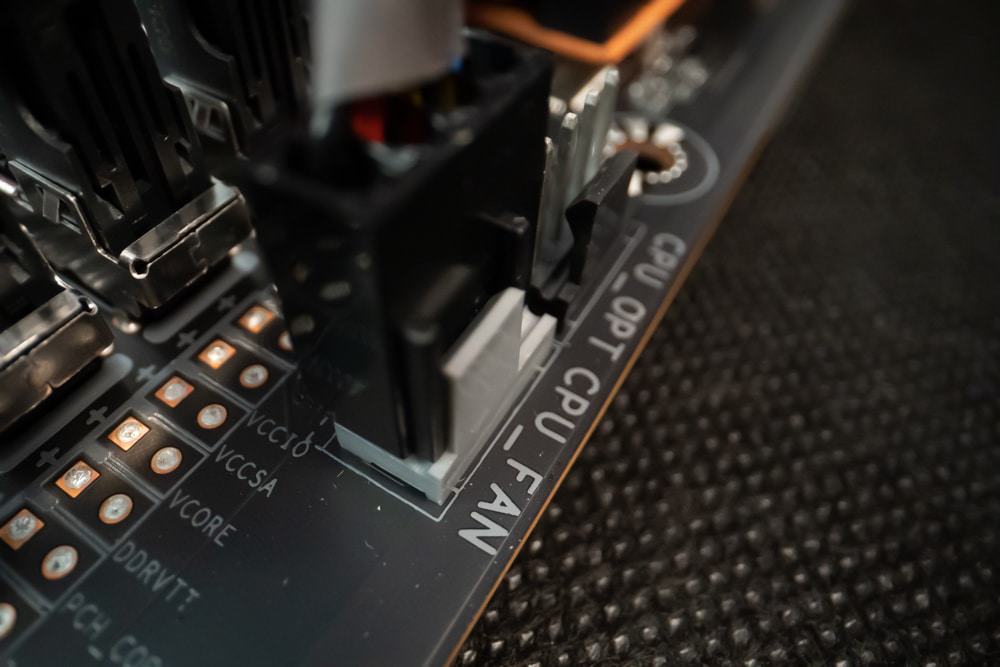
Now plug the CPU fan cable into the CPU Fan header. If you’re unsure about this step, please consult your manual. For the additional cables like SATA power, micro-USB, or fan headers, it is usually best to feed these out the back of the case for cable management.
Step
Connect cables
Connect fan cables to relevant fan headers, daisy-chain your RGB connectors, and SATA power to your PSU if required.

Step
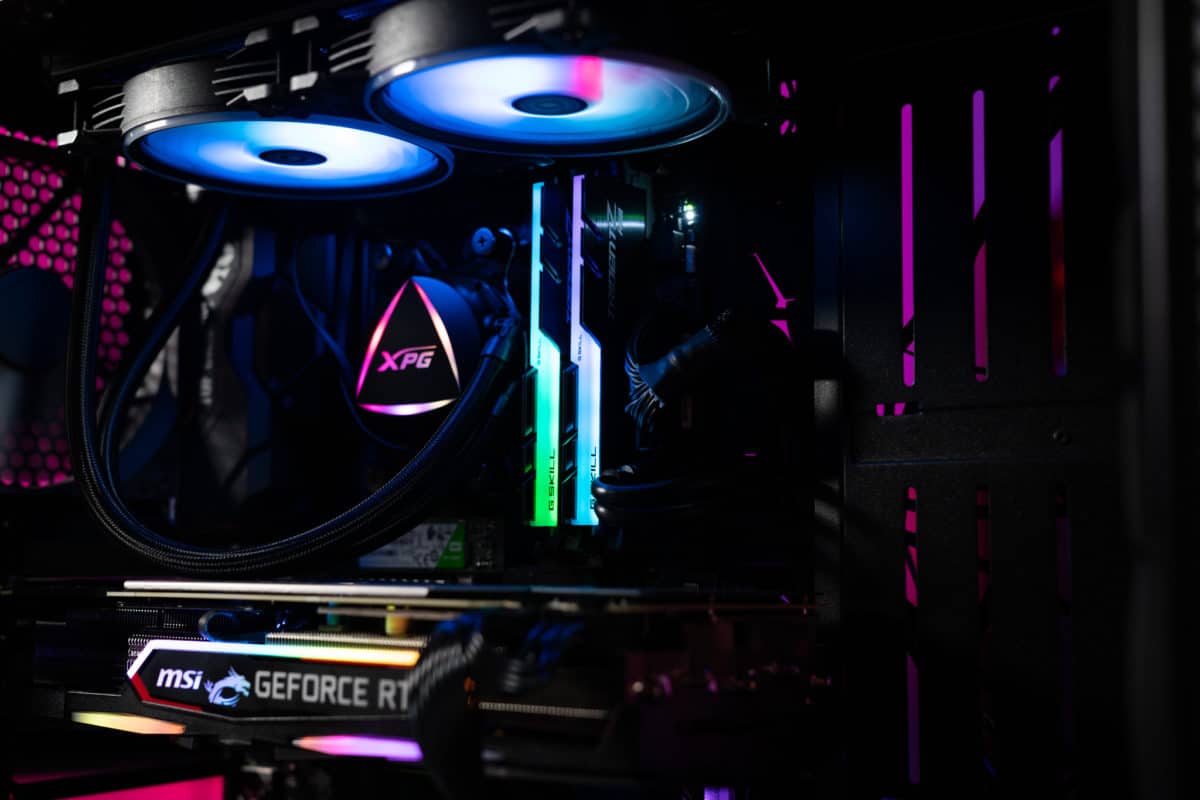
Start up
It is now time to power up the system and check your cabling is correct. If the RGB lighting illuminates then it’s usually a good sign, however, if you have zero lighting just check and see if your fans start spinning or listen out for the slight hum your pump will make.
Once booted, it is always worthwhile downloading the software that supports your particular AIO. With either the manufacturer’s software or a third-party application, check your system’s temperatures just to double-check nothing is overheating and everything is performing as it should.
Final word
So there we have it, our guide on how to install liquid cooling into your PC. Now your new AIO CPU cooler is installed you can sit back and reap the rewards of a chilled CPU. Sure the temps may not drop much further than the best air coolers but they bring a certain aesthetic to your build that no air cooler can.
How did your installation go? For any further help, please comment below or head over to the WePC community.