How to get a Windows 11 bootable USB
Get started with Windows 11
Share this article...

WePC is reader-supported. When you buy through links on our site, we may earn an affiliate commission. Prices subject to change. Learn more
Today we’re going to show you how to get a Windows 11 bootable USB. Now that Windows 11 has been available for some time now, more and more people are looking to upgrade to the latest edition of Windows. It may be worth trying out a bootable USB approach if you want to test out Microsoft’s newest version of the popular operating system.
READ NOW: Find out where to get Windows 11 at the lowest prices
Of course there are a few different methods for acquiring Windows 11, but this guide is going to teach you how to get set up on a Windows 11 bootable USB. So, for a quick way of getting the OS up and running on your PC, the tried-and-tested bootable USB will suit you nicely. In order to get started, you’ll first need to head over to Microsoft’s official website – then head down to our how to.
Getting a Windows 11 bootable USB
Over on Microsoft’s website, you’ll be able to find a page with various links to different methods of installing Windows 11. You are then presented with three options, to download the Installation Assistant, which installs Windows 11 over Windows 10, which we definitely don’t want, to get a mountable ISO for people running Virtual Machines or if they somehow still have an optical drive. Lastly, the one we’ve been after – Windows 11 Installation Media, which will allow you to create a Windows 11 Bootable USB, and also make an ISO if you are super weird and are a huge fan of dual-layer DVD’s for whatever reason. Either way, we’ve got it!
Make sure you have a USB stick that is at least 8GB in size, and that you have a stable internet connection in order to download Windows 11 correctly. Of course, ensure your system is also compatible with Windows 11, you don’t want to have any mishaps along the way and have to bypass TPM 2.0 with a slightly messy installation.
Once you’ve selected Windows 11 Installation Media, here’s how to get a Windows 11 bootable USB, step-by-step.
Step
Open Windows 11 Media Creation Tool
Firstly you will be presented with the Windows 11 Installation Media splash page, after a moment saying ‘getting ready’ you’ll be asked to accept the Terms & Conditions. Click ‘Accept’ and move on.

Step
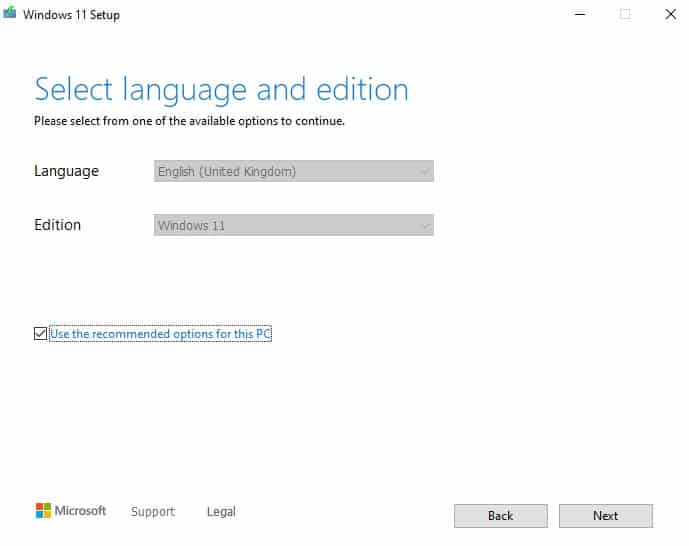
Select Language and Edition
Next, you will be asked to prepare and set up the installation language, which you can do easily via the drop-down menu. By default it will select the information on the basis of what you already have installed.
Step
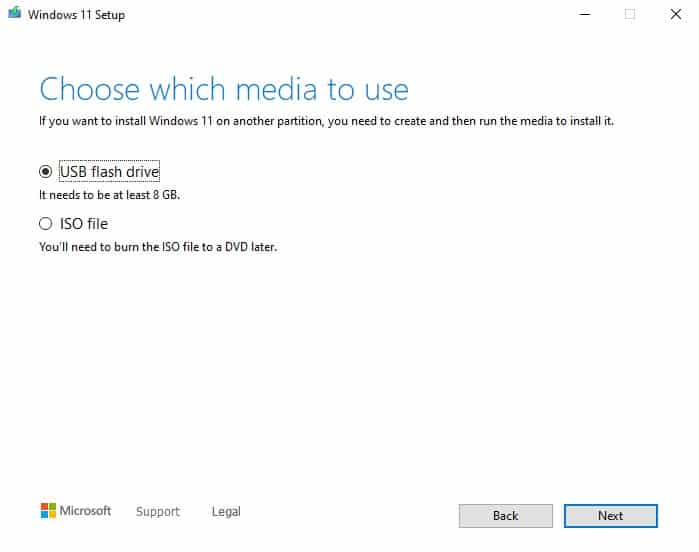
Select which media to use
Now, you will be able to select the media you wish to install, select USB flash drive and move on.
Step
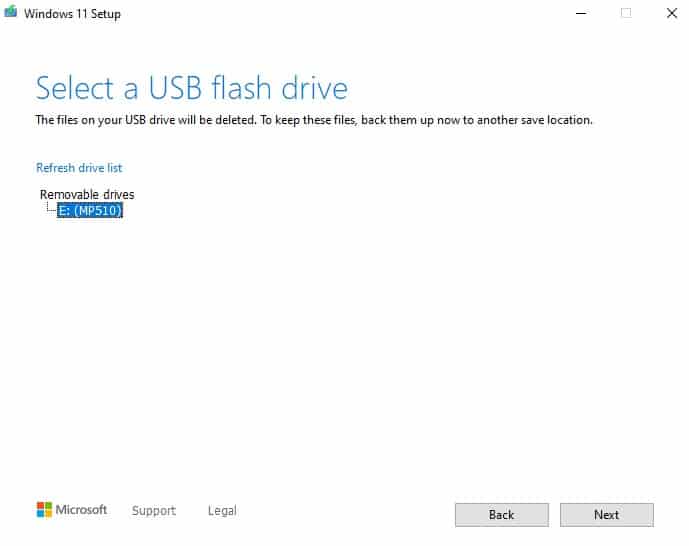
Select a USB flash drive
With an appropriate USB flash drive, you will be able to select a drive from your drive list. Be sure to plug a stick of at least 8GB in, and refresh the drive list if it did not appear.
Step
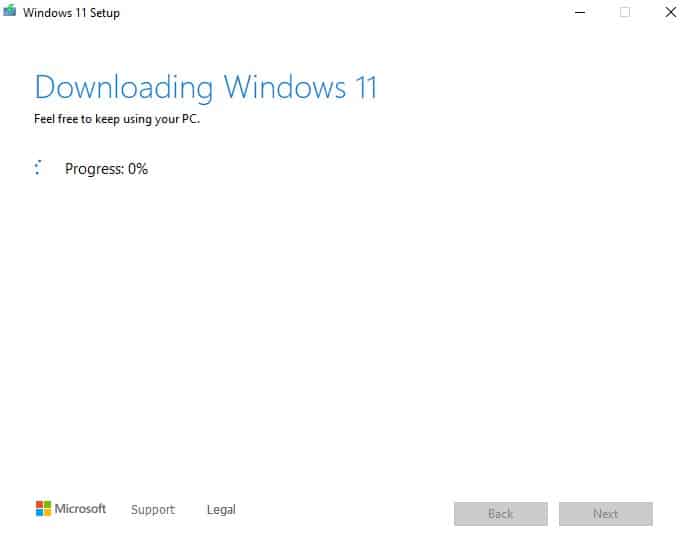
Download Windows 11
Now, with the drive selected you will begin to download Windows 11 to your USB drive. Once this process has finished, you will be able to use this USB drive install and boot Windows 11.
Final word
You will now have a fully functional Windows 11 Bootable USB. It’s a fairly straightforward procedure.