
Corsair AIO upgrade kit & How to install
Wanting to pack a little more LCD into your PC? This Corsair AIO upgrade kit could be what you’re looking for.
Share this article...
WePC is reader-supported. When you buy through links on our site, we may earn an affiliate commission. Prices subject to change. Learn more
Corsair makes plenty of remarkable components, from AIOs to RAM, you can be sure you’re purchasing the best of the best. However, sometimes something’s missing, and you just need that extra cherry on top to make it perfect. Well, that’s where the AIO upgrade kit comes in.
Corsair has recently designed an LCD Capellix AIO CPU cooler, and we reviewed it near launch a few months ago. This AIO cooler can understandably set you back a pretty penny, as it’s literally a 480P LCD screen packed onto one of Corsair’s coolers, which we’ve all come to love over the years. That’s not all, however, as the new LCD cooler does come with revised Corsair ML120 ELITE RGB fans.
Luckily, Corsair has made an LCD upgrade kit available to purchase, that turns your normal AIO cooler into an LCD toting beauty.

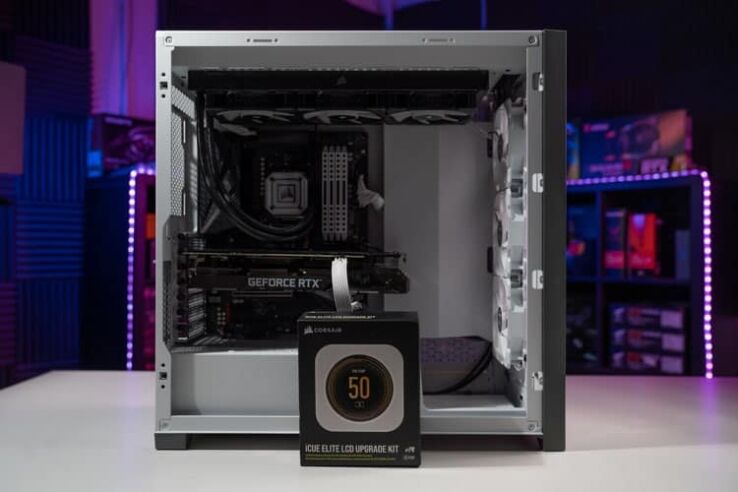
What’s in the box?
The box contains only a few items, but they’re all the bits you’ll need to successfully perform the LCD upgrade on your Capillex Elite CPU cooler.
- Elite LCD Module
- 4x Magnetic Mounting Screws
- USB Y-Splitter
- Warranty/Safety Leaflet
LCD screen specs
The LCD screen is a custom square 2.1” IPS LCD display, with a resolution of 480×480 pixels. This ultra-bright 600cd/m2 backlit screen features 24BIT full color at 30FPS. This little screen packs a punch.
What does the LCD screen do?
The LCD screen serves a few functions, one of which is displaying system information like CPU temperature, CPU load, and RAM temperature. All this data is accompanied by a plethora of pre-configured animations made by Corsair, you can download more through Corsair’s ICUE software.
It’s not just useful information you can display front and center in your fancy PC build. We decided we wanted an image of a Capybara, so that’s what we did. You are able to download and display any image or GIF you desire on this LCD screen.

Compatibility
Please note: The ELITE LCD Upgrade Kit is only compatible with ELITE CAPELLIX liquid coolers:
- H100i: CW-9060046-WW, CW-9060050-WW
- H115i: CW-9060047-WW
- H150i CW-9060048-WW, CW-9060051-WW
- H170i: CW-9060055-WW
How to install the LCD upgrade kit
Now that we have all the compatibility information out of the way, we’re going to outline how to install the LCD upgrade kit onto your existing Corsair AIO.
Uninstall the old face plate
Before you begin installation, you must uninstall the old face plate on your cooler.
Step
Unscrew the four screws holding on the diffusion plate
First, you need to uninstall the old plates that sit on top of your pump. To do this, using the included Alan key, simply unscrew the four black screws holding on the face plate. You will notice these screws are quite long, and that’s because they’re also securing the diffusion plate.

Step
Remove the Face plate and diffuser plate
You’re going to need to remove this diffusion plate too and strip the pump to its bare enclose. Make sure you unplug the diffusion plate from your Commander Core before removing it. It should simply lift off once all four screws are removed as per the previous step.

Installing LCD upgrade kit
With the uninstallation out of the way, it’s time to install the new LCD screen.
Step
Install the four included supporting screws
Before we install the LCD screen to the pump enclosure, we need to screw the four included mounting screws into the holes we removed the black screws from in the previous step. This provides four stable anchor points for the LCD screen to sit on.

Step
Align and install the LCD screen
Now that’s out of the way, we need to install the LCD screen onto the pump enclosure so that the male and female power connectors on both the pump enclosure and the LCD screen align. Once you think they both align, press down gently on the corners of the LCD screen. Now you need to make sure that you connect all of the connectors to the correct components.

Wiring the LCD screen
The first step is to route the cables whichever way you like around to the back of the motherboard, all bar the fan connector.
Step
Connect the larger cable to the Commander Core
Connect the larger, longer connector to the Commander Core that came with your old AIO cooler. Do this by aligning the grey strips on both the connector and the Commander Core.

Step
Connect the USB header to the motherboard
The USB header has to be connected to an internal USB header on the motherboard, so pull that cable through the back of the case and loop it behind the motherboard to the USB header to keep things tidy.

Step
Connect the fan wire to CPU-Fan
Finally, connect the fan header to the CPU-Fan header on the motherboard. Or CPU-OPT if you have one, and the CPU fan is already occupied.

ICUE Commander Core firmware update
You may have noticed that when you boot with your new LCD screen for the first time, your AIO displays a warning sign and flashes a deep red. Don’t worry, nothing is broken. Your Commander Core just needs a firmware update.

Your ICUE software will prompt this update the first time you run ICUE with the LCD upgrade installed.
The final result should be a beautiful full-color LCD screen that displays just about anything you want it to.

Final word
Corsair makes some fantastic AIO coolers, and the New LCD Elite cooler is definitely one of them. There’s a price to pay for such quality, however. If you’d prefer a more budget option but want to experience the features of the LCD cooler, then this upgrade kit might be the best choice for you.


