
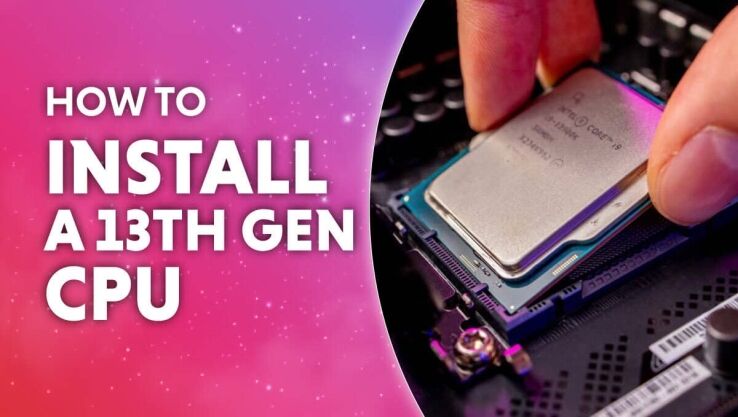
How to install Intel 13th generation CPU?
It's much easier than you probably think it is, you can do it!
Share this article...
WePC is reader-supported. When you buy through links on our site, we may earn an affiliate commission. Prices subject to change. Learn more
It’s safe to say that Intel’s 13th Gen CPUs are a major success. We’re sure you’ve seen benchmarks and testing from various sources at this point. If not, it’s worth looking at it as the 13th Gen CPUs show quite the jump in performance, especially if you haven’t upgraded in a while. Here is our how to install Intel 13th generation CPU article.
Raptor Lake is a hot topic of discussion among the PC Hardware community. Of course, people are curious and have a multitude of questions. If you’re someone who just bought into Raptor Lake at launch, you might be wondering how to install your Intel 13th Gen CPU. Same goes for the Raptor Lake refresh for the Intel 14th Gen once the release date comes around.
If you have not upgraded your CPU in a while, that’s a valid question to ask. Especially considering that this is a new architecture, and is using a relatively newer socket. So, let’s help you install that brand new 13th Gen processor.
What’s New With Intel 13th Gen?
Intel’s 13th Gen processors build upon the same architecture and technology as the 12th Gen Alder Lake CPUs. While Intel is still using the same 10nm ESF process for the new generation, the performance gains are substantial.
This is because of higher core counts, more threads, faster clock speeds, increased L3 cache, and more. All of this results in a significant performance upgrade.
Here’s a look at the current launch lineup.
- Intel Core i9 13900K/KF – 24 cores (8 P-cores+16 E-cores), Up to 5.8GHz Turbo, 36MB L3 Cache, DDR5 Support, and Intel UHD 770 Graphics.
- Intel Core i9 13700K/KF – 16 cores (8 P-cores+8 E-cores), Up to 5.4GHz Turbo, 30MB L3 Cache, DDR5 Support, and Intel UHD 770 Graphics.
- Intel Core i9 13600K/KF – 14 cores (6 P-cores+8 E-cores), Up to 5.1GHz Turbo, 24MB L3 Cache, DDR5 Support, and Intel UHD 770 Graphics.
Note: The “KF” versions of all of these processors lack integrated graphics and are slightly cheaper. Apart from that, specs and performance remain the same.
How To Install Intel 13th Gen CPU
Now let’s figure out how to install an Intel 13th Gen CPU. If you’re upgrading to Raptor Lake, it’s likely been a while since you last touched your processor or took it out of the motherboard.
Intel’s 13th Gen CPUs use the relatively new LGA1700 socket, which debuted with 12th Gen Alder Lake processors. Intel has added more pins to the socket, and the size/shape of the socket is different as well. The opening mechanism is slightly different as well, compared to generations before Alder Lake.
However, the basic process itself is the same. Follow these steps in order.
How to install an Intel 13th generation CPU
This is how to install an Intel 13th generation CPU into a 600 or 700 series Intel motherboard

Step
Lift the CPU socket retention arm
Before installing the CPU we need to access the socket by pushing down the socket retention arm, pushing it out and to the right slightly to unhook it, and allowing it to rise. 
Step
Lift the CPU socket cover and holding plate
Now that the socket arm has been raised, you may lift up the socket cover and holding plate. The socket cover will open the opposite way the arm raised. 
You do not have to remove the socket cover, it will pop off on it’s own later when we install the holding plate onto the CPU.
Step
Place the CPU into the socket
Now it is time to place the CPU into the socket. Be careful lowering the CPU into the socket and be careful not to drop it. You don’t want to damage the pins in the socket.
The CPU will only go in one way, on the top and bottom of the CPU face you will see two offset notches, line them up with the notches in the socket and place carefully. You do not need to press the CPU into the socket.

Step
Lower the holding plate onto the CPU
All you need to do now is lower the holding plate onto the CPU, press down slightly and the bulging IHS of the CPU will pop off the socket protector, remove and make sure the holding plate lays flat on top of the CPU.

Don’t discard the Socket protector, place it into your motherboard box and save it. If something goes wrong with your motherboard, a lot of motherboard manufacturers will not accept an RMA without the socket cover installed.
Step
Lower the CPU retention arm
Lower the CPU retention arm, ensuring the clasp overlaps the tab on the holding plate. Push down and reverse the steps you took to lift the arm. Once the arm is down and hooked the CPU is installed.

You will feel a lot of resistance when pushing the arm down, don’t worry this is normal. You’re not breaking anything.
Step
Admire your new, freshly installed CPU
Not a necessary step, but one that feels good, you may now install your CPU cooler onto your CPU.

Congratulations, you know now how to install an Intel 13th Gen CPU. Remember to store the CPU cover somewhere safe in case you ever need to claim your motherboard’s warranty. Now, go and enjoy your new build!
How easy is installing a CPU?
Installing a CPU can be fairly easy or more complex, depending on your level of experience and the specific hardware you are working with.
For most modern desktop PCs, installing a CPU involves the following steps:
- Ensure that you have the correct CPU for your motherboard socket type and that it is compatible with your other components.
- Power off your computer and unplug it from the wall.
- Open the computer case and locate the CPU socket on your motherboard.
- Remove the protective cover from the socket.
- Carefully align the notches or arrows on the CPU with the corresponding notches or arrows on the socket.
- Gently place the CPU into the socket, being careful not to bend any of the pins.
- Once the CPU is in place, gently lower the retention arm to secure it in place.
- Apply thermal paste to the top of the CPU (if required).
- Install the CPU cooler on top of the CPU, ensuring that it is securely fastened in place.
- Close the computer case and plug the computer back in.
- Power on your computer and verify that the CPU is functioning properly.
If you have experience working with computer hardware, installing a CPU can be a straightforward process. However, if you are new to building computers or are not comfortable working with delicate components, it may be best to seek assistance or guidance from a more experienced individual.


