How To Clip On Twitch
Creating short highlights using Twitch's clip feature couldn't be easier - here's exactly how to do it!
Share this article...
WePC is reader-supported. When you buy through links on our site, we may earn an affiliate commission. Prices subject to change. Learn more
The term ‘clipping’ (in reference to Twitch) can be a little confusing if you’re new to the platform. Many streamers have called out after a “sick bit of gameplay” or a hilarious blooper asking “can someone clip that” – leaving many people confused about what they’re talking about. In reality, all they’re asking for is someone to make a short clip of a particular section of their stream – allowing you (or the streamer) to use it as a mini video highlight.
Whilst this might sound like a technical process, it’s actually very simple. In the following guide, we’ll be walking you through exactly how to clip on Twitch – concluding with some frequently asked questions we receive around this topic.
So, with plenty to get through, let’s waste no further time and dive straight into it!
How to clip on Twitch
Whilst there are a number of different ways to clip on Twitch, our method will involve being logged onto Twitch inside a browser (Chrome, Firefox, Internet Explorer). Whilst the clipping feature was originally limited to partnered channels, that has since changed – allowing all channels to utilize this cool little feature.
Let’s begin with the method:
Step
Load Twitch and watch a streamer
Start by loading Twitch inside your default browser. When logged in, simply load up your favourite streamer and allow a few minutes to pass.
You need to allow some time to pass as you can’t clip what you haven’t physically seen.
Step
Hover over the video, then click the ‘Clip’ icon
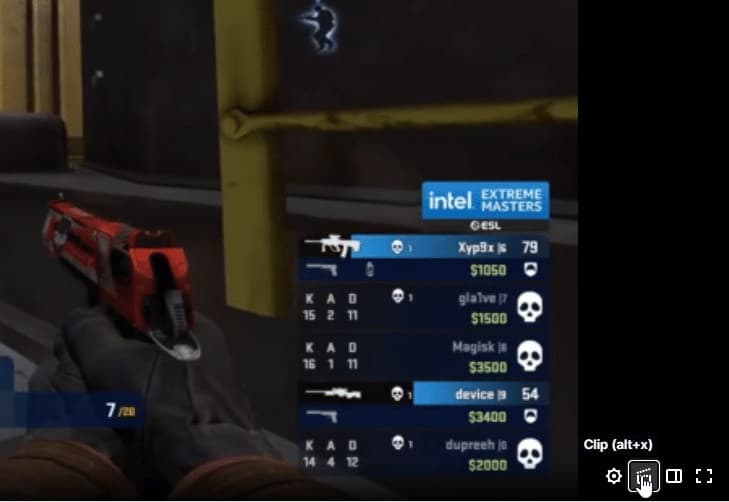
Once you’ve been watching the stream for a few minutes, simply hover over the video and click on the ‘clip’ icon. This is found at the bottom right-hand corner of the video and will look like a movie clapperboard.
Alternatively, you can press ALT + X, which will also open the clipping feature.
Step
Create your clip
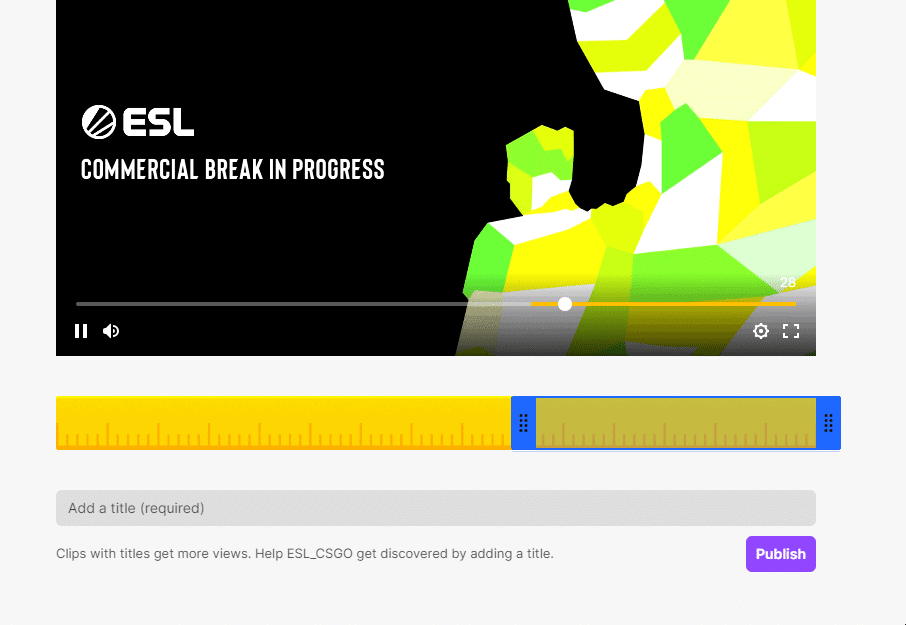
Inside the clipping feature, it will automatically clip the last 60 seconds of the stream you’re watching. At this stage, you can move and crop the clip to the particular section you’d like to highlight.
At this stage, Twitch allows you to add a title to the clip – a requirement for actually publishing this clip.
Step
Publish your clip
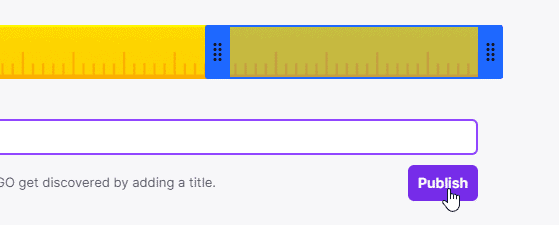
All that’s left to do is publish your clip. Do this by clicking on the publish tab found next to the title box.
At this point, you’ll be able to download the clip by pressing the Export or Download button on the screen.
And that’s all there really is to it. You have successfully created a ‘Clip’ or highlight of some cool action from one of your favourite streams. You can now share this clip with your friends, showing them what they missed out on!
How to clip on a phone or tablet
Mobiles have become a huge part of social media over the past 10 years, with many opting to do all their Twitch viewing from a phone or tablet. Fortunately, you can still create cool clips using both devices, with just as much simplicity as the browser method.
The method for clipping on your phone is almost identical to the browser method – simply follow the steps above for the same outcome. You may have to tap the screen whilst you’re watching your favourite streamer to bring up the menu. However, once you have the menu open, the method is almost identical.
One of the main reasons why you make clips is to share them with your friends. However, to do that you must learn how to share a clip on Twitch. Luckily, the process is extremely simple.
Once you’ve created a new clip, Twitch will actually take you to a preview page to make sure the clip is correct. On that particular screen, users will have the option to download, upload to social media, and share the clip link with friends. It’s that easy.
READ NOW: Learn how to change your name on Twitch here
How to delete clips on Twitch

When clips become outdated or unrelated to your content, you can always delete the clips you make. The process is fairly simple and requires only a few easy steps.
You must navigate to the Creator dashboard > Content > Clips. Inside here you will be able to select which clips you’d like to delete. Simply select them and press the delete button. You will be asked to confirm the action, after which your clip will be deleted.
Final word
So there you have it, our quick guide on how to clip on Twitch. The process is extremely simple and allows you to capture cool clips that would otherwise be lost. If you have any questions regarding the process, feel free to stop us a comment in the section below. Better still, you can head over to our Community Hub where you can discuss everything Twitch related with like-minded individuals.