
Windows 11: how to access VLSC
How to access the Volume Licensing Service Centre (VLSC)
Share this article...
WePC is reader-supported. When you buy through links on our site, we may earn an affiliate commission. Prices subject to change. Learn more
The below steps will talk you through how to register for VLSC and how to access the Volume Licensing Service Center.
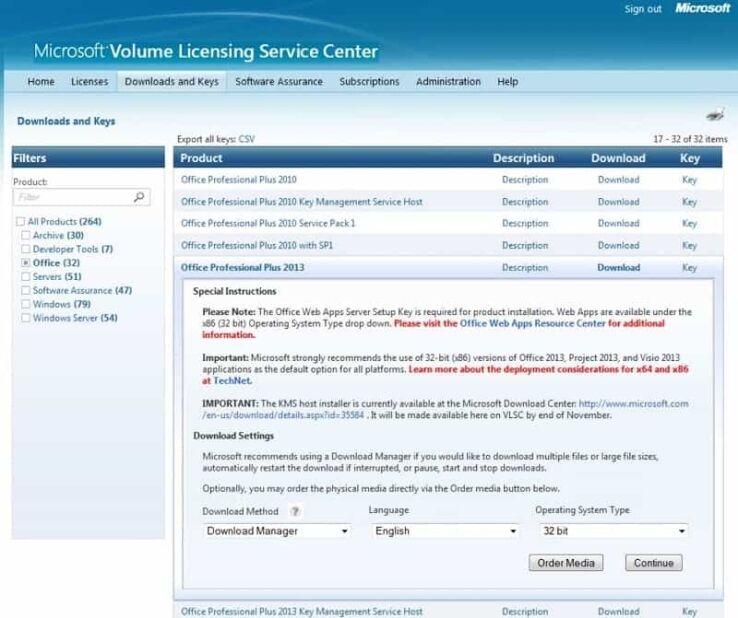
VLSC lets you access a range of Microsoft (and affiliate) products, keeping their keys and downloads all in one place. It is used by businesses to grant selective access to their employees of the various software they will need, without having to individually buy a copy of every piece of software for each employee. Each employee’s access is linked to their specific business email / Microsoft account, which they must link to the volume licensing manager’s account, which acts as a master account of all the licenses.
Many people have issues getting VLSC to work properly, and if you’re newly setting up this system in your business you might want to consider alternative options, some of which we have listed at the foot of this page.
How to access VLSC in Windows 11
The process of accessing VLSC in Windows 11 is much the same as it is in Windows 10, simply follow the steps listed below.
If you have any issues with the process (as we did) you may want to consider the list of alternatives we have listed further down this page.
Step
Register a business email with the Microsoft Volume Licensing Service Center
Navigate to the Service Center page in your web browser.
It will ask you to use a work account to sign in.
Note: it is strongly advised that you make sure you are using the correct work email the first time around, ideally one that is affiliated with an Open License, as it will be difficult for you to restart the process with a different email once you go past this page (as we found).

Step
Open and activate the confirmation email
Check the inbox of the email account you are registering and click on the activation link to confirm your ownership.

Step
The business email is not affiliated with an open license error
This is the point where many users (including us) may come unstuck. Frankly, the entire system Microsoft has in place here can be somewhat of a nightmare to navigate – with broken links and circular advice.
If you get the above error message, the Microsoft website advises that: “If you have registered and received a message that no permissions are associated with your account, please try logging in again after a 48 hour period. If you continue to experience this issue, please go to Help on VLSC and click Contact Us to access contact details for your local regional service center.”

Step
Finalizing your setup
If you do not get the above error message, then simply follow the remaining steps of the wizard to sign in to your Microsoft volume licensing manager’s account, via the account you have just registered.
Note: The final validation email can take up to 48 hours to arrive.

Frankly, VLSC is far from the best solution out there to the issue of software key management in your business. We have listed some alternative software below that offer superior customer support and functionality that may be of interest:
Final word
We hope the above steps have helped somewhat in helping you access VLSC on Windows 11.
If you have any additional queries pertaining to Windows 11, do check out our Windows 11 hub page and the associated guides linked from there.


