
How to split screen on iPad: iPad Split View & Slide Over
We show you how to do split screen on iPad devices in 2024
Share this article...
WePC is reader-supported. When you buy through links on our site, we may earn an affiliate commission. Prices subject to change. Learn more
If you’re trying to figure out how to split screen on iPad in 2024, then you’ve arrived in the right place. Both the iPad Split View and Slide Over features mean that you have full control when it comes to arranging what and how apps are being displayed on your iPad screen.
Making full use of the iPad’s split screen capabilities helps you maximize your working and browsing efficiency on your Apple tablet device. There are two main ways you can do this: either using iPad Split View or iPad Slide Over. In the below steps we’ll teach you how to do both methods, plus how to adjust and modify and adjust the windows as you see fit.
READ NOW: Check out the best tablet for photo editing
How to split screen on iPad with Split View
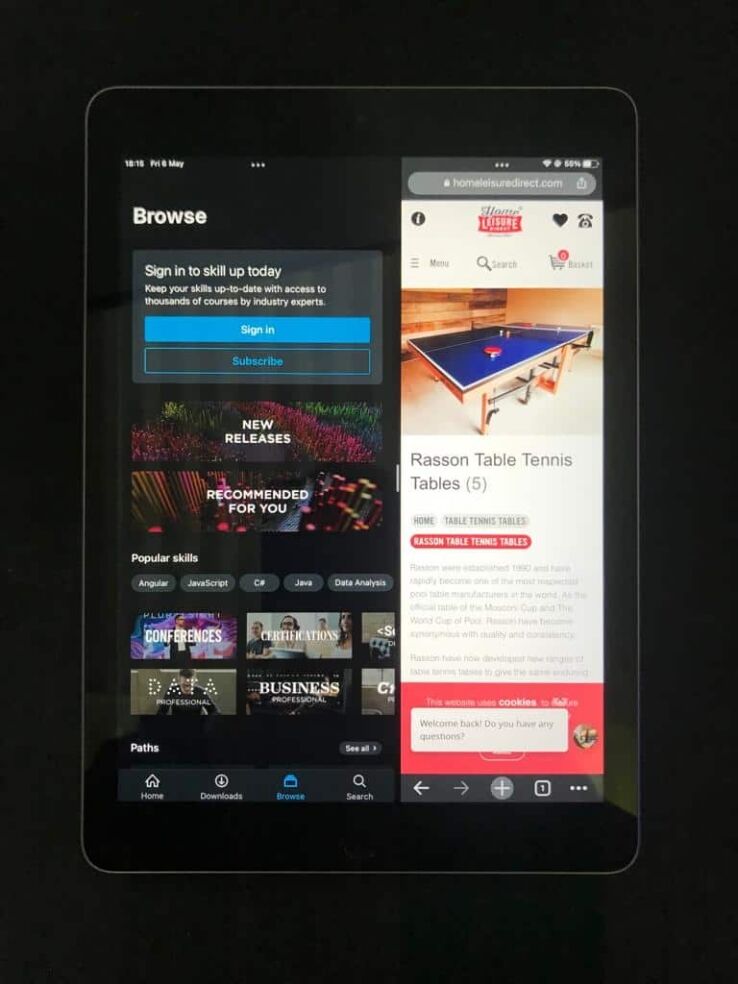
Split view is the more conventional method of splitting the screen on an iPad. It divides your screen vertically into two sections, each one showing a different app window. This means you can view two apps on your screen at the same time.
The most straightforward way to use Split View on iPad is by using the Multitasking button which is represented by three horizontal dots on the top of your iPad’s screen.
Step
Tap the Multitasking icon
When you have a single app window open, tap the Multitasking button as represented by the three horizontal dots on the top of the screen.

Step
Tap the Split View icon
In the three option menu icon that appears, tap the middle option. This is the Split View button, as represented by a frame divided down the middle.

Step
Select the second app
The app window you had open will now shift to the side, allowing you to select a second app, either from the home screen or from the dock.

Step
Split view should now be enabled
Once you select the second app, the screen should automatically divide down the middle, sharing the screen equally between both apps.

Split View iPad via the Dock
The second method to use Split View on iPad is to use the Dock at the bottom of your screen.
Step
Open the dock
When you have a single app window open, bring up the Dock menu by sliding a single finger upwards from the bottom edge of the screen, and then releasing once the Dock appears.

Step
Drag the second app from the Dock
Touch and then hold whichever app you wish to open from the dock, and drag it to either the left or right of the screen, all the way to the edge. The second app should now open and appear next to the first, on whichever side you dragged it to.

How to adjust Split View
The default split screen in Split View is exactly equal between both windows. All you have to do to adjust this and make one window bigger than the other is drag the central divider icon left or right.

How to replace an app in Split View
Step
Close the app you don’t want
Tap, hold, then drag down the app by the Multitasking button to the edge of the screen to close it.

Step
Select the new app
Once the app has moved to the side, simply select a new app from either the dock or the home page and your display will revert to Split Screen with he new app.

How to split screen on iPad with Slide Over
Slide Over is another method of splitting the screen on an iPad and helping the user to multitask. With this method the screen is not split evenly, but one application window turns into a smaller floating window that can be dragged to the left or the right in front of the second app window, which is maximized in size. This is useful if you want to have a newsfeed or something similar in the slide-over window to keep an eye on the latest developments, whilst simultaneously go whilst you work on whatever is on your main window.
Method
Tap the Multitasking button once again (as represented by the three horizontal dots on the top of the screen), but this time then click the Slide Over button on the right of the three options presented.

Method
Slide Over iPad via the Dock
Whilst an app is already open, slide up the dock from the bottom of the screen, tap and hold your finger on a second app, then drag it upwards into the middle of the screen, and then release.

How to adjust Slide Over
As before, simply drag the Slide Over window around by holding and moving the Multitasking button.
How to replace an app in Slide Over
To open a new Slide Over window, repeat the step you used to originally open one. Now you can switch between either of the opened wndows to display in Slide Over mode by swiping halfway up the screen from the bottom of the Slide Over window, pausing, then lift your finger. A selection of all the different app windows will appear – tap the one you want and it will set it as your current Slide Over window.
How to split screen on iPad : Final Word
This has been our how to split screen on iPad guide. We hope it has been illuminating and you are now fully equipped with the knowledge of how to do split screen on iPad devices, via all the different methods. Make sure you also take a gander at our various other tablet guides, from iPads to Android tablets and Windows Surface devices.


