
Can you upgrade ASUS ROG Ally storage?
Run out of space to install games? There are a couple of methods to increase the GB count of your ROG Ally
Share this article...
WePC is reader-supported. When you buy through links on our site, we may earn an affiliate commission. Prices subject to change. Learn more
If you’ve run out of space for all your game installs, don’t fret you can in fact upgrade the ASUS ROG Ally storage. By standard, the Ally comes with 512GB of storage on both of its models, and that’s clearly not enough for some modern titles that take up over 100GB each. That means an upgrade to the capacity is not a surprise and you can do so reasonably quickly to ensure you can get the most games on the go.
You can either opt for external storage expansion with a simple micro SD card or go right to the core and change out the small NVMe inside of the handheld. The Ally has a UHS-II or backward-compatible micro SD card that you can easily find similar to a phone that still has expandable storage. Or for the SSD, you can use a 2230 M.2, the smaller type and not the full 2280 mostly utilized for PCs. Both options have their benefits, it’s much easier to install an SD card, but they are much smaller in capacity so an NVMe is the future-proof option, although it is more expensive and requires a bit more skill to achieve.
How to install an SD card in the ROG Ally
For the simpler option, all you need is a compatible micro SD card. All you have to do is slot the card into the slot on the top of the Ally in the micro-SD slot next to the 3.5mm jack on the left side. Once you have that in, it should be recognized and you will be easily able to install games onto the card, similar to how it works with the Nintendo Switch.

How to upgrade the NVMe in the ROG Ally
For those looking to do the bigger upgrade, you’ll need a few things to get inside of the ROG Ally and upgrade the NVMe already installed. To prepare for that, you will need:
- 2230 NVMe M.2 SSD
- Size 0 Phillips head screwdriver
- Prying pick
- Latest BIOS
If like us you have an iFixit toolkit, you’ll have everything you need in one place, although not necessary if you have a guitar pick and screwdriver already.
Step
Update BIOS / Clone your drive
But before you start tearing the device apart, you need to make sure you have the latest BIOS installed so you can do Windows recovery. Unless you clone your SSD install beforehand with an enclosure, that will allow you to just plug and play the new SSD like it was the old one but with more space. For the update, you can find it under the MyASUS app after setup and checking for updates, once completed you can shut down and continue the process.
Step
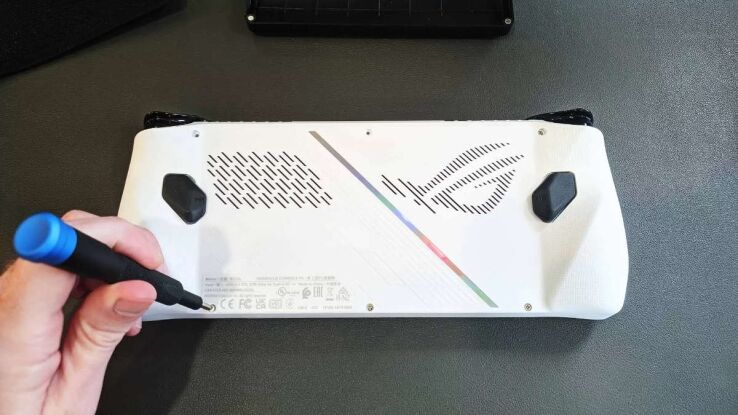
Open up ROG Ally
Once all is prepared you want to undo all the screws on the rear of the device. There are six to find, three along the top and three along the bottom and make sure to put them somewhere safe for later. Although the middle bottom one doesn’t come out and helps with the opening of the panel. This is where you might need some help from your prying tool to just undo the last couple of clips.

ROG recommends discharging your battery to below 25% and removing any micro SD card if you have any installed in the slot already before opening up.
Step
Disconnect the battery
For safety measures, you don’t want to electrocute yourself while changing out the NVMe. You’ll find the cable between the fans leading up from the foil at the bottom of the device. To unlock it, use a spudger or pry tool the undo the retaining clip and pull the battery connector up from its socket.

Step
Remove and replace NVMe
Now you can finally get to the replacement part. Under the black flap just above the battery, on the other side of the battery connector, remove the screw holding it in place. Then slide out the original one and slide in your new one, making sure to line it up the same way and screw it into place.

Step
Reassemble the ROG Ally
Now you need to put everything back together again. Make sure to plug in the battery and clip it in securely. Then clip the back on again and screw it in again.
Step
ASUS Cloud Recovery
To set up your new NVMe, you’ll want to plug it into the wall and start charging it up. Then hold the volume down and press the power button to boot into the BIOS of the ROG Ally. Press Y to exit EZ mode and go to advanced, and select ASUS Cloud Recovery. After connecting to WiFi, the device will download and set up the device as if it’s the first time but with more storage.

After that has been setup you can enjoy your upgraded storage on your Ally, and even have the option for more external storage with the addition of the Micro SD card.


