
How to use Stable Diffusion (DreamStudio)
Get to grips with Stable Diffusion
Share this article...
WePC is reader-supported. When you buy through links on our site, we may earn an affiliate commission. Prices subject to change. Learn more
With Stable Diffusion being open source, you have the freedom to train your own models using your unique dataset, ensuring that the generated images align perfectly with your creative vision.
In this article we will focus on AI image generator, DreamStudio. This is the user-friendly web app by Stability AI, which provides you with a seamless and enjoyable experience with Stable Diffusion. Let’s begin exploring its wonders.
How to Sign In
To access the amazing features of DreamStudio, the official web app for Stable Diffusion, follow these simple steps to sign up:
- Visit the DreamStudio webpage.
- If any pop-ups appear regarding new features, close them. Additionally, agree to the terms of service if prompted.
- Click on the “Login” button located in the top-right corner and proceed to create a new account.
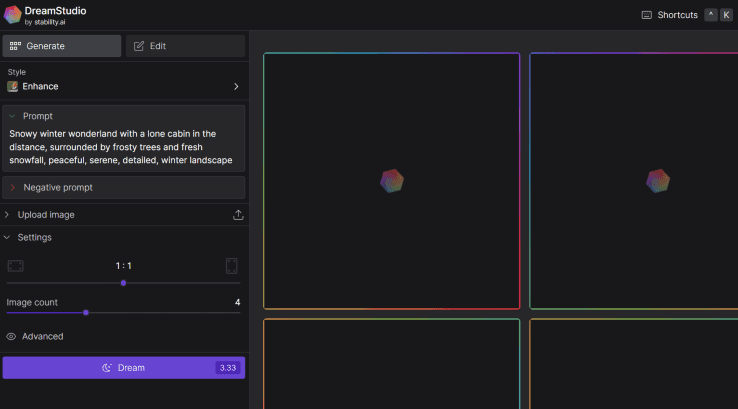
How to generate image
To generate your first image using Stable Diffusion, start by selecting a style from the dropdown menu in Dream Studio’s left sidebar. Options range from Enhance (realistic) to Anime, Photographic, and more.
In the important “Prompt” box, enter a description of what you want to create. While random suggestions inspire, feel free to get creative. Click “Dream” to generate the image. After a short wait, four options will appear.
Choose your favorite and use the buttons in the right sidebar to download, upscale resolution, reuse the prompt, generate variations, or edit the image. Unleash your creativity with Stable Diffusion!
How to Edit Image
Editing images with Stable Diffusion in Dream Studio opens up possibilities for inpainting and outpainting. These techniques allow you to modify image details or extend the image beyond its original borders using an AI art generator. Here’s how to do it:
- Click on the Edit option in the top left sidebar.
- Create a new image or import one from your computer.
- Use the arrow tool to select an overlapping area, enter a prompt, and click Dream. You’ll be presented with four options to expand your canvas.
- Alternatively, use the eraser tool to remove an element from the image and replace it using a prompt.
DreamStudio Settings
Expanding your exploration of Stable Diffusion, there are additional image settings that can enhance your experience while considering their impact on credit usage. Let’s delve into these settings:
- Aspect ratio: By default, the aspect ratio is 1:1, but you can select various ratios like 7:4, 3:2, 4:3, and more to create wider images.
- Image count: You can generate between one and ten images per prompt, allowing for multiple variations.
- Prompt strength: These influences how strongly the prompt shapes image generation, ranging from 1 to 30.
- Generation steps: This determines the number of diffusion steps taken by the model, with more steps typically yielding better results.
- Seed: By setting a specific seed between 1 and 4,294,967,295, you can consistently reproduce similar outcomes with the same settings.
- Model: Choose between Stable Diffusion versions 2.1, 2.1-768, or explore the preview of SDXL, which is the default model.
Other ways to access Stable Diffusion
While DreamStudio is a great way of accessing Stability AI’s impressive Stable Diffusion model it is not the only way. Thanks to the fact that the code behind Stable Diffusion is freely available to the public there are a few avenues for using Stable Diffusion for free.
If you’re not willing to shell out for additional credits on DreamStudio then you could try one of the freely available versions of Stable Diffusion that you can find online. Some of these include: Stable Diffusion Web UI, Stable Diffusion 2.1 Demo from Hugging Face, Stable Diffusion GRisk GUI 0.1.


