Elden Ring Auriza Hero’s Grave guide
This one is definitely a joke at our expense.
Share this article...
WePC is reader-supported. When you buy through links on our site, we may earn an affiliate commission. Prices subject to change. Learn more
The Hero’s Graves in Elden Ring are some of the toughest dungeons you can choose to do, if only thanks to the insane golden chariots that ride around trying to squash you flat (and usually succeeding). If you’ve stumbled across the Auriza Hero’s Grave in the Altus Plateau region, then you’re probably fed up with running your head against a brick wall trying to get past it. That’s why we’re providing you with this guy that’ll make getting through this particular dungeon a little bit easier on you.
Finding the Auriza Hero’s Grave
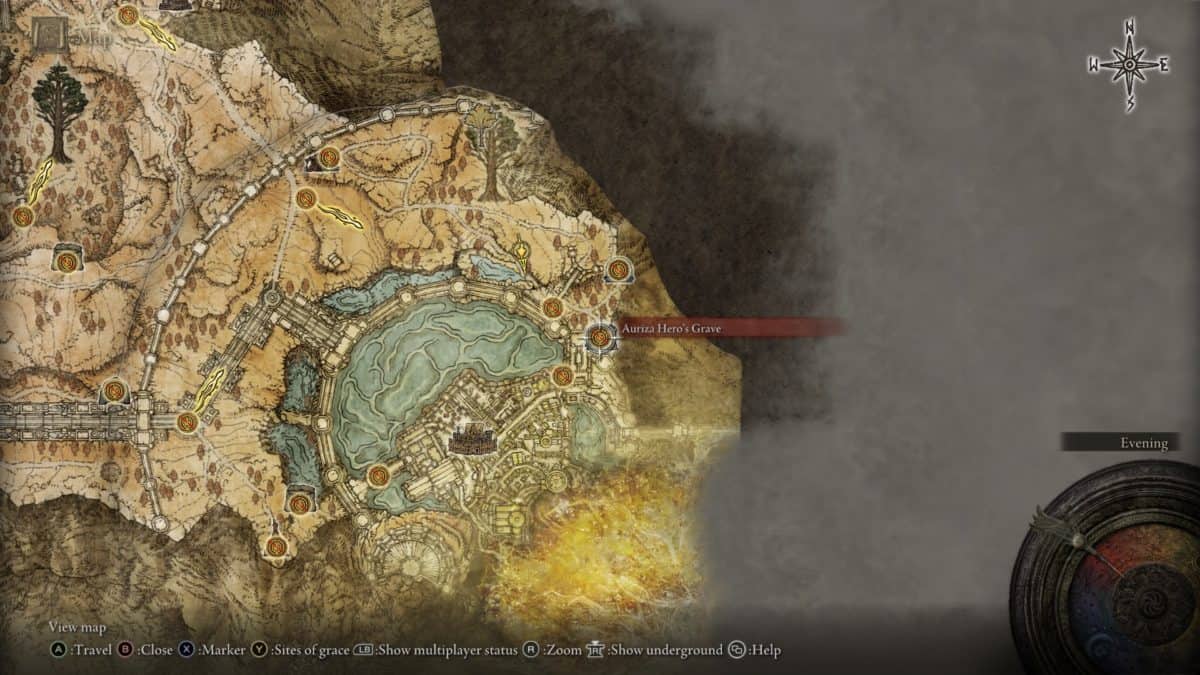
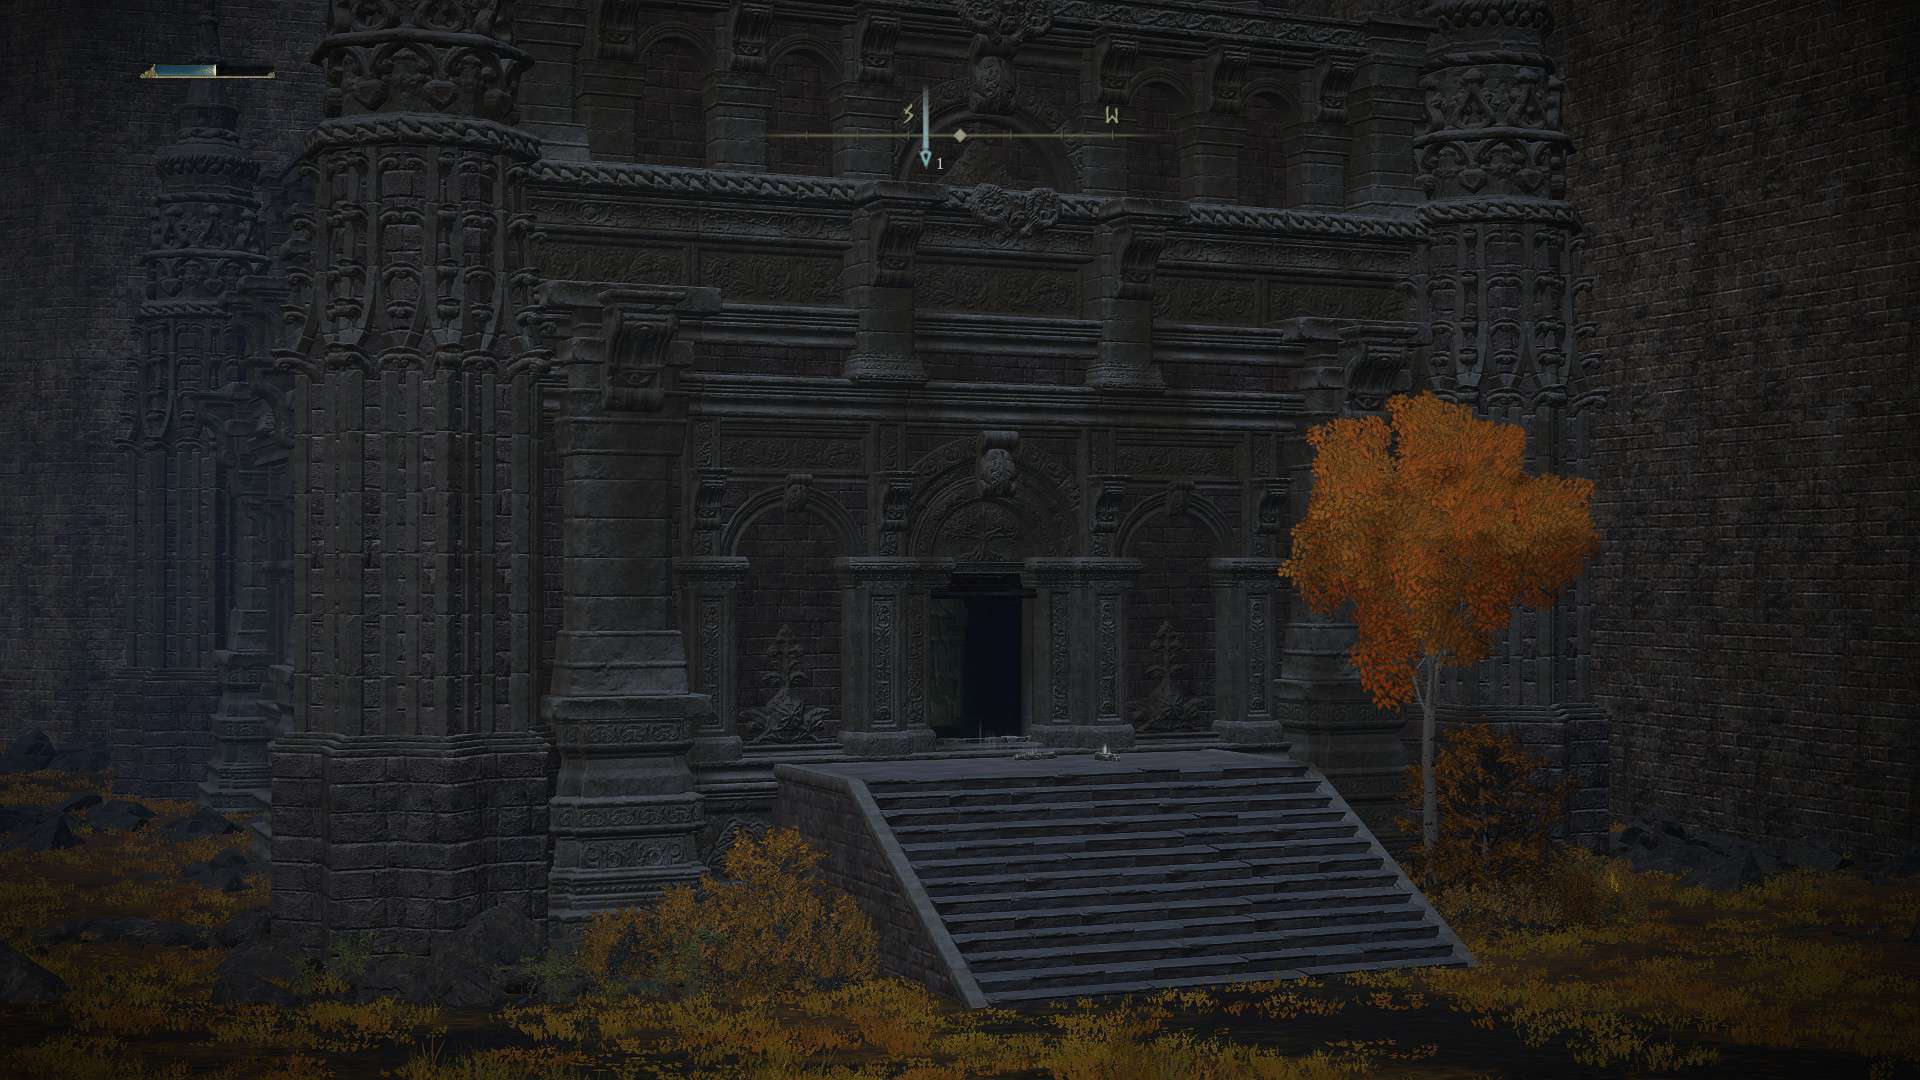
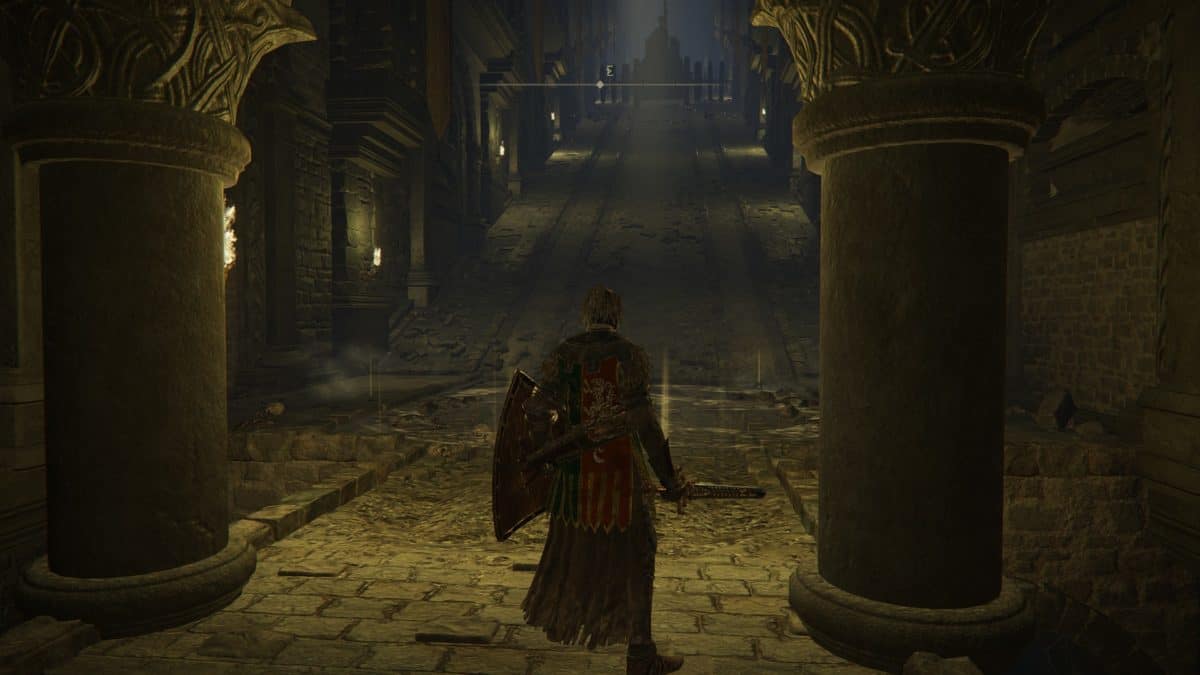
Firstly, you’ll need to have unlocked the Altus Plateau region, and also need to have to go inside the outer walls of the city. From here, ride around the city itself until you reach the Northern side. As you approach the only bridge across to the city, the road will split in two, with a path heading down and one heading forward. Take the path that leads down and follow it all the way around to the right to discover the entrance to Auriza Hero’s Grave.
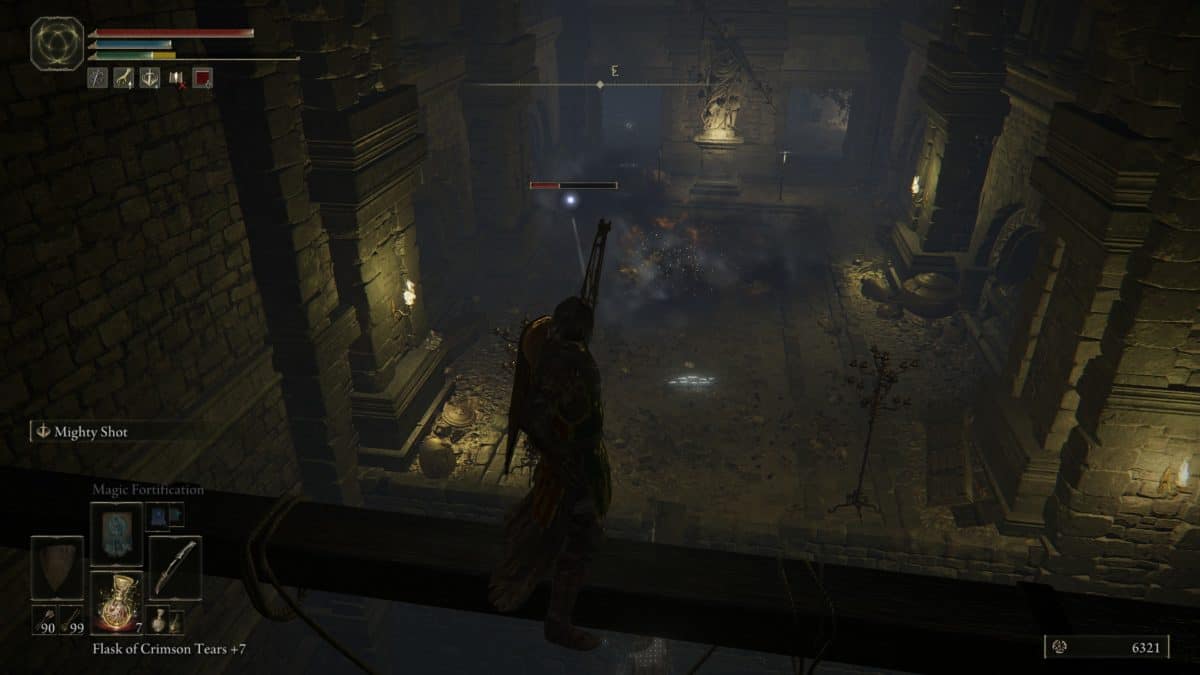
Auriza Hero’s Grave guide
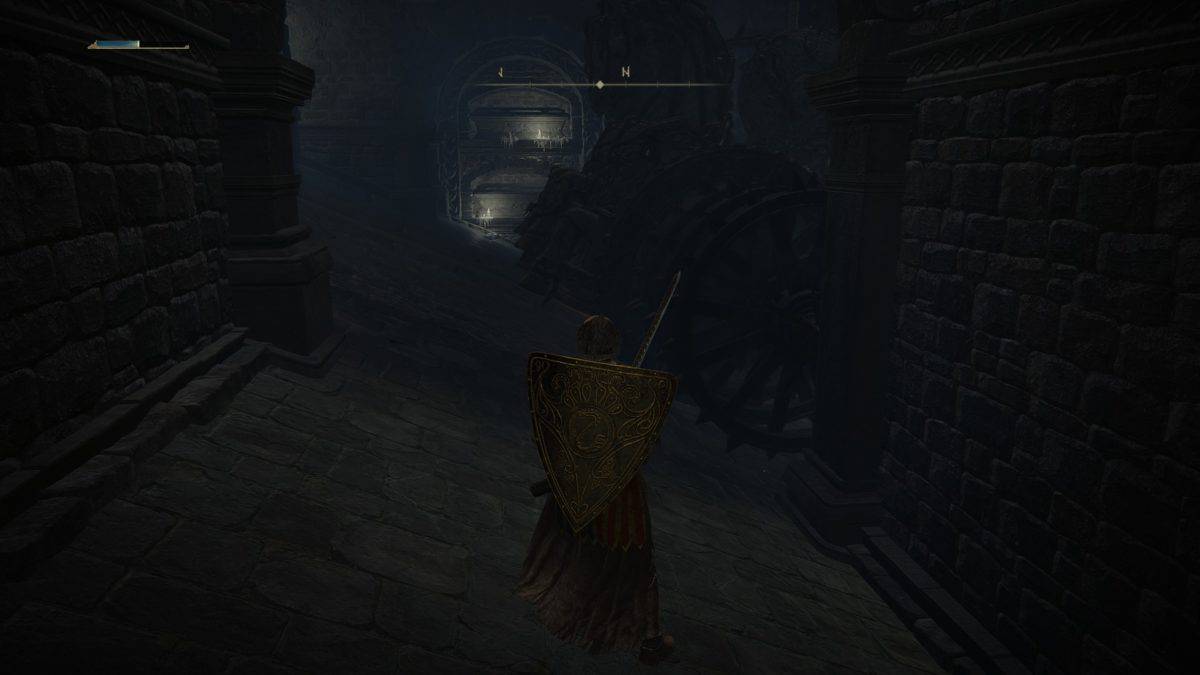
From the point of grace, aim for the door in the south wall, but don’t just run in. Inside this room are two Basilisk enemies that inflict the death blight effect. If this bar fills, you’re going to die. Make sure you’re ready to run in and hit them a few times, but back up if your bar gets too filled. Once they’re both dead, go grab the loot in the room and then return to the point of grace to take on the real dungeon below. After you’ve rested, head through the door on the western wall this time but don’t just run straight down those stairs.
As you make your way down, a chariot will be spawned ahead of you. At this stage, your best option is to keep going and to duck into the first alcove on the left side of the staircase. If you’re already sprinting by the time this chariot spawns, you shouldn’t have any trouble making it in time (DO NOT wear heavy armor. You need as many I-frames as you can get.) On the opposite side of the stairs, two skeletons will spawn, but you can just let the chariot take care of them both as they’re melee enemies, and it returns quickly enough to destroy them completely, rather than letting them respawn constantly just to die again.
Who doesn’t love chariots?
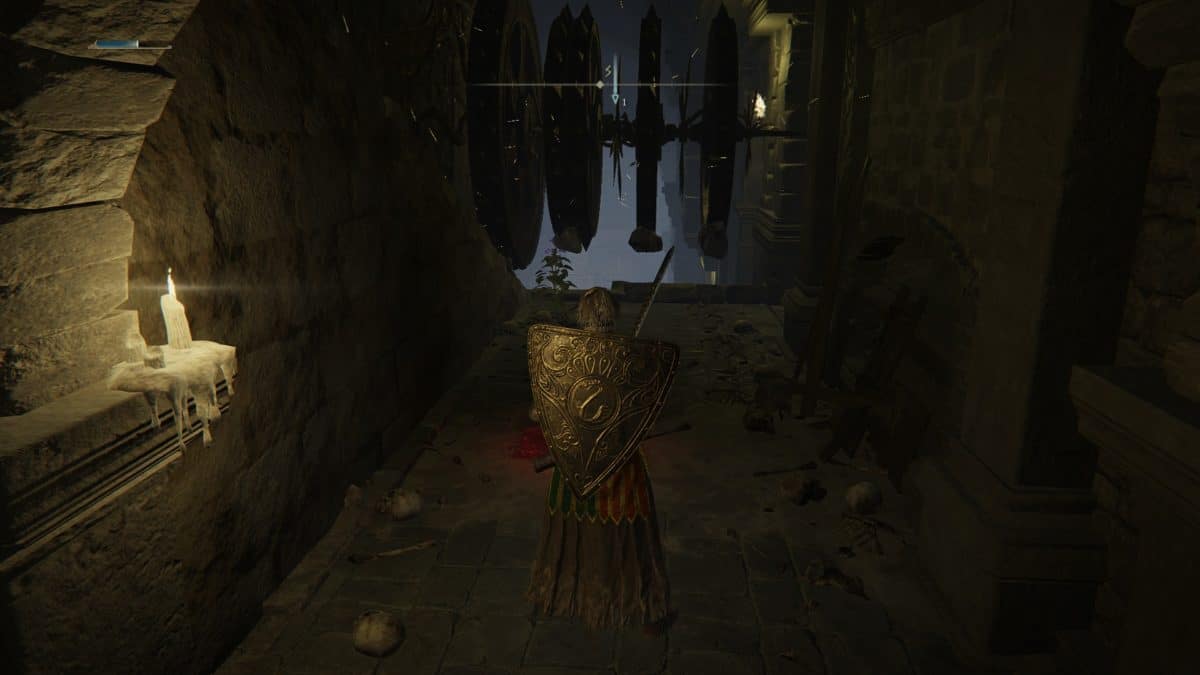
Once the skeletons are dead, wait for the Chariot to head past you heading up, and run further down the stairs. Make sure that you stop between the two pillars because otherwise you’ll be hit by one of the two chariots as they rotate. This next part is where things get a bit tricky because the timing is very precise. As soon as the chariot in front of you gets halfway through its rotation, you need to start running. If you don’t, you won’t reach the next alcove in time to survive. If you’re nearly there and it’s about to touch you, a dodge roll can save your life, barely.
The next part might seem easy, but it’s not. That landing ahead of you is not safe. Wait for the roller to go down, then sprint up onto the landing and immediately down the next slope, sticking to the right side this time to avoid the other chariot. Immediately duck into the alcove on the right, and you’ll see that the previous chariot has now rotated and joined this new slope instead. Fun. Wait for it to head down, then run after it and drop into the left of the little ledges in the stairs, making sure to retreat fully away from the stairs or you’ll be clipping the head. A skeleton spawns in this room, but just one, so take it out and then prepare for your next move.
More running
From your new vantage point, you’re going to need to wait for the chariot on the right to be heading down as the other one heads up. Your target is on the mid-way landing below on the left side. As soon as the timing matches up, sprint down there and roll into the room, even if the other chariot is nowhere near you. Inside if an already spawned skeleton, and he is ready to swing at you immediately which could get you killed if you weren’t expecting it. The best tactic is to use a 100% damage protection shield to force him into the path of the chariots.
Your next target is visible just down the slope because there’s a skeleton archer waiting in there for you who you can lock onto. Wait for the chariot further from you to start rotating, then immediately sprint forward (assuming the other chariot isn’t nearby) to clear the closest chariot’s attack range. You should have plenty of time to get down to the alcove, then either push the skeleton out or take care of it yourself depending on your preference. This last part will be the hardest. Wait for the closest chariot to go up, then sprint down and stop between two of the pillars or you’ll be clipped by the chariot that spawns ahead of you.
Further into Auriza Hero’s Grave
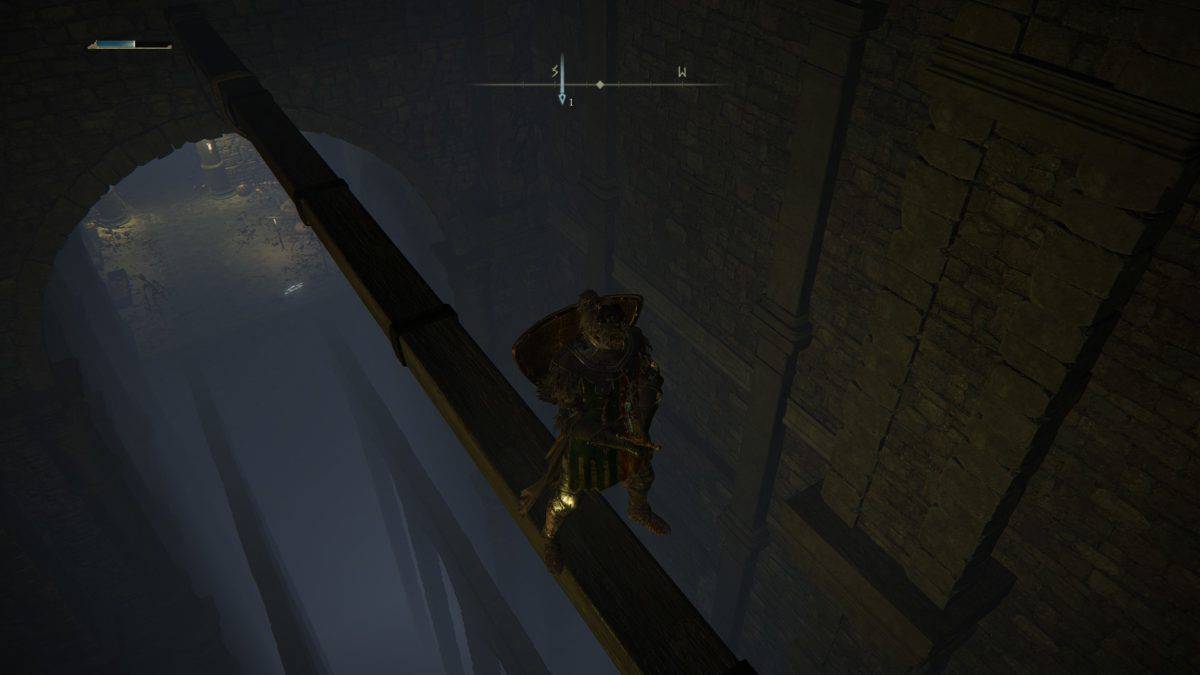
You’d think the hard part was behind you, but no. Assuming that you’ve successfully made it to the point between the two sets of chariots, you should see a body with an item on it to your left. You’re going to need to walk off the ledge, at exactly the point where that corpse is hanging, while avoiding the chariot just in front of you. If you pull it off, you’ll land on some wooden beams. Keep carefully jumping down until you hit the stone beams (ignore the path to your right for now.) From here, run to the left and take out the skeleton who attacks you. You should come out at another little ledge area as you did before, but this time, wait for the chariot to go down, then run up the slope and into the door on the right.
In here, smack the fire-trap to activate it. Now you have two options, you can either die and re-appear at the entrance, or you can come back the way you’ve come. If you’re going to try and stay alive, just run back out of the room, avoiding both fire and the chariot, and time your runs back down the slope all the way to the bottom. Head into the tunnel on the left and take out two skeletons, then turn left and get on the lift, avoid the fire trap as you head into the next area, and drop back into the two-laned area. It’s honestly quicker and simpler to die, since when you make it to the second area of the dungeon, all of the chariots will be destroyed, and you can reload the game to explore the dungeon to your heart’s content without much danger.
Some side areas
Once you’ve removed the chariots from your path, there are a few side areas that you can tackle for some optional bonuses (alongside the armor set and art of war you just got for killing the chariots of course.) If you hop back onto the wooden beams and head to the right side, you should see an area with a basilisk waiting for you. Kill it from a distance, then jump down and kill his two friends that enter the room. In the next tunnel you’ll find a basilisk hiding in the corner on the left, and another out in the open at the end on the right. Once everything is dead, harvest all the Glowwart and other loot in the area.
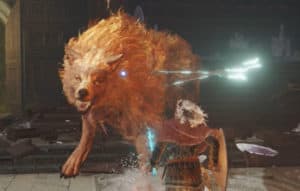
There’s also a mini-boss who is guarding the Crucible Feather Talisman which can improve your dodge but at the expense of increasing your damage intake. He can be found back in the area with the lift from earlier. Instead of heading up the left passage, continue forward and down some stairs to find him standing with his back to you. Sneak up on him, then lead him out into the area where there used to be a chariot to have more room fighting him. Once he’s dead, collect the talisman and now you can go take on the boss. You can find the boss at the bottom of the two-lane chariot area. Open the door, then head inside and take out the three skeletons waiting for you before entering that fog gate.