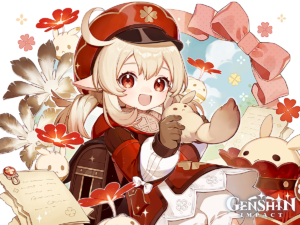
Genshin Impact Sayu
An in-depth guide on how to build Genshin Impact’s tiny ninja, Sayu.
Share this article...
WePC is reader-supported. When you buy through links on our site, we may earn an affiliate commission. Prices subject to change. Learn more
Sayu is a 4-star Anemo Claymore character who specialises as a Healer and Anemo Support, and is available on the Character Event Wish, Epitome Invocation and Wanderlust Invocation Standard Banners. Keep reading to find out what materials are needed to Ascend Sayu, her best builds and an overview of how to use her effectively.
Sayu Ascension Stat
All characters in Genshin Impact have a particular stat that levels up alongside their base stats. For Sayu, this extra stat is Elemental Mastery, which will help increase the DMG of her Swirl Reactions, as well as her Healing output.
Sayu Ascension Materials
Once you have obtained Sayu and maxed her to Level 20, she can be further levelled up through Ascension. The materials you will need to Ascend Sayu are as follows:
| Level | Ascension Materials |
|---|---|
| Level 20 | Vayuda Turquoise Sliver x 1 Crystal Marrow x 3 Whopperflower Nectar x 3 |
| Level 40 | Vayuda Turquoise Fragment x 3 Marionette Core x 2 Crystal Marrow x 10 Whopperflower Nectar x 15 |
| Level 50 | Vayuda Turquoise Fragment x 6 Marionette Core x 4 Crystal Marrow x 20 Shimmering Nectar x 12 |
| Level 60 | Vayuda Turquoise Chunk x 3 Marionette Core x 8 Crystal Marrow x 30 Shimmering Nectar x 18 |
| Level 70 | Vayuda Turquoise Chunk x 6 Marionette Core x 12 Crystal Marrow x 45 Energy Nectar x 12 |
| Level 80 | Vayuda Turquoise Gemstone x 6 Marionette Core x 20 Crystal Marrow x 60 Energy Nectar x 24 |
Vayuda Turquoise Slivers, Fragments, Chunks and Gemstones can be obtained by defeating the Anemo Hypostasis, located in Mondstadt, and the Maguu Kenki, located in Inazuma.
Marionette Core can be obtained by defeating the Maguu Kenki, located in Inazuma.
Crystal Marrow can be found across Yahiori Island, Inazuma. They are mainly located around Orobashi’s Corpse, so keep an eye out for its giant bones.
Whopperflower Nectar, Shimmering Nectar and Energy Nectar can be obtained by defeating Whopperflowers, which can be found all over Teyvat.
Sayu Talent Materials
In order to make Sayu stronger, you’ll need to upgrade her talents. The materials you will need are as follows:
- Whopperflower Nectar
- Shimmering Nectar
- Energy Nectar
- Teachings of Light
- Guide to Light
- Philosophies of Light
- Gilded Scale
The Teachings, Guide and Philosophies of Light can be obtained by completing the Domain of Mastery: Violet Court every Wednesday, Saturday and Sunday. Meanwhile, the Gilded Scale is a potential drop from the Weekly Azhdaha Challenge.
Sayu Best Weapons
Sayu has a few good weapon options you can use, depending on what stats you’re prioritising on her:
| Weapon | Rarity |
|---|---|
| Wolf’s Gravestone | 5-star |
| Skyward Pride | 5-star |
| Luxurious Sea-Lord | 4-star |
| Prototype Archaic | 4-star |
| Katsuragikiri Nagamasa | 4-star |
| Favonius Greatsword | 4-star |
| Sacrificial Greatsword | 4-star |
| Rainslasher | 4-star |
If you’re aiming to give Sayu as much ATK as possible for her healing, Wolf’s Gravestone is her best in slot. It gives a huge amount of ATK overall, although doesn’t provide much utility to her besides that. Other high ATK weapons you could give her are the F2P Luxurious Sea-Lord and F2P Prototype Archaic. Both Claymores have ATK% substats, but like the Wolf’s Gravestone, won’t provide much alternative utility.
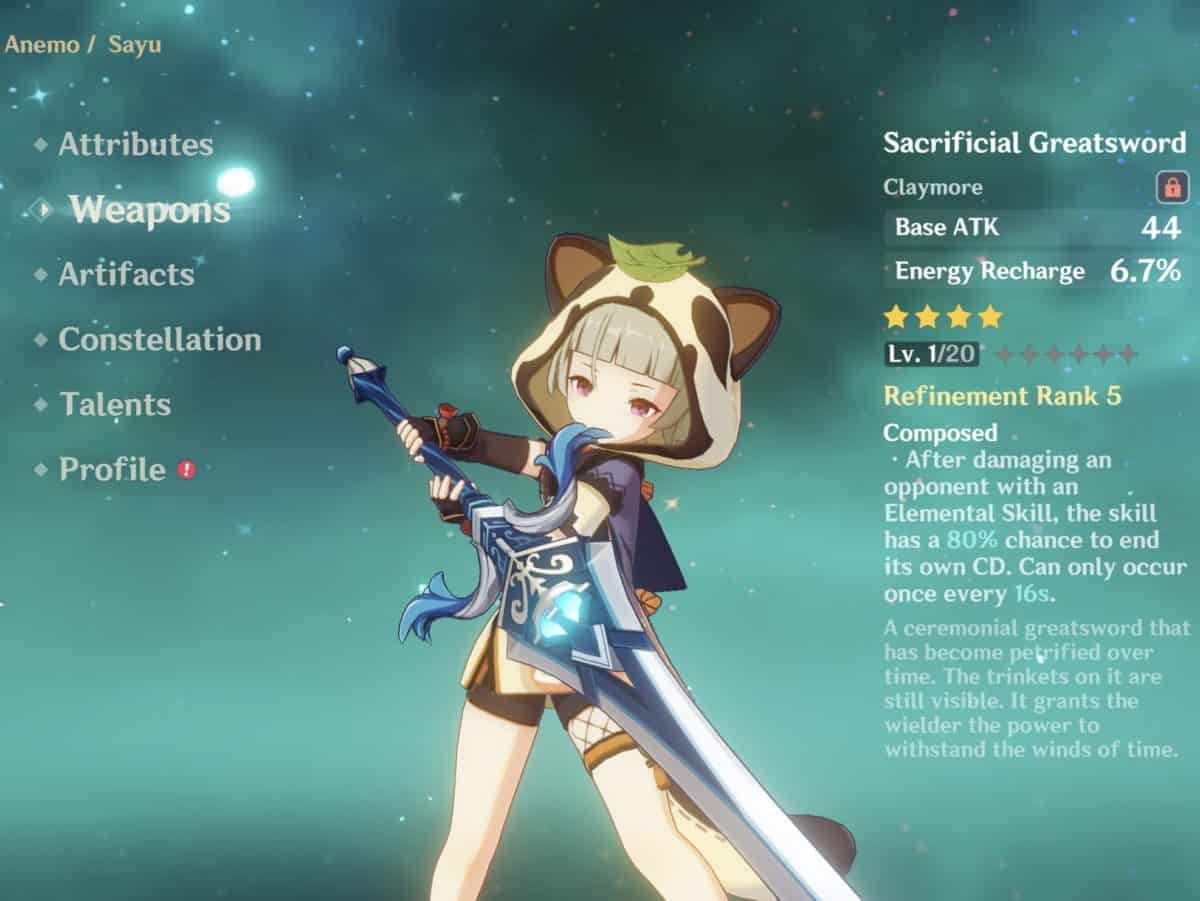
However, if you want to prioritise Sayu’s support capabilities, her best in slot is Skyward Pride. Not only does it have a high Base ATK, but also an Energy Recharge substat that will help charge up her Burst, and therefore get her healing more regularly. 4-star alternatives include the F2P Katsuragikiri Nagamasa, Favonius Greatsword and Sacrificial Greatsword, all of which having Energy Recharge Substats too. IF you have C6 Sayu, Rainslasher is a perfectly viable weapon as its Elemental Mastery substat will also help boost her healing output.
Sayu Best Artifacts
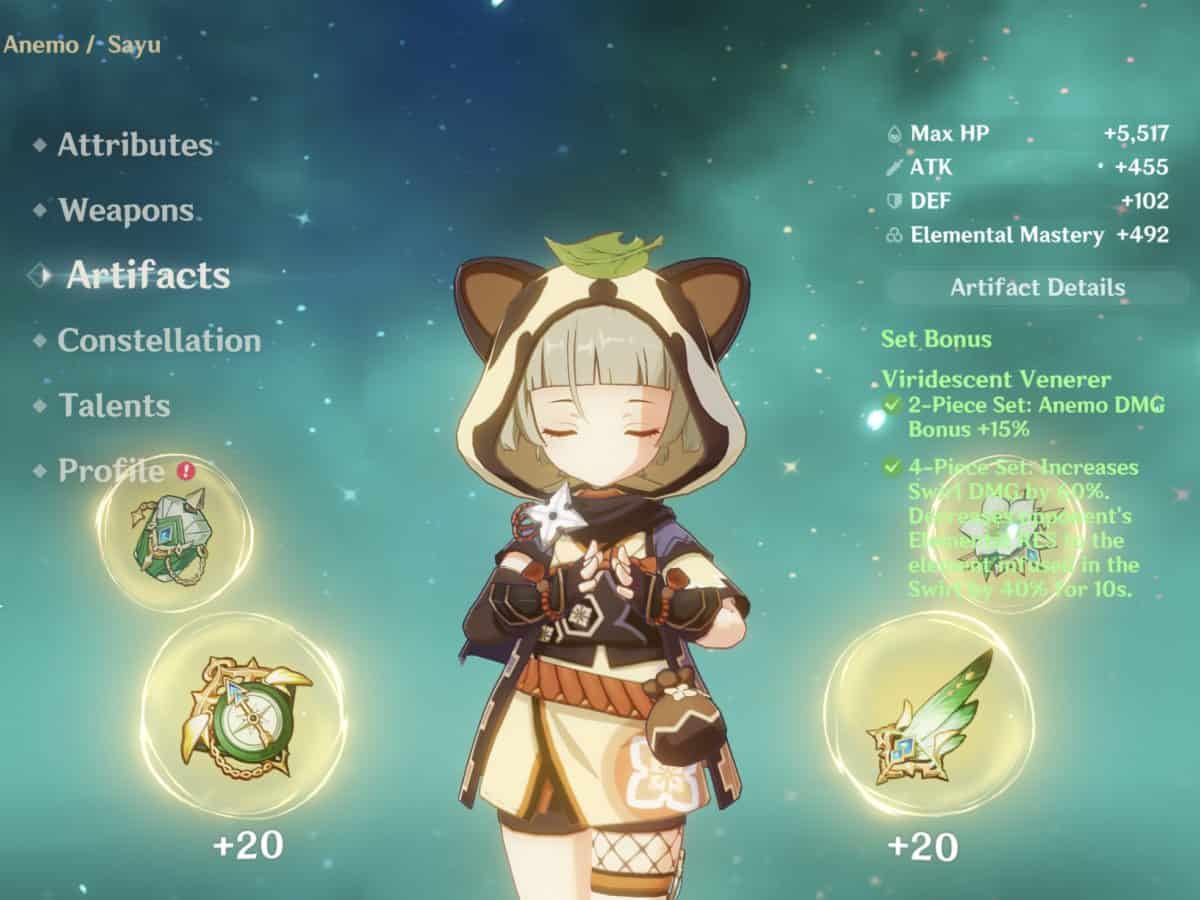
Sayu only really has one Artifact set that you’ll want to use on her: 4-Piece Viridescent Venerer. This set will give you 15% Anemo DMG Bonus which is nice, but the 4-Piece set is the star of the show; it increases your Swirl DMG, which is what you’ll mainly be doing with Sayu, and it shreds your enemies’ Elemental RES to the Element you Swirl. This essentially means you can decrease your opponent’s RES to the Element of your Main DPS, meaning they will deal a lot more DMG. Alternatively, you could use 4-Piece Noblesse Oblige for increased Burst DMG and the buff it gives your team after using an Elemental Burst .
For low-level players, 4-Piece Instructor works well until you’re able to get higher level Artifacts.
For your Artifact main stats, you will want to run:
| Artifact | Main Stat |
|---|---|
| Sands | ATK% / Elemental Mastery |
| Goblet | ATK% / Elemental Mastery / Anemo DMG Bonus |
| Circlet | Healing DMG Bonus / Elemental Mastery |
Sayu can be built a couple different ways for the same purpose; ultimately, how you build her comes down to whether you have her at C6 or not. If you do, congrats! You can build her with a full Elemental Mastery build. Otherwise, ATK% main stats are preferable, although she’ll still want Elemental Mastery for her Swirls, so giving her an Elemental Mastery Goblet can be a good idea. With a non-C6 build, generally with her Goblet, Elemental Mastery is desired over Anemo DMG Bonus – but if you’re struggling to get a good Artifact, Anemo DMG Bonus can work in the meantime. In terms of Artifact substats, you’ll want to focus on Elemental Mastery and Energy Recharge, with some ATK% flat ATK. You don’t need to bother with CRIT stats since Swirl can’t crit.
How to use Sayu
Her Elemental Skill, Yoohoo Art: Fuuin Dash, has Sayu curl up into a rolling Fuufuu Windwheel and smash into opponents at high speed, dealing Anemo DMG. When the duration ends, she unleashes a Fuufuu Whirlwind Kick, dealing AoE Anemo DMG. On press she enters the Fuufuu Windwheel state, rolling forward a short distance before using the Fuufuu Whirlwind Kick. On hold, she rolls about continuously in the Fuufuu Windwheel state, increasing Sayu’s resistance to interruption while within that state. During this time, Sayu can control the direction of her roll, and can use the skill again to end her Windwheel state early and unleash a stronger version of the Fuufuu Whirlwind Kick. The Hold version of this skill can trigger Elemental Absorption.The longer Sayu remains in her Windwheel state, the longer the CD.
Her Elemental Burst, Yoohoo Art: Mujina Flurry, summons a pair of helping hands for Sayu. It deals Anemo DMG to nearby opponents and heals all nearby party members. The amount of HP restored is based on Sayu’s ATK. This skill then summons a Muji-Muji Daruma. At specific intervals, the Daruma will take one of several actions based on the situation around it: if the HP of nearby characters is above 70%, it will attack a nearby opponent, dealing Anemo DMG; if there are active characters with 70% or less HP nearby, it will heal the active character with the lowest percentage HP left; if there are no opponents nearby, it will heal active characters nearby even if they have 70% HP or more.
Sayu essentially works like a 4-star Jean, Swirling and debuffing with her Skill, and healing with her Burst, which scales off her ATK (and at C6, additionally with her Elemental Mastery.) Because she’s both an Anemo character and a healer, she has a good amount of utility and can therefore fit onto almost any team comp where you need a healer and someone to Swirl and debuff. However, she shouldn’t necessarily be used as a replacement for Sucrose, Venti or Kazuha, since her Swirling capabilities generally underperform compared to these characters, and they have the additional bonus of having good crowd control, too. That being said, Sayu is a perfectly good character, and if you enjoy using her, then you totally should!