
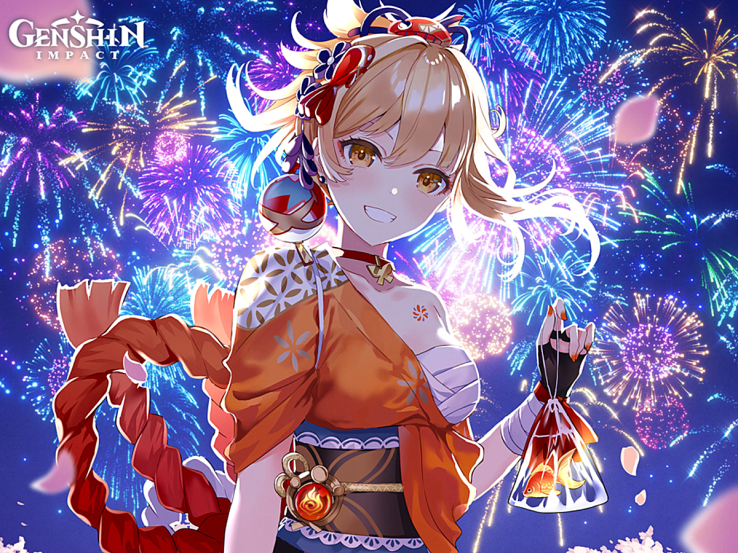
Genshin Impact Yoimiya
An in-depth guide on how to build Genshin Impact’s firework extraordinaire, Yoimiya.
Share this article...
WePC is reader-supported. When you buy through links on our site, we may earn an affiliate commission. Prices subject to change. Learn more
Yoimiya is a 5-star Pyro Bow character who specialises as a Pyro Main DPS, and is only available on the Character Event Wish banner while she is a featured character. Keep reading to find out what materials are needed to Ascend Yoimiya, her best builds and an overview of how to use her effectively.
Yoimiya Ascension Stat
All characters in Genshin Impact have a particular stat that levels up alongside their base stats. For Yoimiya, this extra stat is CRIT Rate. This will make her more flexible to build in terms of Weapon and Artifact substats.

Yoimiya Ascension Materials
Once you have obtained Yoimiya and maxed her to Level 20, she can be further levelled up through Ascension. The materials you will need to Ascend Yoimiya are as follows:
| Level | Ascension Materials |
|---|---|
| Level 20 | Agnidus Agate Sliver x 1 Naku Weed x 3 Divining Scroll x 3 |
| Level 40 | Agnidus Agate Fragment x 3 Smouldering Pearl x 2 Naku Weed x 10 Divining Scroll x 15 |
| Level 50 | Agnidus Agate Fragment x 6 Smouldering Pearl x 4 Naku Weed x 20 Sealed Scroll x 12 |
| Level 60 | Agnidus Agate Chunk x 3 Smouldering Pearl x 8 Naku Weed x 30 Sealed Scroll x 18 |
| Level 70 | Agnidus Agate Chunk x 6 Smouldering Pearl x 12 Naku Weed x 45 Forbidden Curse Scroll x 12 |
| Level 80 | Agnidus Agate Gemstone x 6 Smouldering Pearl x 20 Naku Weed x 60 Forbidden Curse Scroll x 24 |
Agnidus Agate Slivers, Fragments, Chunks and Gemstones can be obtained by defeating the Pyro Regisvine, located in Liyue, and the Pyro Hypostasis, located in Inazuma.
Smouldering Pearls can be obtained by defeating the Pyro Hypostasis, located in Inazuma.
Naku Weeds can be found growing throughout Inazuma. They grow in abundance in Mikage Furnace, the base of Mt Yougou and throughout Seirai Island.
Divining Scrolls, Sealed Scrolls and Forbidden Curse Scrolls can be obtained by defeating Samachurls, which can be found all over Teyvat.
Yoimiya Talent Materials
In order to make Yoimiya stronger, you’ll need to upgrade her talents. The materials you will need are as follows:
- Divining Scroll
- Sealed Scroll
- Forbidden Curse Scroll
- Teachings of Transience
- Guide to Transience
- Philosophies of Transience
- Dragon Lord’s Crown
The Teachings, Guide and Philosophies of Transience can be obtained by completing the Domain of Mastery: Reign of Violet every Monday, Thursday and Sunday. Meanwhile, the Dragon Lord’s Crown is a potential drop from the Weekly Azhdaha Challenge.
Yoimiya Best Weapons
As a Main DPS, Yoimiya has no shortage of weapons she can use. Here are some options:
| Weapon | Rarity |
|---|---|
| Thundering Fury | 5-star |
| Amos’ Bow | 5-star |
| Skyward Harp | 5-star |
| Polar Star | 5-star |
| Hamayumi | 4-star |
| Rust | 4-star |
| The Viridescent Hunt | 4-star |
| Blackcliff Warbow | 4-star |

Her best in slot is Thundering Fury. It has a massive CRIT DMG substat which will increase her DMG output greatly. Its passive is also tailored to Yoimiya’s playstyle: it will essentially increase her Normal Attack DMG with various stacks. She can also make good use of Polar Star, which has a CRIT Rate substat and a passive which increases her ATK with increasing stacks. Skyward Harp is another good option, which also has a CRIT Rate substat and a passive which increases her CRIT DMG. Amos’ Bow is also very good on her, with a high ATK substat on top of a passive which boosts Normal Attack DMG, which is where Yoimiya shines.
Yoimiya also has some great 4-star options; Rust is her best 4-star weapon, since it increases Normal Attack DMG by a significant amount, especially at high Refinement. A good F2P alternative for Rust is Hamayumi, which is craftable and increases Normal Attack DMG as well. Other weapons she can use are The Viridescent Hunt and Blackcliff Warbow, which will boost her CRIT Rate and DMG respectively whilst also having useful passives.
Yoimiya Best Artifacts
Yoimiya’s best Artifact set is 4-Piece Shimenawa’s Reminiscence. The 2-Piece Set Bonus will increase her ATK by 18%, and the 4-Piece Set Bonus will increase her Normal, Charged and Plunging Attack DMG by 50%, at the cost of losing 15 Energy when she has 15 or more Energy. While this might sound bad, Yoimiya’s Burst doesn’t contribute hugely to her overall DMG output, so the loss in energy isn’t a terrible trade. You can always run Yoimiya with additional ER Artifact substats to help combat this if you need it.
Alternatively, if you don’t have a good 4-Piece Shimenawa set, you could instead use 2-Piece Shimenawa’s Reminiscence / 2-Piece Gladiator’s Finale with 2-Piece Crimson Witch Of Flames. This will usually be a little more consistent than 4-Piece Shimenawa, although you will deal less DMG generally.
For low-level players, 4-Piece Martial Artist works well until you’re able to get higher level Artifacts.

For your Artifact main stats, you will want to run:
| Artifact | Main Stat |
|---|---|
| Sands | ATK% |
| Goblet | Pyro DMG Bonus |
| Circlet | CRIT DMG / Rate |
How to use Yoimiya
Her Elemental Skill, Niwabi Fire-Dance, converts Yoimiya’s Normal Attacks to Pyro DMG and increases their DMG. During this time, Normal Attack: Firework Flare-Up will not generate Kindling Arrows at Charge Level 2. This effect will deactivate when Yoimiya leaves the field.
Her Elemental Burst, Ryukin Saxifrage, fires forth blazing rockets that deal AoE Pyro DMG and marks one of the opponents hit with Aurous Blaze. Aurous Blaze has the following effect: all Normal/Charged/Plunging Attacks, Elemental SKills, and Elemental Bursts by any other party member other than Yoimiya that hit an opponent marked by Aurous Blaze will trigger explosions, dealing AoE Pyro DMG. Where an opponent affected by Aurous Blaze is defeated during its duration, the effect will pass on to another nearby opponent, who will inherit the remaining duration. One Aurous Blaze explosion may occur every 2s. When Yoimiya is down, Aurous Blaze effects created through her skills will be deactivated.
Best Team Comps
Yoimiya specialises as an on-field Pyro Main DPS. The majority of her DMG output comes from her Normal Attacks when they are imbued with Pyro during the duration of her Skill. Because she mainly deals Pyro DMG, she appreciates being paired with a Sub DPS / Support who can proc Reactions with her. For example, one of the best team comps for Yoimiya consists of herself, Bennett, Yun Jin and Zhongli. Yun Jin will buff Yoimiya’s Normal Attacks using her Burst, and Bennett will activate activate Pyro Resonance, increasing the ATK of all party members by 25%. Yoimiya benefits from having a shielder on her team since she’s very vulnerable to attacks during her Skill’s duration, which is why she appreciates having Zhongli on the team. Not only will he keep Yoimiya shielded, but he will also will activate Geo Resonance which will further increase Yoimiya’s DMG.
Alternatively, Yoimiya can work nicely with Yelan, whose fast Hydro application synergises with Yoimiya’s rapid Normal Attacks. A possible team comp for a Yoimya – Yelan duo could also feature Bennett and Zhongli, for the buffs, healing and shielding.
Yoimiya’s playstyle is very simple; all you need to do is activate her Skill and auto attack, occasionally switching to your Supports to use their Skills and Bursts. When Yoimiya’s Burst is charged you should use it, but don’t expect it to do tonnes of DMG. Instead, this is high time for you to switch in your Supports and refresh their on-field DMG etc, which will then trigger explosions as part of Aurous Blaze’s effects – which is important to note since Yoimiya can’t trigger these explosions herself.


