Lost Ark Aira’s Oculus (Normal & Hard) Abyss Dungeon Guide
Need a hand with Lost Ark’s Aira’s Oculus Abyss Dungeon? We have all the tips, tricks and mechanics covered here.
Share this article...
WePC is reader-supported. When you buy through links on our site, we may earn an affiliate commission. Prices subject to change. Learn more
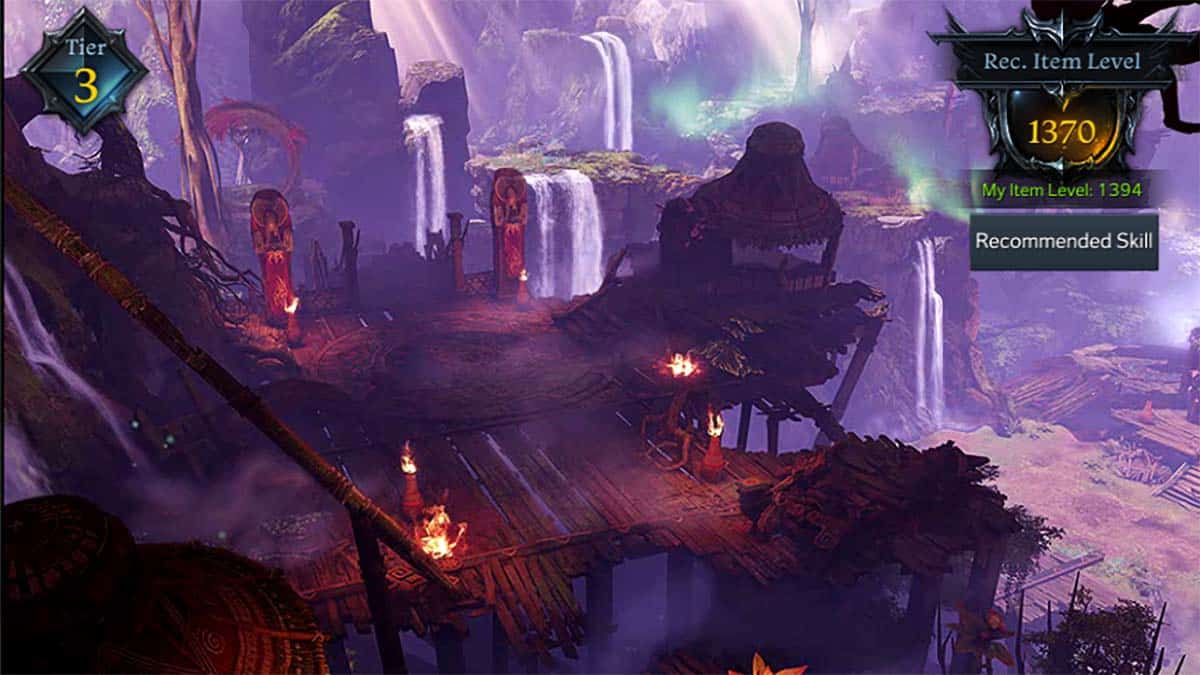
Aira’s Oculus is Lost Ark’s first Tier 3 Abyss Dungeon and the first in the Oreha’s Well tab of Abyss Dungeons. Unlike the previous Abyss Dungeon Alaric’s Sanctuary, you will only need a party of four players to enter this one. Everyone in the party must have completed the Punika main questline “Protect the Seed of Harmony” and have all reached item level 1325 for Normal difficulty and 1370 for Hard difficulty. You can use the “matchmaking” or “find party” features in order to quickly group up. There is no difference in the mechanics between Normal and Hard difficulty, only the damage output from both players and the bosses themselves, as well as health points, are altered.
Lost Ark Aira’s Oculus Abyss Dungeon Mechanics and Tactics
Frenzied Cicerra tactics, tips and mechanics
Frenzied Cicerra is an interesting and challenging fight. This is mainly because it is the first opponent players need to think about avoiding staggering for a change. Each time the purple stagger bar underneath Frenzied Cicerra’s health bar is depleted, he becomes enraged and gains a buff (it looks like a white sword on a red background). If Frenzied Cicerra manages to stack this buff three times, the fight will become extremely difficult.
Set up – You should remove any stagger runes you have equipped before this fight. If you have abilities with stagger, try not to use them during the fight until the Grab mechanic. You will also want to bring whirlwind grenades for the Grab mechanic if you do not have a party with high stagger damage. Get a Scrapper or something in your party.
Grab – After Frenzied Cicerra slams his mace in a cross pattern and slams it into the ground at his feet, you will want to have the whole party quickly move in front of him. Frenzied Cicerra will then lunge forward and attempt to grab a player, this ability only has a small hitbox and you want someone to be grabbed. When this happens, a stagger check will begin. Make sure to hit Frenzied Cicerra with all of your stagger abilities and whirlwind grenades now. Not only will this free your teammate, but it will also reduce one of Frenzied Cicerra’s enraged stacks, making the fight more manageable.
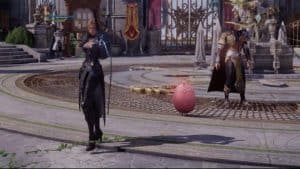
Homing Orb – Frenzied Cicerra reaches out a hand and releases a purple orb that follows a player. If you are hit by the orb, it will stun you and release an area of effect damage wave after. You can dodge through this orb to avoid the stun and damage, or just dodge after being stunned to avoid the damage.
Mace Spin – This is probably Frenzied Cicerra’s most dangerous ability. It has a visual and audio cue; a blast of wind will surge away from where Frenzied Cicerra is standing as he lets out a roar and flexes. You will want to move away from him as soon as you see or hear this ability coming. He will then spin his mace around him dealing massive damage, enough to kill most payers in one hit.
Lost Seto tactics, tips and mechanics
After defeating Frenzied Cicerra, most players should not have too much trouble with the next boss – Lost Seto. Lost Seto has three phases, he will transition to phase two at 16 health bars and to phase three at 6 health bars. The arena you are fighting Lost Seto in will also change each time the phase changes, so it is pretty clear when this has happened. When phase three begins, be careful not to get too close to Lost Seto as he will release a medium-range area of effect attack.
Set Up – Flame grenades and damage over time effects like bleed runes are useful to have against Lost Seto. When Lost Seto has a green buff active, he is healing over time, so these effects work as a direct counter.
Totem Balls – Lost Seto hops on top of his ball and begins juggling. Then other versions of his ball will begin to rain from the sky. You need to quickly destroy these balls before they become totems. Not destroying enough balls will cause a wipe. If black ball totems are not destroyed, they will release an area of effect damage wave after a few seconds.
Circle & Cone – Lost Seto will create a blue cone and circle area of effect attack indicator around and in front of himself. Whichever of the two attacks goes off first is a decoy, however, the second attack will stun players caught by it. This can vary, sometimes the cone will be the real attack and sometimes it will be the circle. The best thing to do is just avoid both.
Bouncing Balls – Lost Seto will raise his leg behind him before focussing on one player and kicking balls towards them. If you have the aggro, you should move to the middle of the arena when this attack happens as the balls can bounce off the walls unpredictably and make life difficult for your party. Then you simply need to run left and right to avoid this attack. If you do not have the aggro, this attack’s animation takes a long time, so you have an opportunity to deal some good damage whilst it is happening.
Triple Rockets – Lost Seto swings his right arm in a circle, winding it up, before firing three rockets in a cone. Sometimes this attack can be extended as the three rockets fly through portals. If you see this happen, you need to keep moving as the portals will open back up a few seconds later and fire the rockets out once more.
Punch Flurry – The animation for this attack can be hard to spot, it has a very short range but very high damage if you are hit by the full flurry. Lost Seto flexes his arms and then shoots out rapid punches in a short cone ahead of him. In phases two and three, Lost Seto will jump back before using this attack, making it a little easier to spot, however, it also has increased range.
Ring Toss – Lost Seto draws two metal rings and throws them forwards in a straight line, the rings then shoot back around him in a circle. When you see him pull the rings, you want to be close to him to the sides or behind as this way you can continue to output damage and avoid the whole attack.
Speed Typing – Once again, Lost Seto will hop on top of his ball and begin juggling. This time the players are frozen in place and a keyboard input pattern will appear. You need to speed type the pattern in front of you or be stunned. You can have another go if you fail, providing there is enough time remaining, so try not to panic. Shortly after this, Lost Seto will release an area of effect damage wave that can kill you if you fail the speed typing challenge. If you pass the challenge and free yourself you can run away from Lost Seto to avoid the wave, he also sometimes has a small safe area close to him.
Charm – A giant love heart will take over your screen and posed pictures of Lost Seto will appear. During this time, you are charmed and stunned. As soon as your screen clears, you will want to dodge in any direction away from your party, as there will be a small area of effect damage field beneath all of your feet.
Large AOE Rain – Lost Seto leaps high into the air before landing on his ball, stage lights will then light him up, differentiating this ability to the totems and speed typing. When you see this animation, your party should run to each corner of the arena, away from each other. Large area of effect attacks will then rain down in a target shape pattern around each member. The further apart you are, the easier it is to find a safe zone from this attack.
That concludes this Lost Ark Aira’s Oculus Abyss Dungeon Normal and Hard guide. We hope you found it useful! Why not check out some of our other content and guides over at the Lost Ark Hub?