How to emulate on the ASUS ROG Ally
All those consoles and games on the move in your hands seem rather overpowered
Share this article...

WePC is reader-supported. When you buy through links on our site, we may earn an affiliate commission. Prices subject to change. Learn more
A powerful handheld device, the Ally can already achieve a lot with its raw components, but moving away from Windows we show you how to emulate the ASUS ROG Ally. Since it does just run Windows 11 as any usual PC build, it is rather simple and easy to do like anywhere else.
Emulation is a great way to get access to your games no matter where you do it. It is more of a grey area, although the emulation software itself is legal what isn’t is the ROMs themselves, you’re only meant to use your own games files. So if you do get to install an emulator be sure to only use your own game rips. But when you do, gaming on the go is a great feature like you can do with the Steam Deck as well.
How to use Emu Deck on the ASUS ROG Ally
EmuDeck is the all-in-one software for emulation. It brings to your device one app that you install and open, and from there, you get access to a large list of emulators and their configurations to download and set up.
Although it is made for SteamOS and the Steam Deck, it is being beta tested for Windows and Android at the moment. So to get access to it on the ROG Ally you do need to support the software on Patreon to get access to the beta and ROG Ally native support. So if you’re willing to pay the price here’s how to install it according to ROG Ally Life.
- Support EmuDeck on Patreon for early access (minimum early access tier, £3)
- Download the latest EmuDeck installer on Github
- Run and install the downloaded file
- After that, you’ll need to log in to your Patreon so you can get access to the beta launcher
- Then provide your Patreon token code so it can be verified
- After that choose easy or custom mode for installing (the first automatically chooses settings)
- Pick the storage directory your ROMs will be in
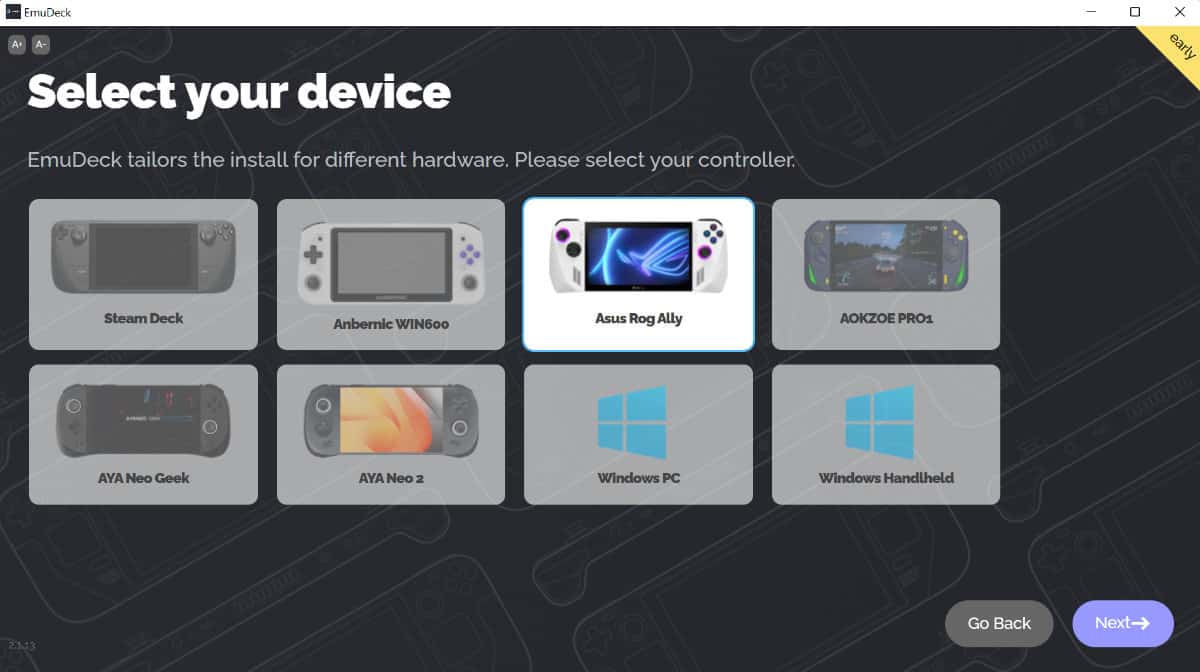
- Select the ROG Ally from the device list
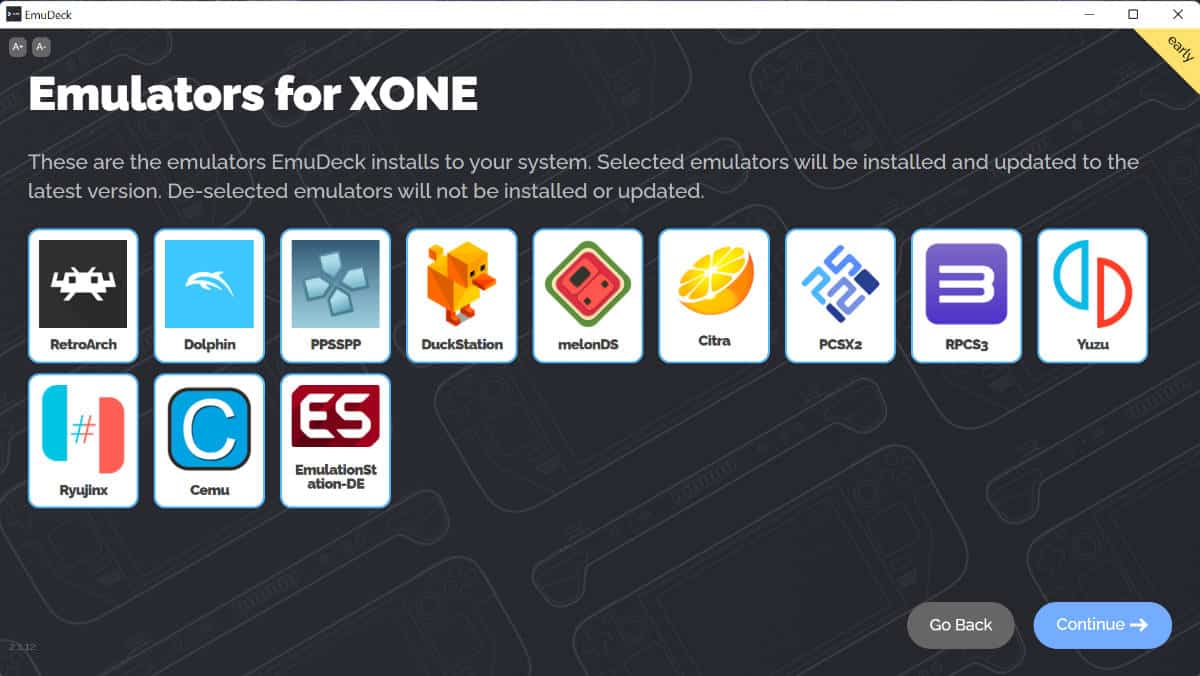
- Select the emulators you want to be installed and configured
- Continue the setup and settings for your experience
- Then you want to transfer your ROMs to the folder in the directory you chose under Emulation and roms folders
- Now you need the bios files for the emulators, place them in the bios folder in the Emulation folder more info is in their wiki. But after that you are ready to go
Installing other emulators
ASs ETA Prime on YouTube shows, you can install all the emulators with ease. These just need to support Windows and there is a whole list of them to get depending on which console you’re wanting to play on the go. So for each, you’ll want to go to their page and download the emulator and after installation, load it with your game ROMs to enjoy on the go.