
Starfield – How to use photo mode
Share this article...
WePC is reader-supported. When you buy through links on our site, we may earn an affiliate commission. Prices subject to change. Learn more
Where can you find all of your Starfield screenshots? Like previous Bethesda game Studios RPGs, Starfield has an in-game photo mode that you can use to take pictures of the many planets you discover during your journey.
Scour the universe to get the perfect shot. Maybe you have a specific location in mind that you want to visit after going through character creation. You have access to this feature no matter what gaming platform you are on but only on PC are the shots saved in a specific location.
Get a good shot of the space-themed environment using the plethora of options found in the photo mode. Take a picture of where you placed your favorite outpost. Maybe you can even get a shot of your dream home. After taking these pictures, here is where you can find your Starfield Screenshots.
How to use photo mode in Starfield
To access photo mode in Starfield, press the menu button on controller or the ESC key or TAB key twice on keyboard. This will bring up the pause menu. In this menu select the photo mode option to enable photo mode. This will pause the game and allow you to take screenshots. There are three different camera types for the photo mode; free, orbital, and selfie.
The basic controls for photo mode are:
- Left stick or WASD keys to move the camera
- Right stick or mouse to change camera direction
- LB and RB or E and Q keys to change photo mode menus
- Y button or T key to toggle the menu
- A button or Spacebar to take the photo
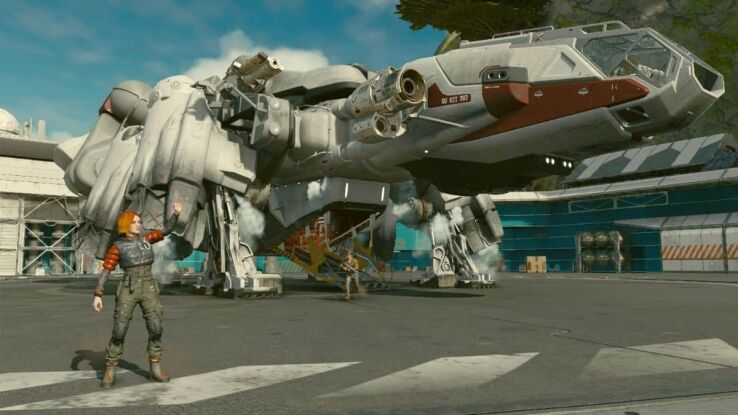
The best shots will have the scenery and any extra spacefaring people in it.
All photo mode options in Starfield
Here are all of the photo options that you have in photo mode. You can see the in-game camera options in the right-hand corner of the screen.
- Camera menu
- Camera type
- Field of view (FoV)
- Camera roll
- Depth of field
- Strength
- Near Start
- Near Plane
- Far Start
- Far Plane
- Blend
- Character options
- Show Player
- Pose Category
- Pose
- Contrast options
- Brightness
- Saturation
- Contrast
- Filter options
- Filter
- Filter Intensity
- Vignette Intensity
- Texture Category
- Texture
- Texture Intensity
- Frame options
- Frame Category
- Frame
There are faction-specific frames that you can choose from to complete the overall look of the photo as well. When photo mode is accessed, you will see a dotted grid overlay. This can be turned off or hidden.
Now you can take a photo of your stolen contraband or the ship that you recently built. Maybe you will want to take some good-looking photos of a nearby outpost.
Where are Starfield’s photo mode screenshots saved?
Your Starfield screenshots are saved in two locations on your PC; the photo gallery and a folder. The easier manner of finding your photos is by opening the pause menu by pressing the ESC key. From there, select the photo gallery option. This will bring up all of your in-game photos.
If you are looking for your screenshots outside of the game, Start by opening File Explorer which is the folder typically found at the bottom of your screen. With that open, access your documents folder. In there, navigate to the MyGames folder.
In the MyGames folder, you will see a folder for Starfield. You will now need to open a series of folders in this order; Starfield > Data > Textures > Photos. In the photos folder is where you will find your screenshots.
For the Xbox Series X and Xbox Series X, you will find your screenshots where they normally are.


