
How to Get the Ringed Finger in Elden Ring
Share this article...
WePC is reader-supported. When you buy through links on our site, we may earn an affiliate commission. Prices subject to change. Learn more
There is an insane number of weapons to find in Elden Ring, and you’ll need a decent chunk of them if you want to find your preferred method of attack. While some of them are incredibly useful, others are just really cool, while others are both useful, cool, and sort of hilarious. The Ringed Finger is one such weapon in the game. This hammer-based tool allows you to actually use a giant finger ripped straight off of those giant hands that are crawling all over the place. If you’ve got an itching to flick some enemies around, then we’ll show you how to get the Ringed Finger in Elden Ring.
Getting the Ringed Finger in Elden Ring

You’re going to need to reach Gelmir in the Altus Plateau if you want to get this giant flicking finger, but that’s not too much of a heavy ask since you can reach the place pretty quickly if you know what you’re doing. Once you’ve got that far, you’re going to need to head for Gelmir Hero’s Grave at the northwest of the Altus Plateau region. Head for the north part of the Altus Plateau until you find the crossroads near the windmill villages. Follow the west path that splits off north until you find yourself at the Bridge of Iniquity. Cross the bridge and activate the point of grace because the next part could be dangerous.
Get on Shadow and follow the mountain around, sticking as close to the mountain as possible while picking your way through barricades. You’ll eventually come across various Abductor enemies, some of whom are distracted by random soldiers. Ignore them and keep moving until you come across a ladder on the side of the mountain. Climb up it as quickly as possible to avoid the abductors completely. Once you get to the top, run to the graveyard on your left and activate the point of grace. Get back on Torrent and northwest to follow the mountain around. Go past the siege tower by jumping up the rock behind it and keep following the path around. Just past some wolves, you should see a building which houses the lift you’re looking for.
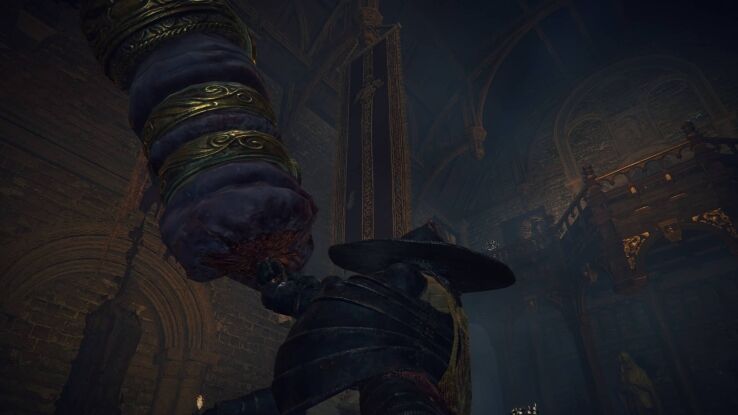
Exploring the Gelmir Hero’s Grave dungeon

If you want to explore this dungeon properly, we do have a guide for the dungeon which shows you the best ways through this place. However, right now, we’re just here for this specific item so that’s what we’ll go for. Make sure that you have a dagger equipped somewhere (it can be in your secondary slot) and head into the dungeon from the point of grace. It’s one of those chariot dungeons, so get ready for a good time. Run down the slope and take a jump over the lava into the alcove on the left. Take out the skeletons then wait for the chariot to go above you and run down the slope and jump into the alcove on the right and take out the archer skeleton here.
Once the chariot turns around, follow it back down the slope and jump into the alcove on the left again. As you enter, another skeleton will spiral out into the hallway, but the chariot should take him down since he has such a huge recovery from that attack. Wait for the chariot to go by one more time, then run down the slope into the alcove on the right again and take out yet another skeleton. Once again, wait for the chariot to be out of the way and run down and leap up into the alcove on the left, but don’t go too far in. The rest of the dungeon lies that way, and you don’t want to aggro any more enemies.
The final stretch

From here, we’re going to be relying on both a bit of luck and quickstepping. Wait for the chariot to go up, then run down the slope and into the alcove on the right. This is the furthest down that the chariot will go, so from here you don’t have to worry too much about getting squashed. Wait for the chariot to start its journey up and then jump out into the lava. If you have any fire protection, now is the time to use it. Other than that, use the quickstep ability on your dagger to move through the lava much quicker than walking or rolling will. Follow the lava to the bottom, then round the corner, you should see a safe area. Head for dry land and run inside the room to find a chest containing your coveted Ringed Finger.
More Elden Ring content
We’ve been waiting to get our hands on FromSoftware’s Elden Ring for so long, we almost can’t believe it’s finally arrived and we have a massive amount of content just for you. Other than our Tier List, We’ll be here to walk you through every step of your journey through the Lands Between. Join us for all our Elden Ring content and guides over the coming days and weeks!


