How To Make Discord Emotes
We show you how to make your own emojis that you can upload to Discord - or anywhere you like
Share this article...
WePC is reader-supported. When you buy through links on our site, we may earn an affiliate commission. Prices subject to change. Learn more
If you learn how to make Discord emotes, you’re in for some fun. Sharing memes, emojis, and custom emotes is all part of the fun when using Discord, with everyone welcoming the customization available to you. We’ve already made a guide telling you how to add and upload existing emojis to Discord, but this will be focused on how you make your own Discord emotes.
If you’re running a server among friends or a like-minded community, custom emotes can really get them involved – think of all of the in-jokes and personalized emotes you can enjoy. Create your own visual language and turn your Discord server into it’s own little community. If this type of stuff is something you want to get into, then the first port of call is learning how to make the humble emoji, also known as an emote. Check out all the details just below.
How to make Discord emotes : step-by-step guide
Step
Picking your software
When making an emoji you can use pretty much any software that allows you to make/save images, even basic free software like MS Paint (which comes free with any Windows PC) or the old reliable free online software paint.net. More complex emojis might be better done on more advanced software such as Photoshop, Illustrator or GIMP, though these are more complicated to use.
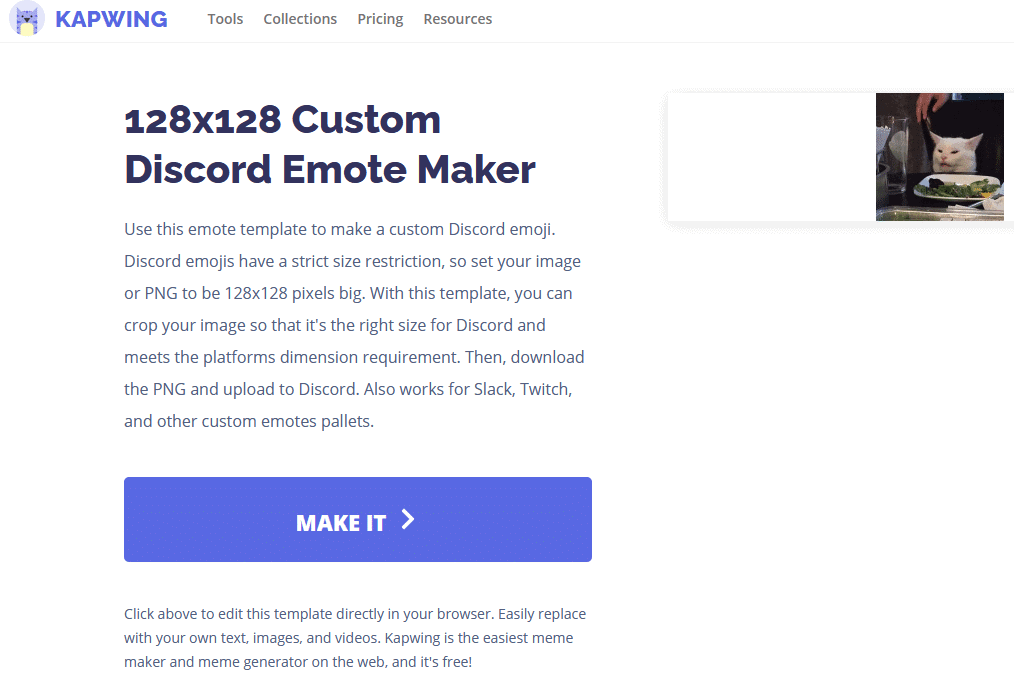
For the purpose of this guide we will be using the Kapwing Discord emoji template, purely because it is tailored specifically for the purpose of making Discord emotes, is easy to use, and the basic version of the software is free. With Kapwing any image you upload is automatically resized to the 128×128 pixels format required by Discord.
If you’re using other software the basic steps below will still apply, but how you go about doing them may differ slightly. The basic steps for making an emoji on any software are: uploading an image, cropping and editing that image, making sure it is the correct aspect ratio/dimensions for a Discord emoji (128×128), exporting/saving the edited image in a file format, making sure it is not above 256KB in size, and finally uploading the emote to Discord.
Step
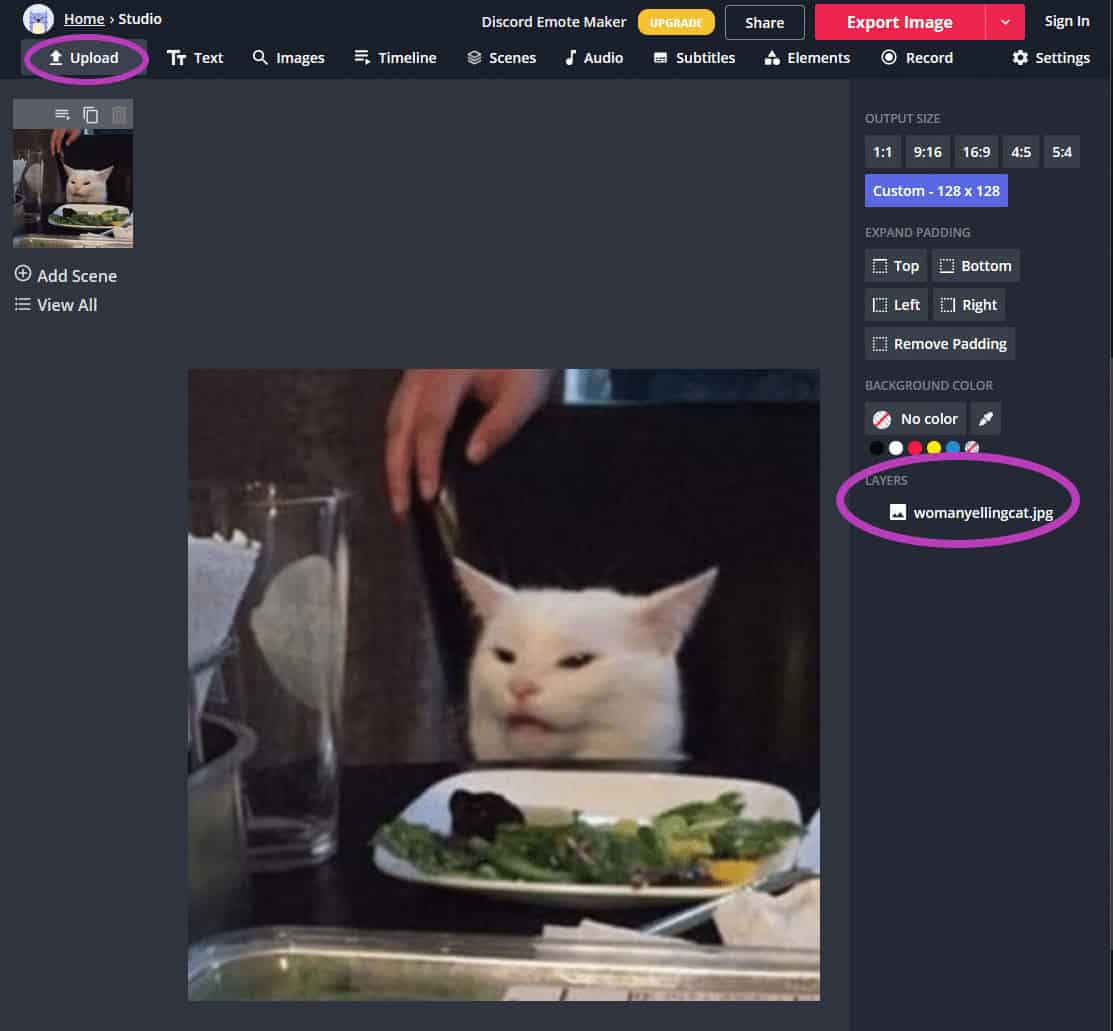
Upload your base image
You will note that Kapwing will already have a placeholder image uploaded, in this case womanyellingcat.jpg. You can delete this by clicking on it and pressing the delete key, or by highlighting it under the Layers menu on the right hand side of your screen and pressing the trash icon.
After you have done this click on Upload in the top left corner of Kapwing to upload whatever photo you like for your base image. If this does not appear in the editor straight away you may have to select it from Library within Upload.
Step
Edit the image
First click on the image itself. This should change the menu on the right hand side to the Edit Image Menu. From this you can Adjust, Crop or Erase the image. Four our purposes we clicked on Erase and used the magic wand tool to remove most of the background, using the erase tool to touch up any bits we missed. When using the magic wand, after it has highlighted an area you wish to delete, remember to click Remove Pixels. When you are finished click Done in the bottom right. We also used the Crop tool after this.
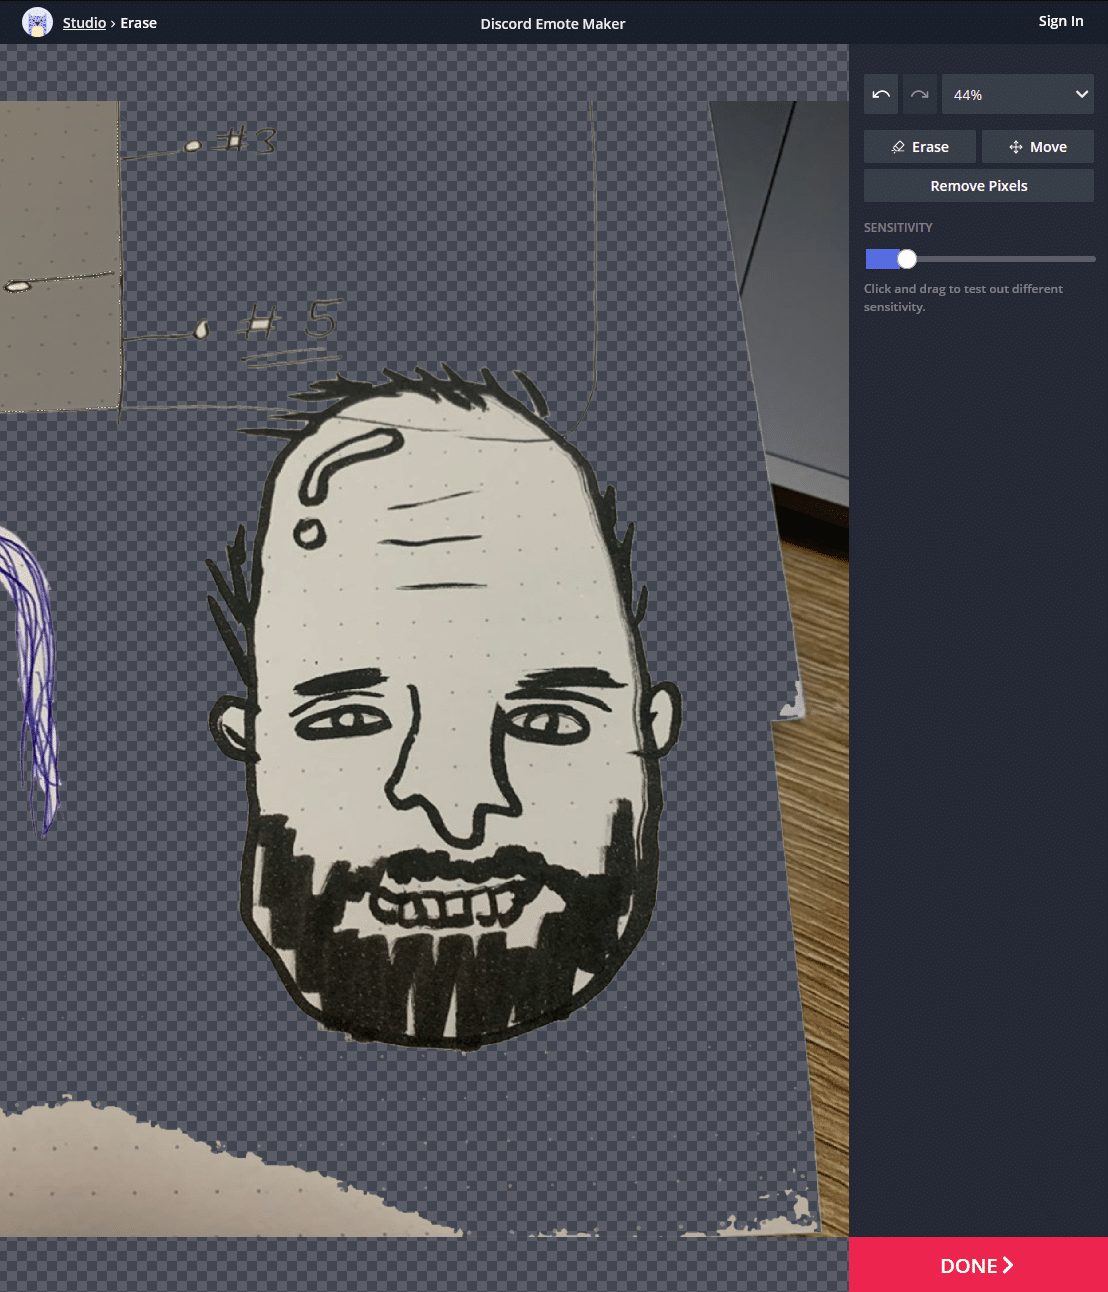
You may notice after pressing Done and returning to the main studio editor screen that it appears Kapwing has undone the edits you just made. Click on the ‘copy’ icon (resembling one rectangle on top of another) above the thumbnail on the left (to the left of the trashcan icon) and the new copied image should show your changes.
Step
Add text and background, then export your emoji
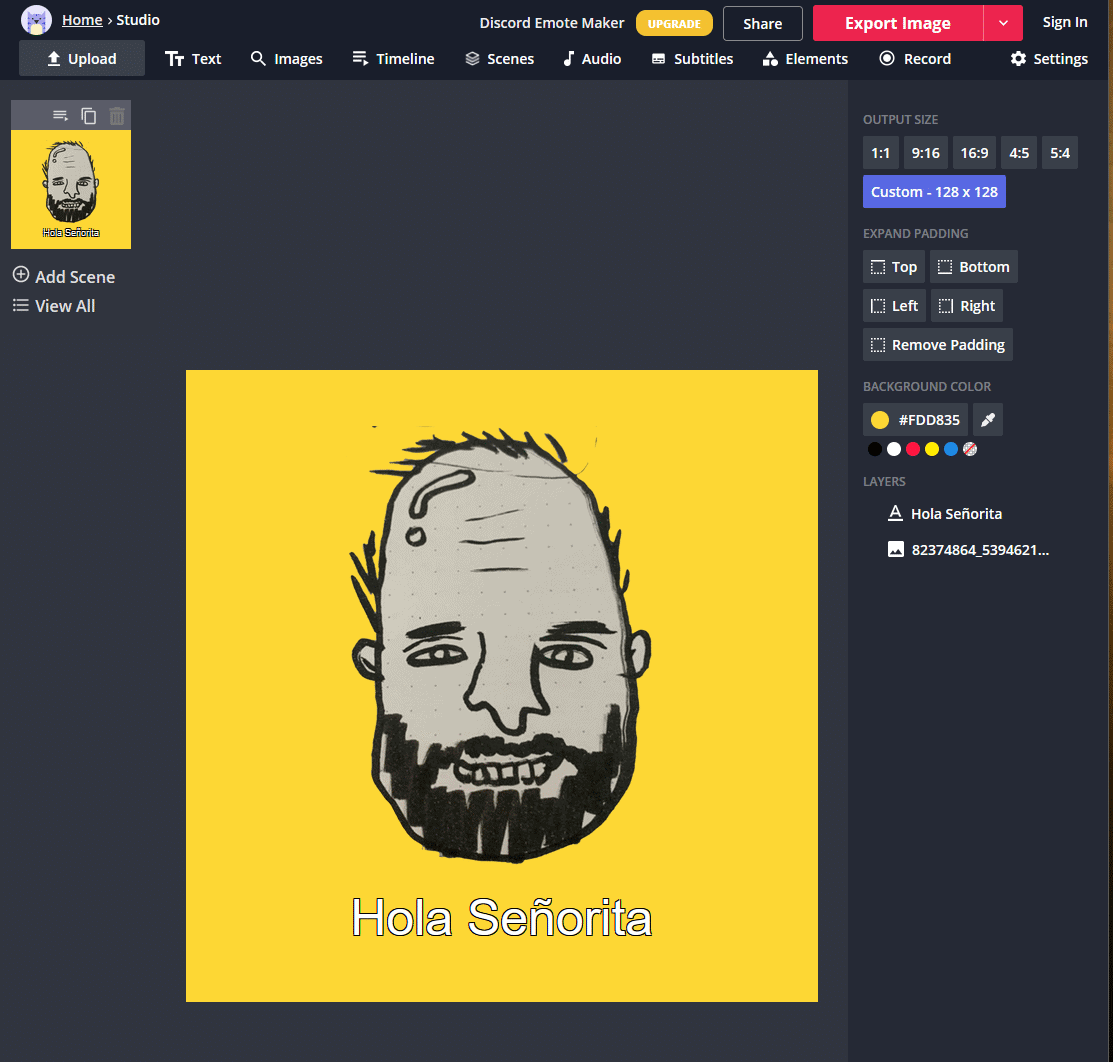
Click on the Text Icon at the top to add text, and select your Background Color on the right hand side (or keep it transparent if you prefer).
If you have more than one copy of your image, visible as different thumbnails on the left, delete the others you don’t want so there is just one image. Multiple copies can be used to export a video file but not a single image.
Finally click Export Image in the top right corner and you’re done! The next step is to upload the completed emote to Discord: see our guide on how to do this.
In this guide we have just shown you how to make a simple, single image emoji, but you can use Kapwing (and other software, though not as easily) to make GIF emojis out of still images or video clips should you wish. Click here to learn more.
Final word
This has been our guide on How To Make Discord Emotes. We hope that it has got you in the mood for some creative memery and that you found it useful. If you want to learn more about the Discord app please take a look at some of the recommended articles which should be visible alongside this page, or better still, check out our How To Use Discord page, which is a mega guide of all our individual How To articles relating to Discord.